The Lost Library - Reading Room and Two Fire Wraiths
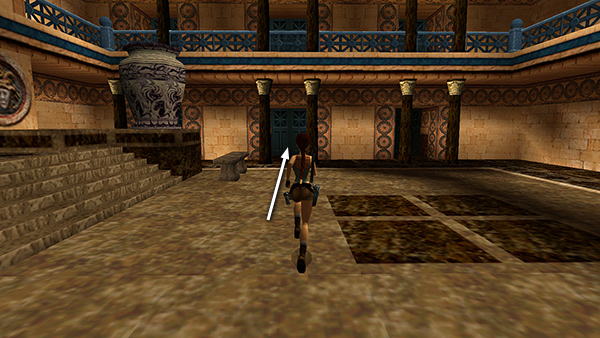
Push open the middle set of doors on the lower level, south side of the MAIN HALL (E on the diagram in the main walkthrough).
Follow the twisting stairs down...
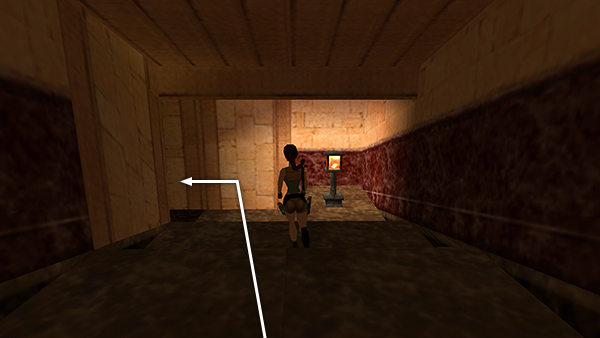
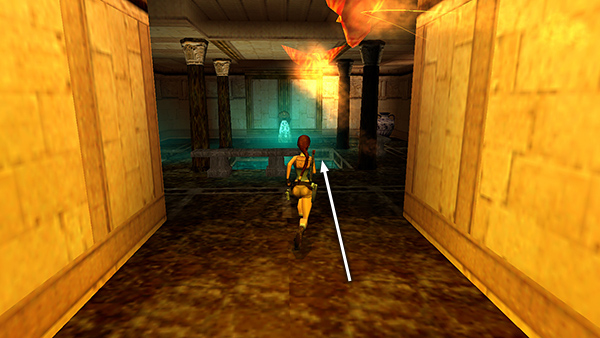
...to a room with scattered scrolls, stone benches, and a hanging lantern. As you enter, 2 fire wraiths appear. Run through either exit. (Both hallways lead into the next room. Here we'll go to the left.)
Follow the hallway...
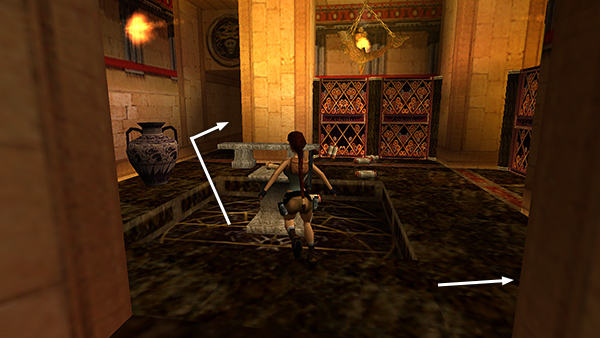
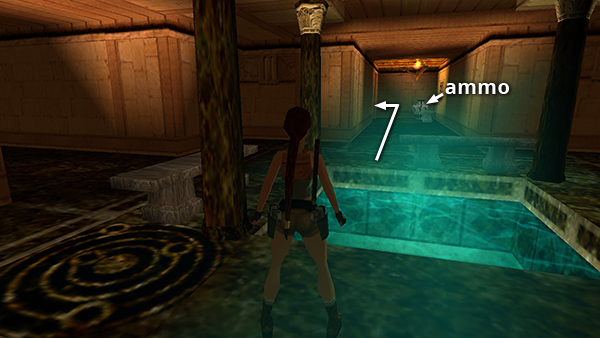
...to a room with benches and a small pool.

Jump into the pool and wait there for the fire wraiths to extinguish themselves.
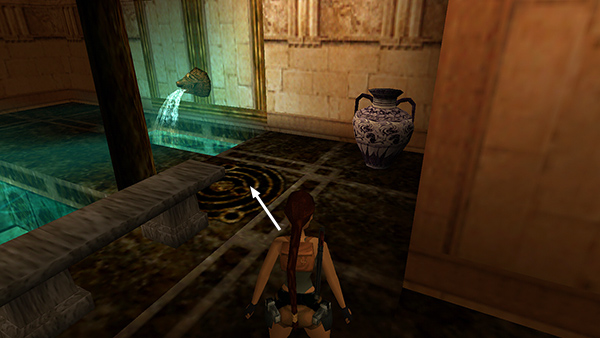
Climb out of the water and move around to the southeast corner of the pool. When you step on the tile with the gold orbital patterns...
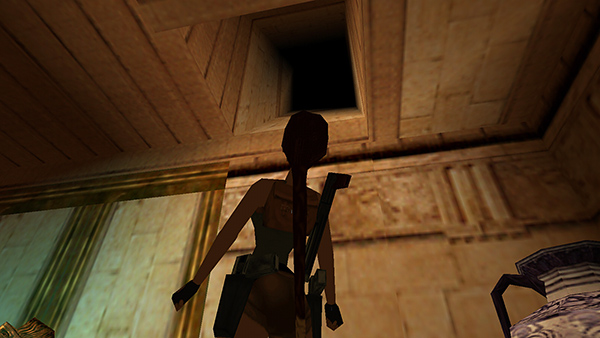
...Lara looks intently at the chute high on the wall.
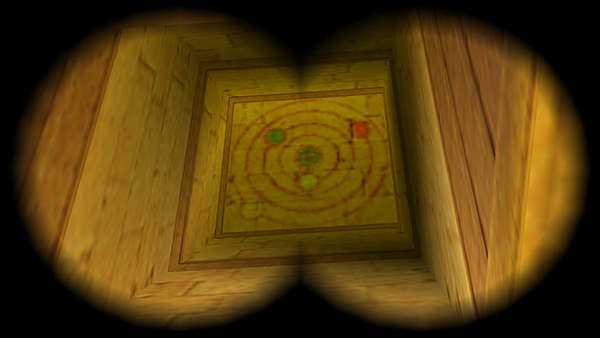
Open your inventory, select the BINOCULARS, and look into the opening. Now hold Action to activate the light, and you'll see a colored diagram with four planets of different colors orbiting the blue earth at the center. This is a clue to the upcoming PLANETARIUM puzzle. Use the Draw/Holster Weapons button to stow the binoculars when you're done.
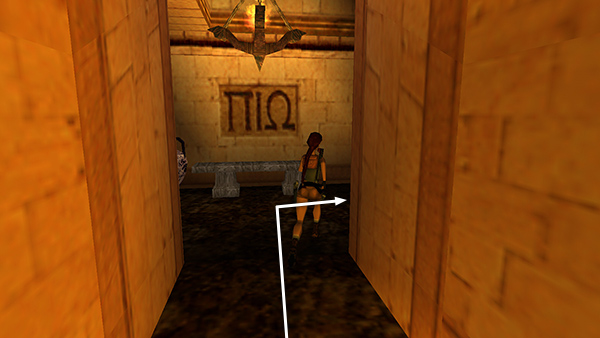
Follow the hallway to the west, shooting the ceramic vase and picking up a small medipack on the way.
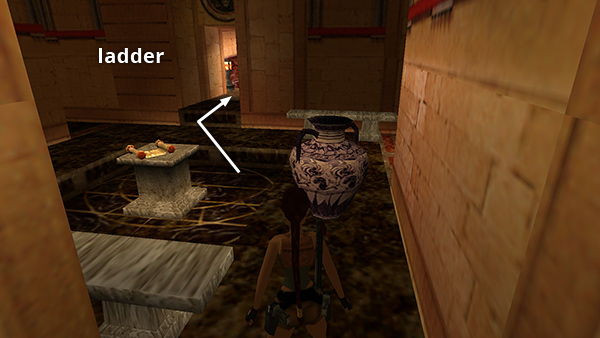
Back in the READING ROOM with the scattered scrolls, you'll notice a ladder on the wall next to the entrance. If you followed this walkthrough so far, the trapdoor at the top of the ladder is still closed, so you can't go that way. Instead, return up the stairs the way you came to the MAIN HALL.
Copyright © 1999- - Stellalune ( ). All rights reserved. Feel free to copy or print this walkthrough for personal use. By all means, share it with friends, but please include this credit line so people can send me their feedback. No part of this walkthrough may be reproduced on another site without permission. Follow this link for details about this site's advertising and privacy policy.