KV5 - Backtracking from the Exit to Find the Jeep (part 2)
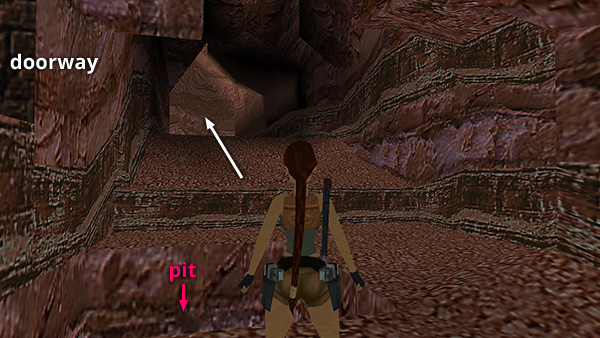
After jumping down from the doorway above the spike pit, go around pit and follow the canyon to the north.
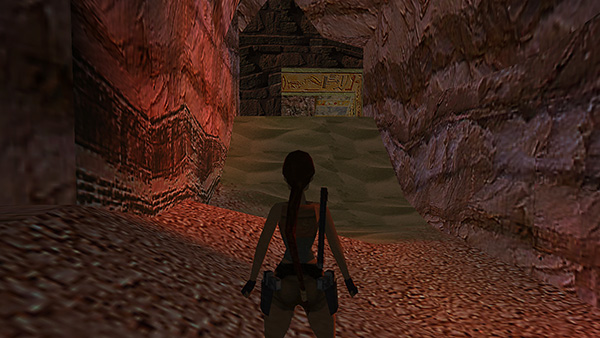
Just around the first bend is the sandy slope leading up to the ruins.
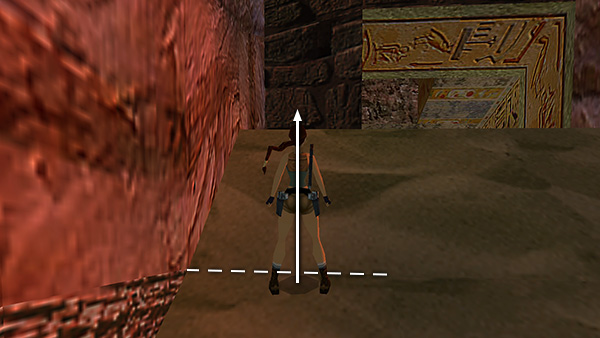
Walk up the left side of the slope until Lara reaches the part of the slope that's too steep to climb and won't go any further. (The seam between the flat and steep textures is marked with a broken line in the screenshot above.) Take a standing jump and continue to hold Forward/Up to stick the landing on the flat spot above.
NOTE: If you missed secret #3 before, you can get it now. See the main walkthrough for details.
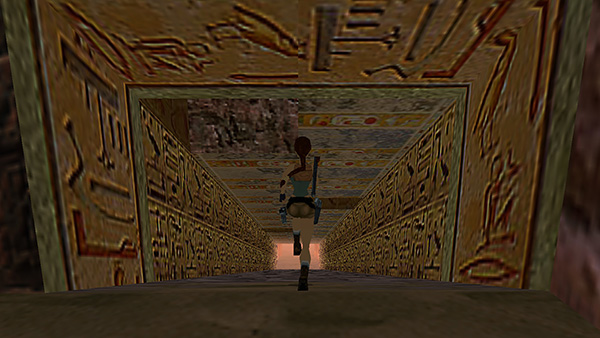
Run down the ramp.
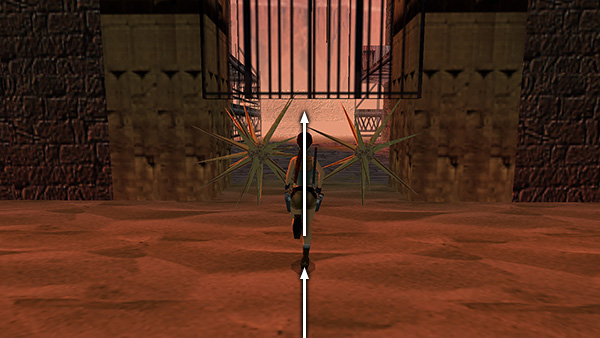
Continue straight ahead, taking a running jump between the spike clusters to get through the gate. Lara shouldn't take any damage.
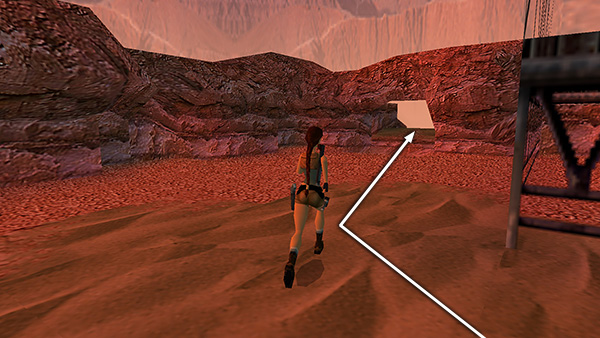
Pass between the two buildings with scaffolding, turn right (north), and head through the opening in the rocks to the north.
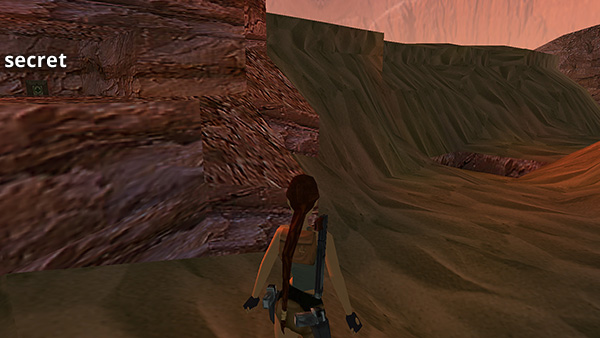
If you missed secret #2, get it now. It's in the crawlspace on the left, just beyond the stone arch.
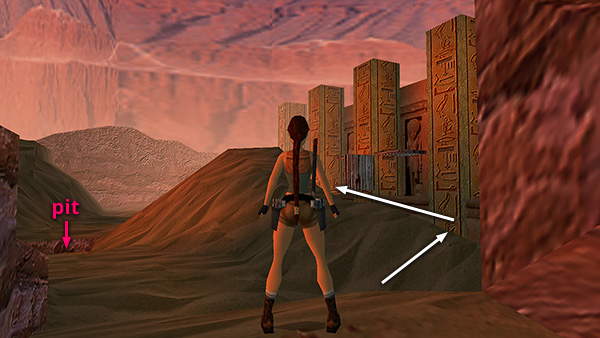
To continue back toward the start of the level, climb over the large pile of greenish sand and continue forward between the pile and the ruins.
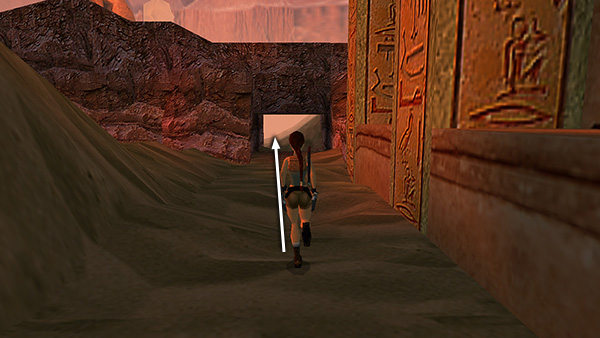
Pass under the stone arch in the northeast corner of this area.
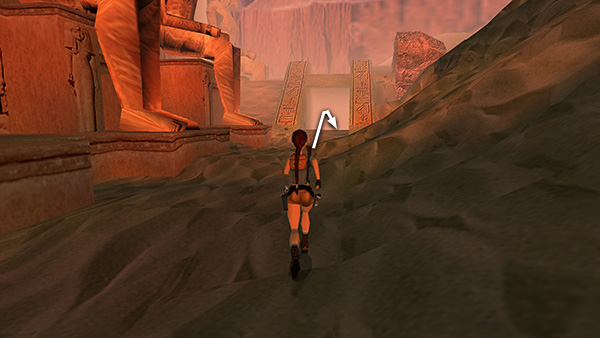
Continue past the row of seated statues and down the ramp.
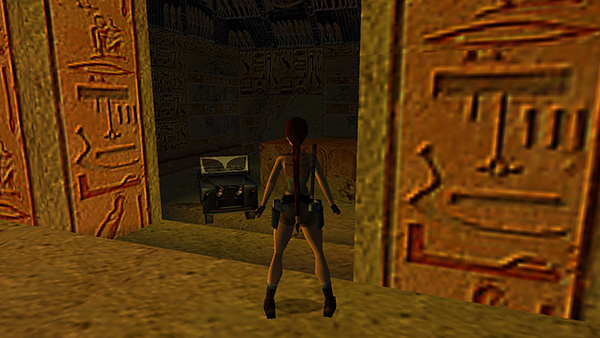
At the bottom is the small room where you first drove into this level.
Once you have the Jeep, drive the route described in the main walkthrough. The only major difference is the spike clusters blocking the gate in the area with the scaffolding. Lara can jump between them without injury, but she will take some damage driving through the spikes.
Copyright © 1999- - Stellalune ( ). All rights reserved. Feel free to copy or print this walkthrough for personal use. By all means, share it with friends, but please include this credit line so people can send me their feedback. No part of this walkthrough may be reproduced on another site without permission. Follow this link for details about this site's advertising and privacy policy.