KV5 - Excavation Site with Scaffolding and Gate (part 2)
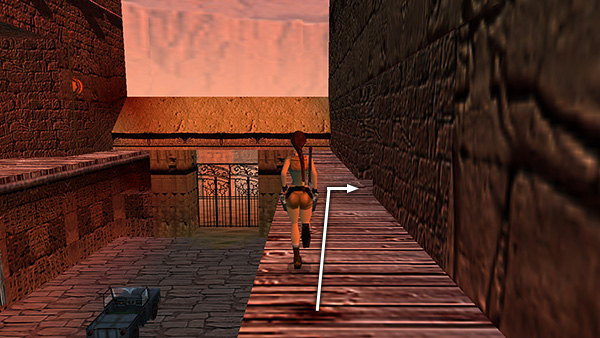
After picking up the medipacks for secret #2, as shown in part 1, return to the other end of the scaffolding, where you dropped down, and climb back onto the middle level.
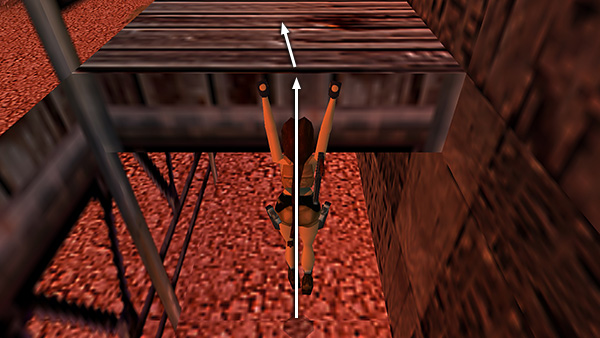
Climb/jump onto the wooden block.
Then either jump past the corner to land on the upper level of the scaffolding, or drop down to the middle level and climb up from there.
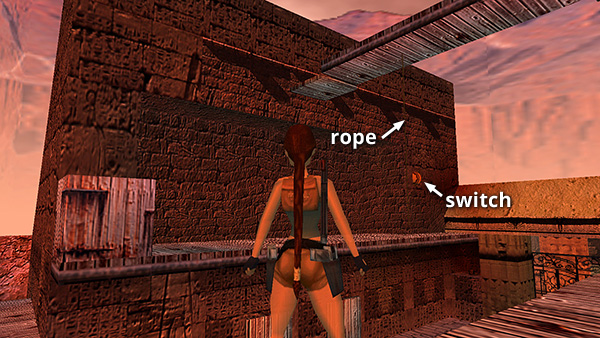
Notice the yellow switch on the side of the building to the north, and the dangling rope between the two buildings. That's where you're headed next, but first...
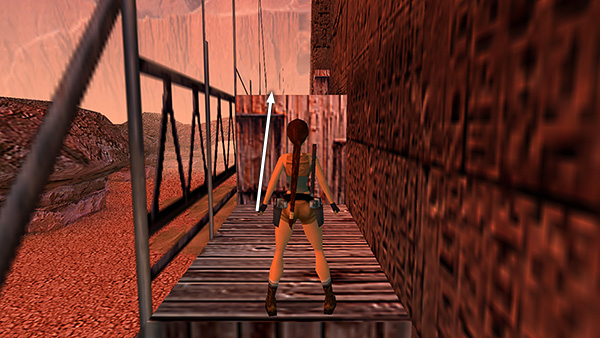
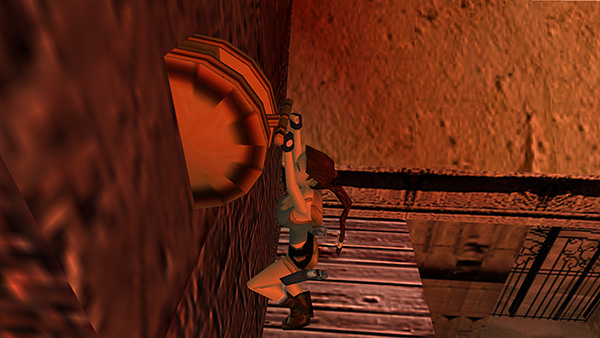
Head for the alcove in the stone wall about halfway along the wall on this side...
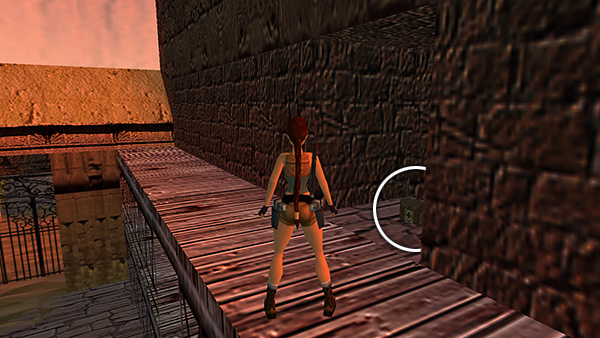
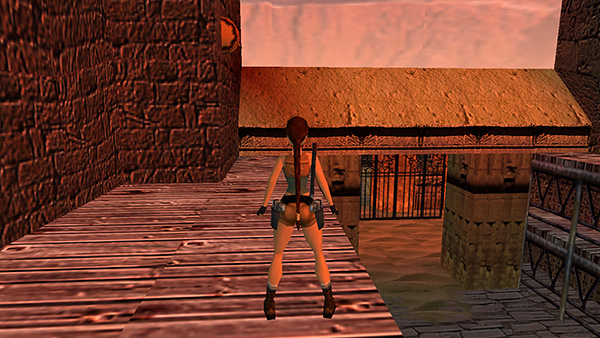
...to find a large medipack. Grab it and turn around.
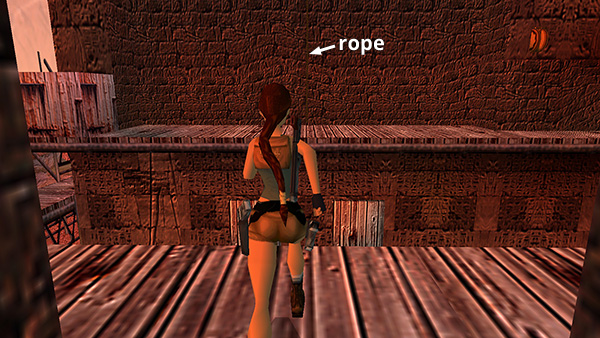
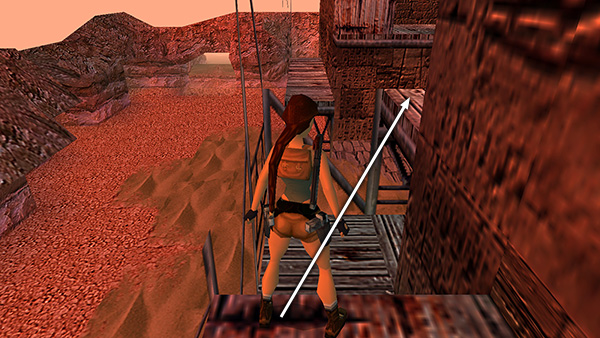
Take a running jump to grab the rope. It's difficult to see it in this screenshot, but it's directly in line with the alcove where you found the medipack.
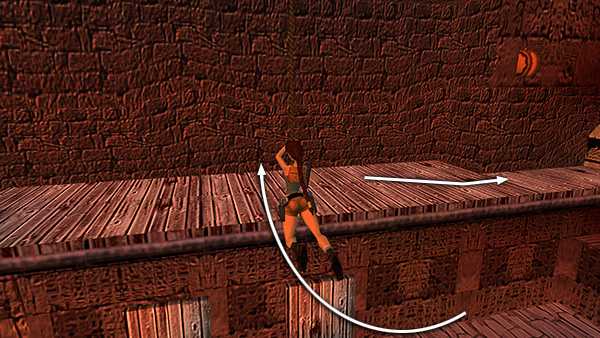
Swing across the gap to the scaffolding on the opposite side. Then head for the yellow switch.
Stand directly under the switch with Lara's chest against the wall. Jump straight up and hold Action to grab the switch and pull it down...
...opening the gate below.
Copyright © 1999- - Stellalune ( ). All rights reserved. Feel free to copy or print this walkthrough for personal use. By all means, share it with friends, but please include this credit line so people can send me their feedback. No part of this walkthrough may be reproduced on another site without permission. Follow this link for details about this site's advertising and privacy policy.