Great Hypostyle Hall - Two-Story Room with Square Pillars (part 2)
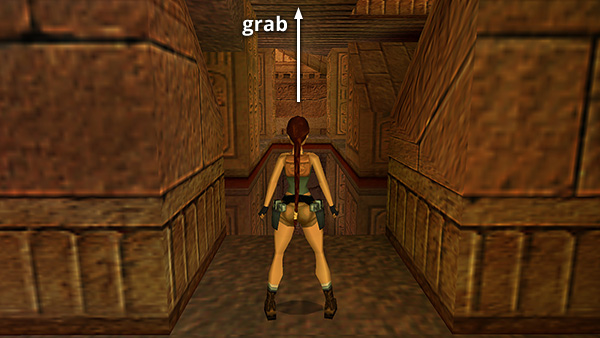
Move between the square columns to the middle of the room facing west. Jump straight up to grab the bars on the ceiling.
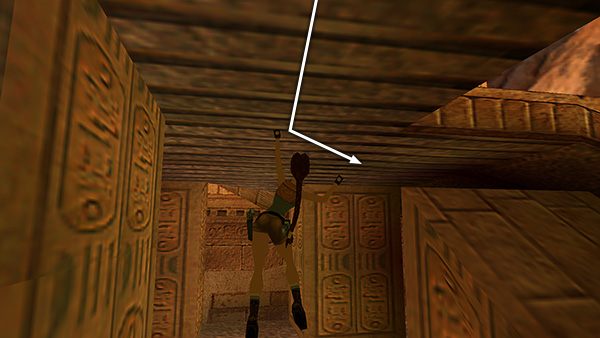
Monkey swing forward then to the right until Lara is hanging in front of the carved square column.
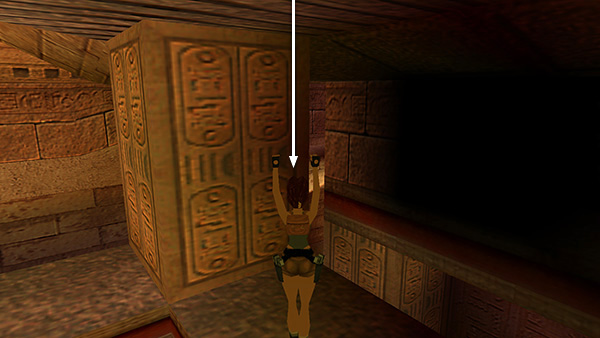
Now you can let go to drop onto the ledge below.
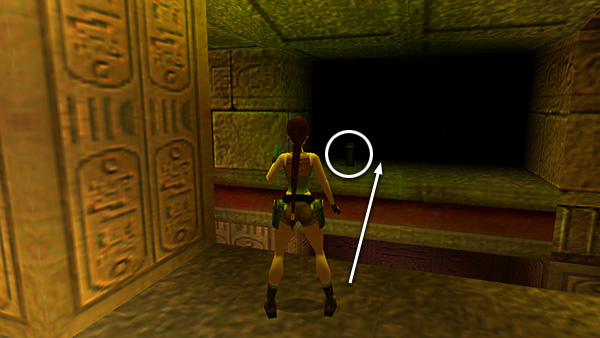
Take a standing jump into the dark alcove to the north to retrieve some flares.
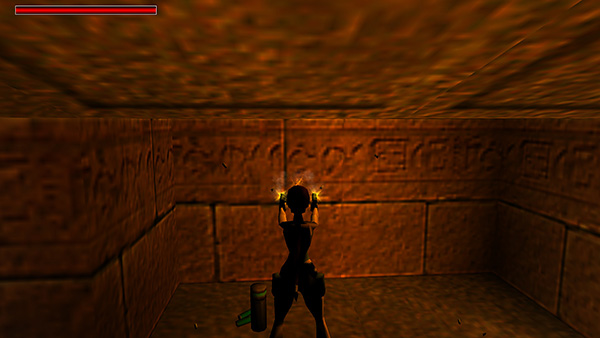
If you don't want to waste a flare locating more flares, you can use pistol fire to illuminate the alcove.
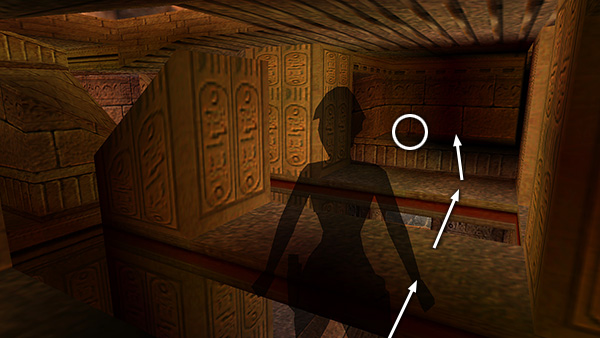
Turn around, walk to the edge, and take a standing jump back across the gap to the previous ledge. Jump to the next ledge, then the alcove on the south side of the room where you'll find a box of shotgun shells.
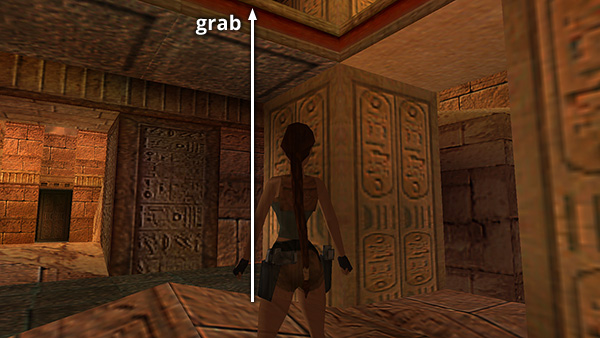
If you miss any of these jumps and fall to the lower level, just move onto one of the raised areas of floor. Lara will then be able to jump up and grab the upper level ledges.
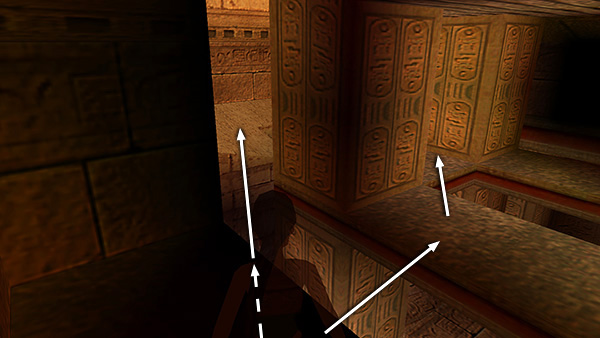
After picking up the shotgun shells in the south alcove, either take a carefully angled running jump to the long, sandy ledge on the west side of the room, or jump back to the adjacent ledge, then to the smaller ledge between the columns...
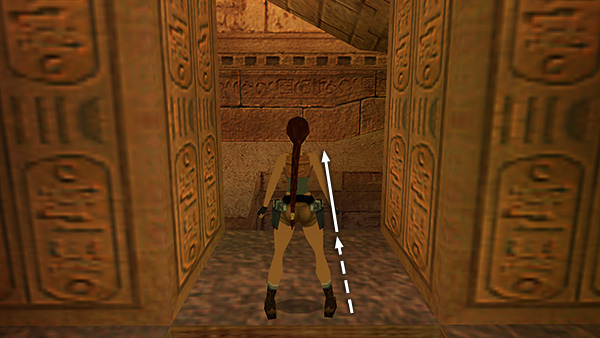
...and take a running jump from there to the sandy ledge.
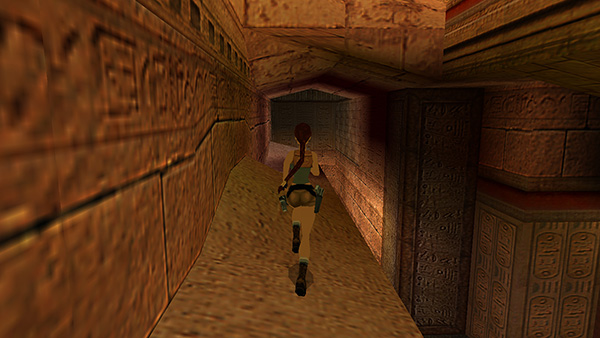
Follow this ledge to the far end...
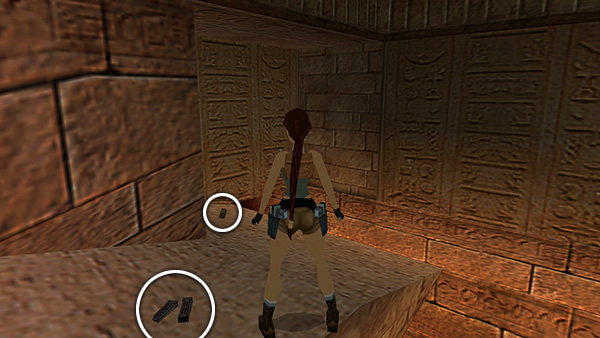
...picking up Uzi clips and a small medipack at the corner.
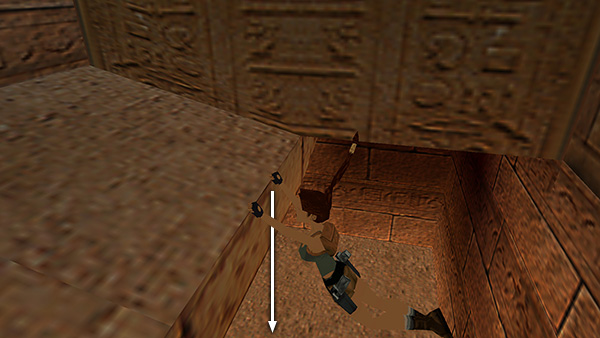
Drop down and continue to the deep pit.
Copyright © 1999- - Stellalune ( ). All rights reserved. Feel free to copy or print this walkthrough for personal use. By all means, share it with friends, but please include this credit line so people can send me their feedback. No part of this walkthrough may be reproduced on another site without permission. Follow this link for details about this site's advertising and privacy policy.