Guardian of Semerkhet - Big Room with Eye Symbols - Secret #3
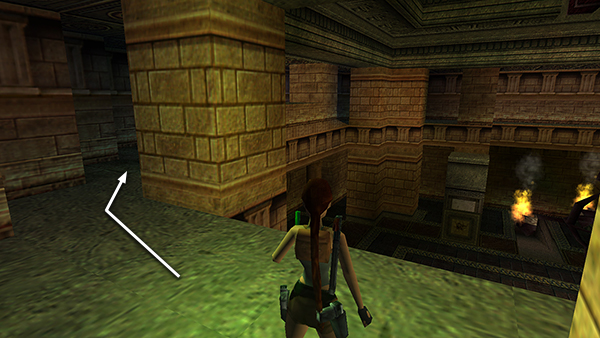
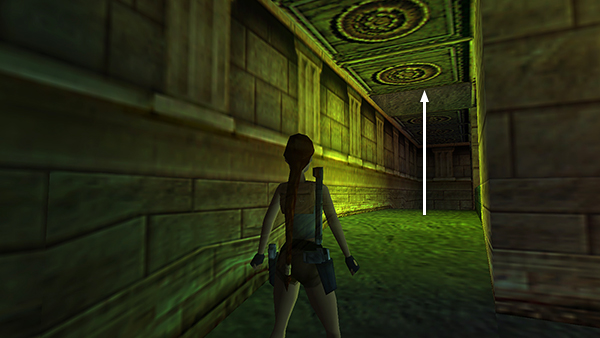
Once you reach the upper level of this room, as described in the previous section, climb the steps and head to the left (north) side of the room.
Vault up onto the low ledge and climb another short flight of steps leading up to the left.
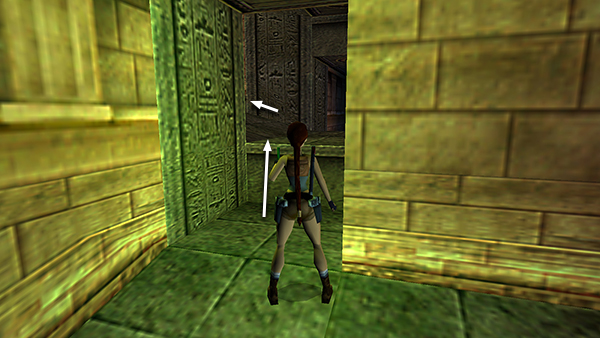
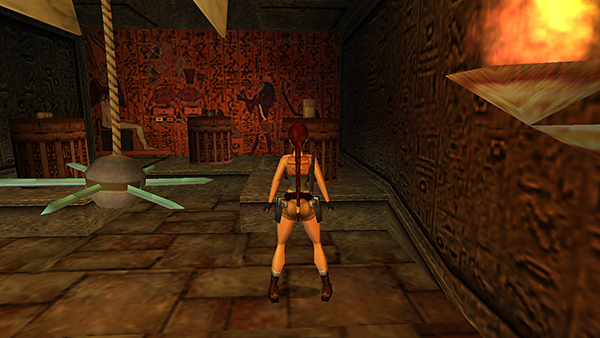
Enter the room at the top cautiously, avoiding the spiked ball that drops from the gray trapdoor in the ceiling. Pick up Uzi clips, shotgun shells, and a small medipack from the ledge. Then return downstairs to the upper level of the EYE SYMBOL room.
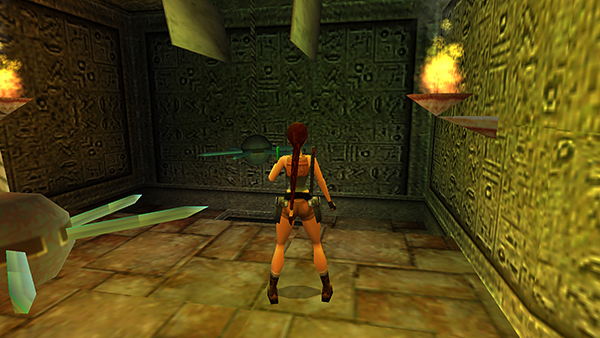
Follow the walkway around to the opposite (south) side of the room.
Climb through the hole in the ceiling above the hump in the floor to discover SECRET #3 (40/70).
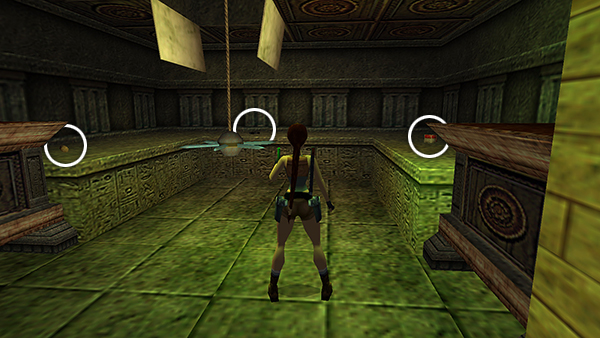
Again, move forward carefully to avoid another spiked ball that drops from the ceiling. On the pedestals are a small medipack, shotgun shells and a large medipack. Take your pick because you'll only get one.
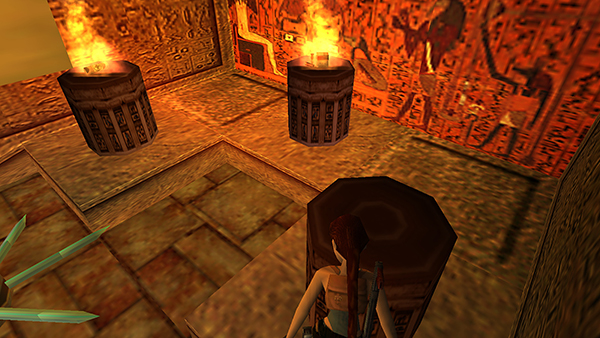
When you take the first item, the other pedestals ignite, so you can't get the items without catching fire.
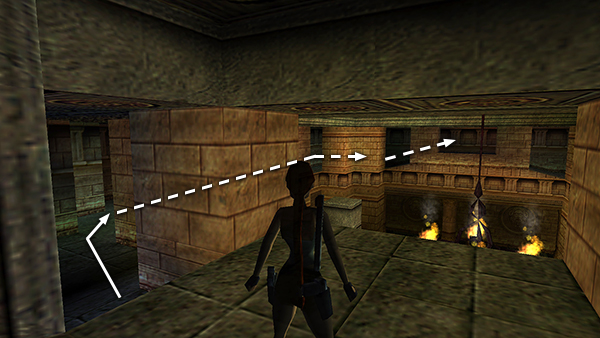
Be careful on the way out. Another spiked ball drops from the gray trapdoor above the hole in the floor.

If you crouch and crawl backwards to the edge, you can drop down safely.
Copyright © 1999- - Stellalune ( ). All rights reserved. Feel free to copy or print this walkthrough for personal use. By all means, share it with friends, but please include this credit line so people can send me their feedback. No part of this walkthrough may be reproduced on another site without permission. Follow this link for details about this site's advertising and privacy policy.