Guardian of Semerkhet - Secret #2 (part 2)
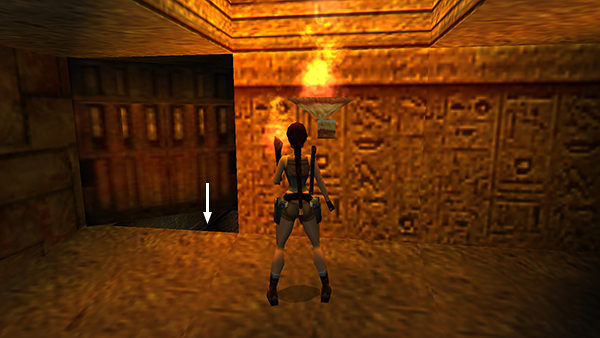 After lighting the wooden torch and using it to open the door at the end of the GUARDIAN HALLWAY, as shown in the previous section, drop down into the passageway below. You don't need the torch but you can bring it with you to conserve flares. The GUARDIAN can't follow you here, so you're safe for now...and you've found SECRET #2 (39/70).
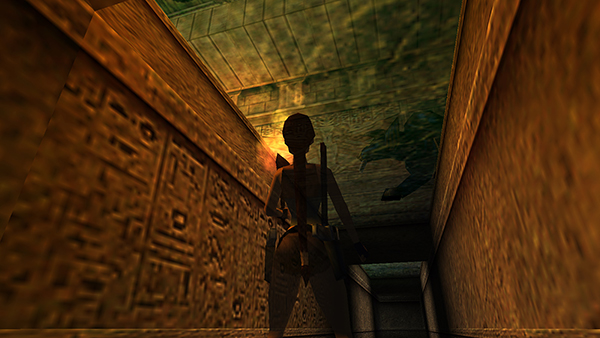
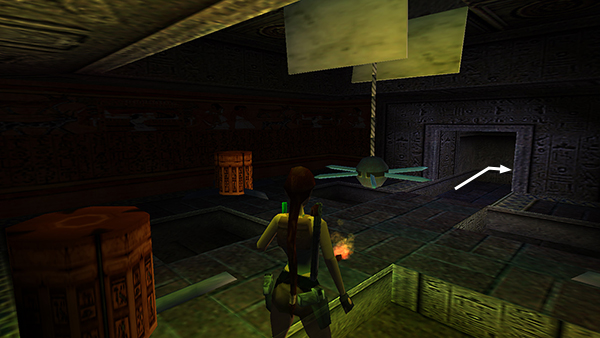
Continue along the passageway, which leads underneath the GUARDIAN HALLWAY...
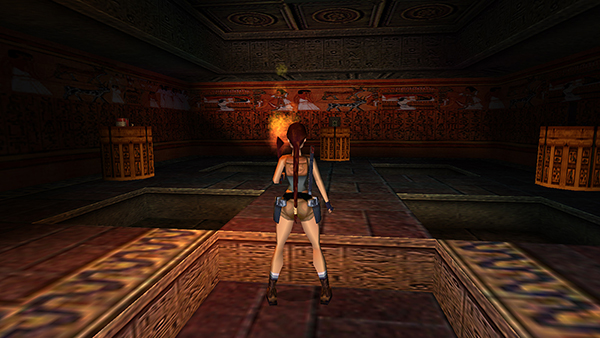
...to a small room with shotgun shells, a large medipack, and normal crossbow ammo on pedestals. If you brought the torch, toss it away by pressing the Draw Weapon button, since you'll need your hands free now.
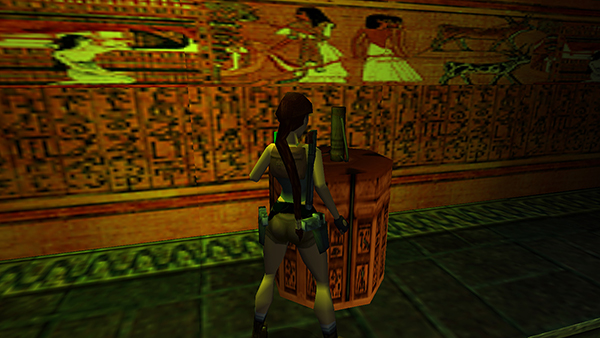
Approach each pedestal on a diagonal...
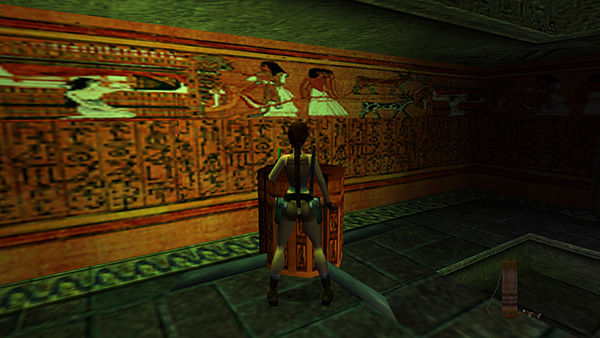
...to avoid the blades that slash out when you take the item on top. (Or quickly hop back after taking each item.)
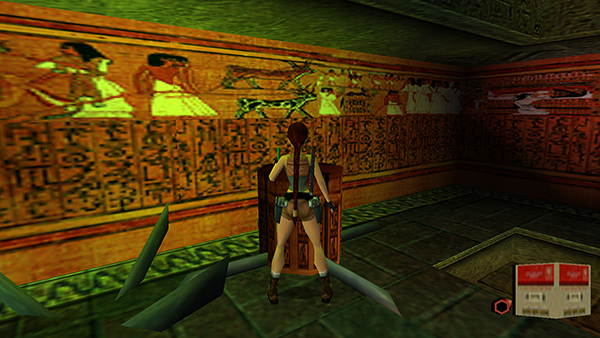
When you grab the shotgun ammo, blades also rise from the floor to the left of the pedestal, so avoid that area as well.
When you take the medipack, a spiked ball drops down from a the ceiling. Avoid it as well. Return along the passageway and climb back up into the room with the niche and sconces.
Copyright © 1999- - Stellalune ( ). All rights reserved. Feel free to copy or print this walkthrough for personal use. By all means, share it with friends, but please include this credit line so people can send me their feedback. No part of this walkthrough may be reproduced on another site without permission. Follow this link for details about this site's advertising and privacy policy.