Cleopatra's Palaces - High-Celinged Room Golden Lara Statue - Upper Level
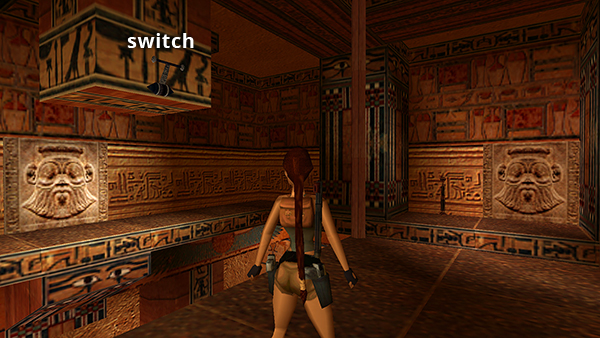
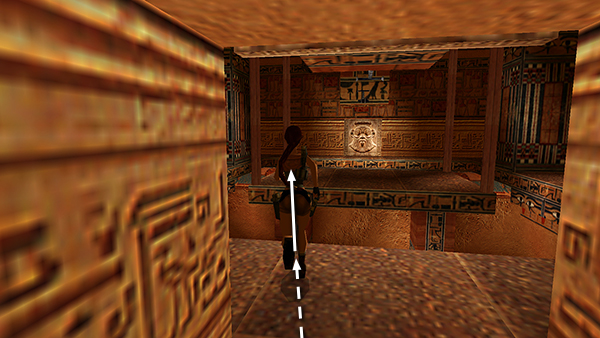
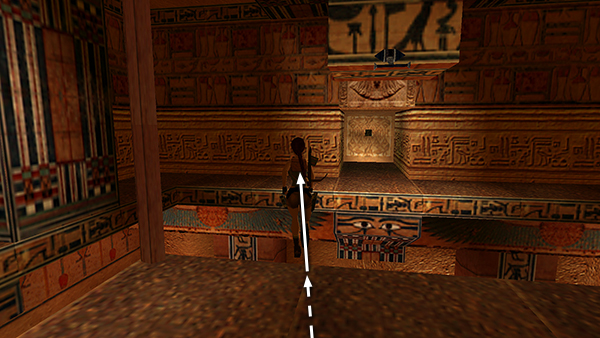
After climbing to the upper level of this large room, jumping onto the central platform, and destroying the skeleton that awakens in the room to the north, as described in the main walkthrough, you'll notice 3 square doors with carved faces on the east, south, and west ledges, and 2 black switches mounted on blocks above to the east and west.
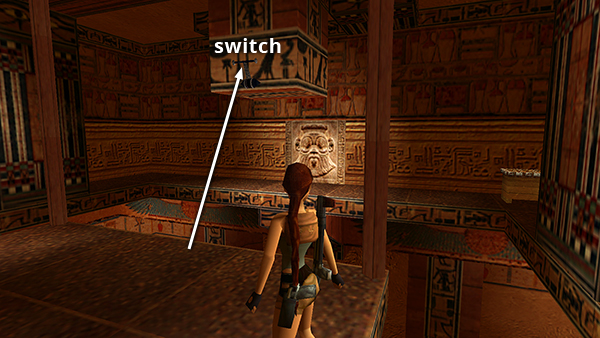
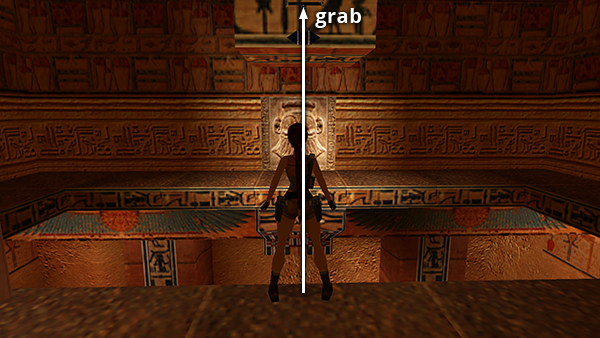
It doesn't matter which switch you pull first. We'll start with the one to the west. Lara will lose a bit of health when she drops to the walkway below, so make sure you've got enough to start. Then take a standing jump from the edge of the platform to grab the switch.
This opens the door below it.
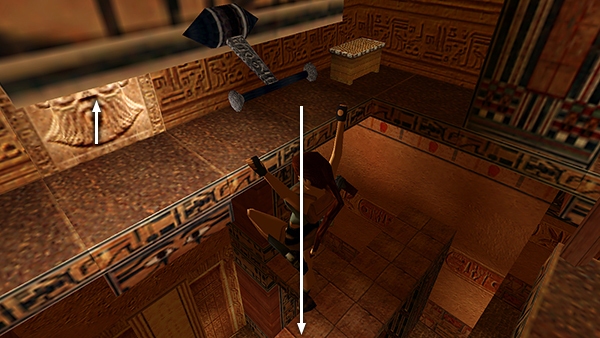
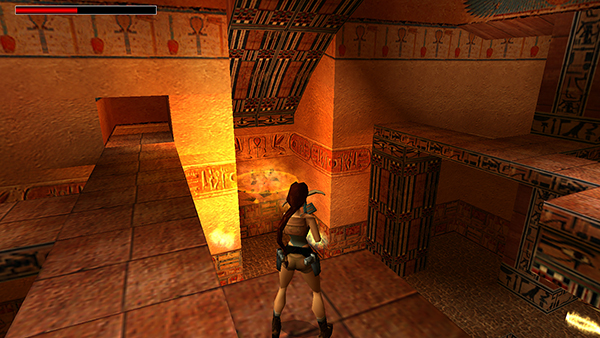
When Lara lands on the walkway, run to the right, climb into the doorway, and follow the ramp back to the room above.
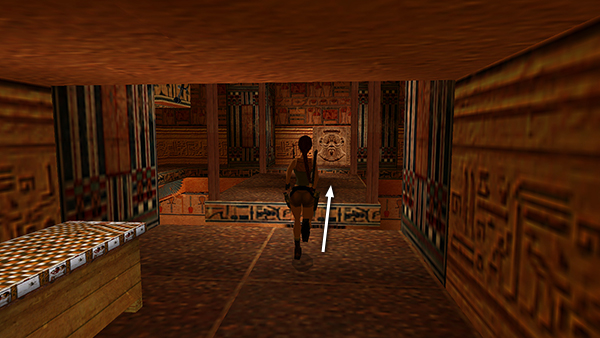
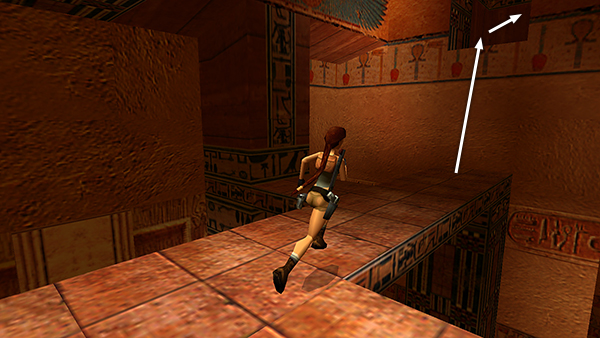
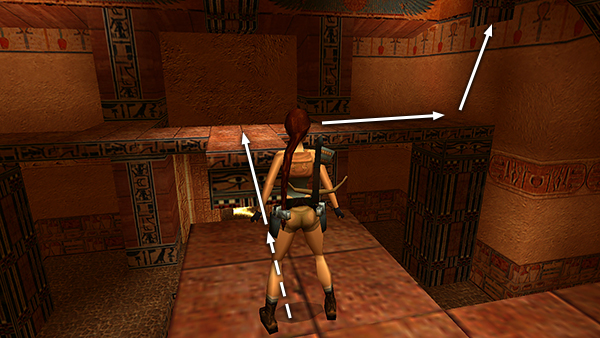
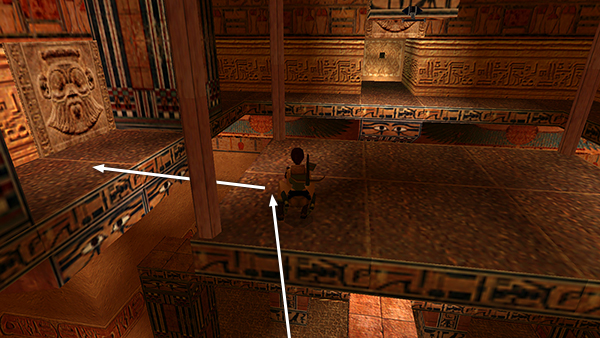
Jump over to the central platform.
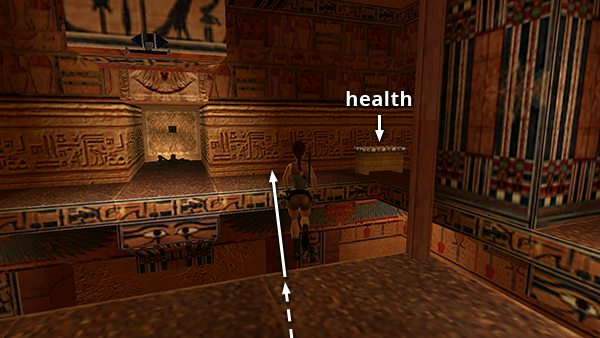
Then take a running jump onto the ledge on the right (west) side of the room, angling it carefully to avoid the overhanging block with the switch. If Lara hits the block, she'll fall to her death. Shoot the hollow bench to get a large medipack.
The alcove contains a sleeping skeleton. Blow it up with a grenade before entering the alcove or lure it outside and blast it off the edge with the shotgun.
Then reach into the niche to get an ORNATE HANDLE.
Jump back onto the central platform, again avoiding the overhanging block.
Now take a standing jump from the edge to grab the switch on the east side.

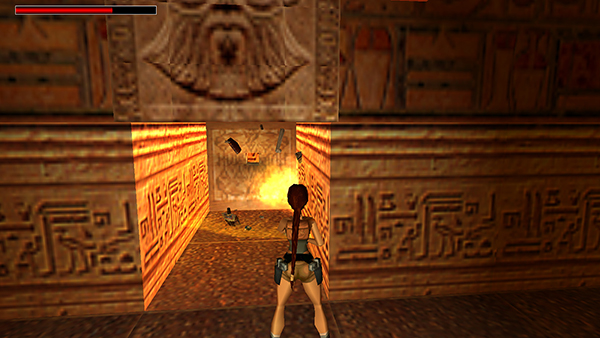
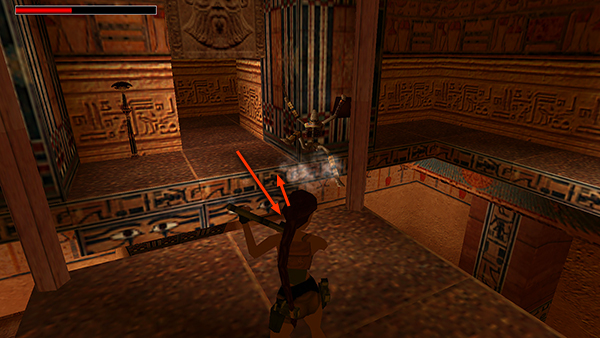
As Lara lands on the walkway below, roll and draw the crossbow.
Then quickly fire a couple of explosive arrows at the golden uraeus that appears in the alcove off to the left before it can attack the statue. If you're out of explosive arrows, use the Uzis or pistols. If necessary, drop down to the floor (avoiding the pit in the center) for a clear shot.
When the uraeus is destroyed, make your way back up to the central platform on the upper level like you did before.
Jump over to the eastern ledge, again aiming to either side of the overhanging block.

Reach into the niche to get the HATHOR EFFIGY.
Jump back to the center platform, then to the remaining closed door, on the south side of the room.
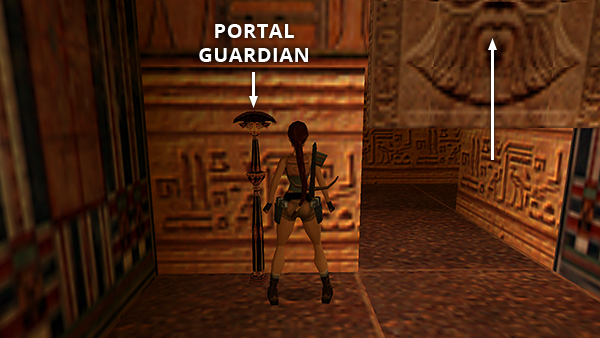
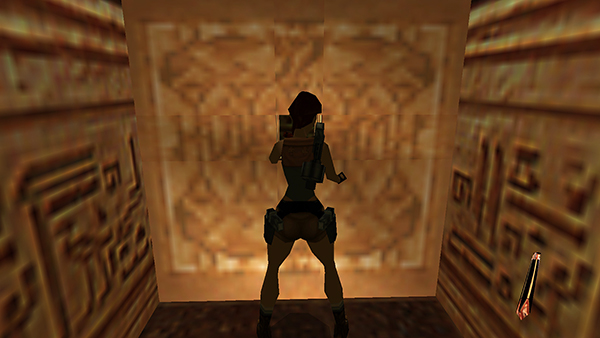
Combine the HATHOR EFFIGY and the ORNATE HANDLE to form the PORTAL GUARDIAN. Place it on the stick near the door to open it.
Enter the hallway beyond and destroy the skeleton that arises from the floor, either with explosives, or by luring it onto the central platform and blasting it off the edge.
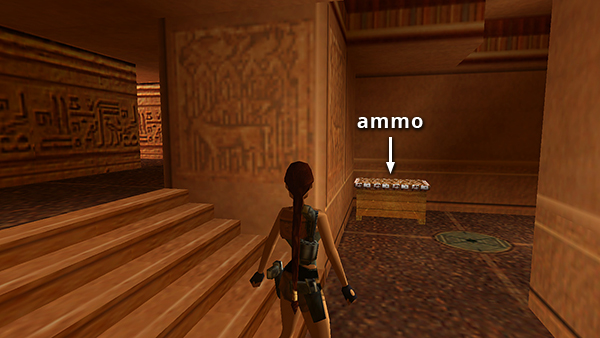
Go through the door you just opened and head down the stairs. Shoot the hollow bench along the way to get some Uzi ammo. Save the game before entering the THRONE ROOM.
Copyright © 1999- - Stellalune ( ). All rights reserved. Feel free to copy or print this walkthrough for personal use. By all means, share it with friends, but please include this credit line so people can send me their feedback. No part of this walkthrough may be reproduced on another site without permission. Follow this link for details about this site's advertising and privacy policy.