Cleopatra's Palaces - Pharos Knot and Secret
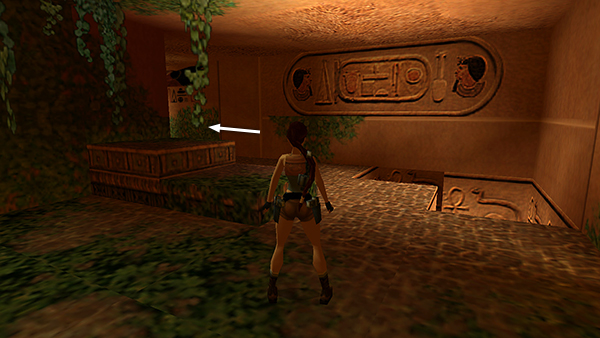
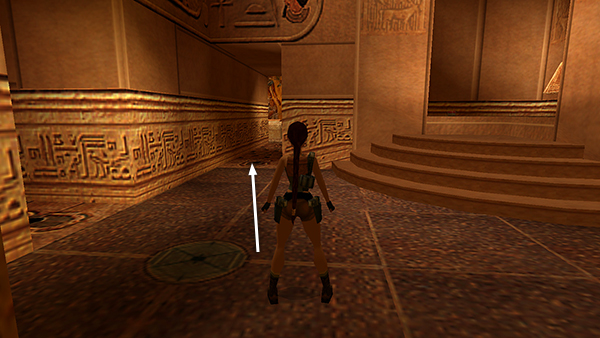
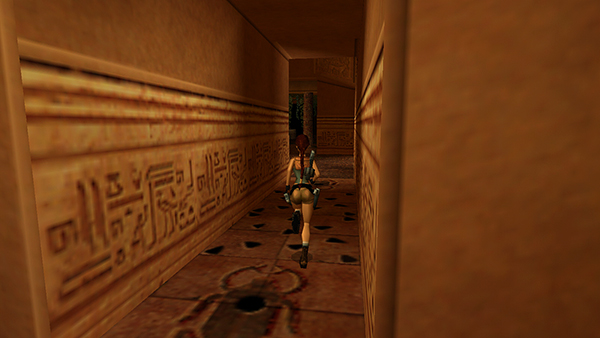
Return past the L-shaped pit to the southeastern hallway with the painted vultures.
Now that you've obtained the RIGHT GREAVE, the square door here should be open.
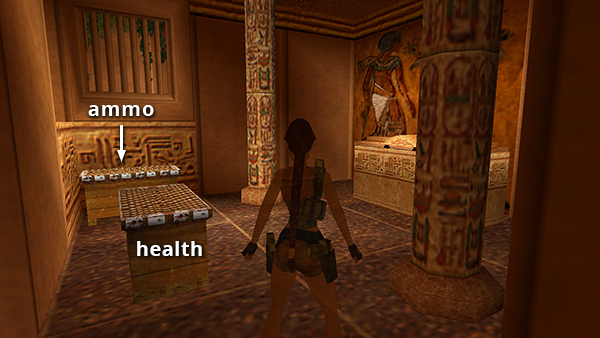
If you didn't accidentally destroy them when you killed the skeleton earlier, there will be 2 hollow benches inside. Shoot them to get a large medipack and explosive arrows.
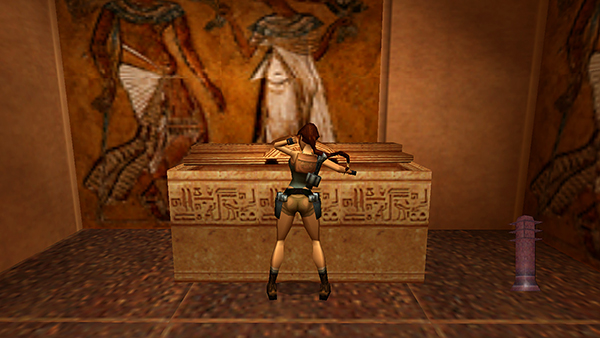
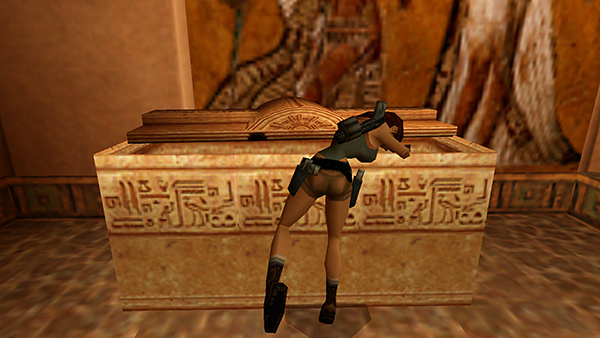
Open the sarcophagus to get the PHAROS KNOT.
NOTE: This seems to be a typo, since the artifact itself looks like the PHAROS PILLAR from the last level.
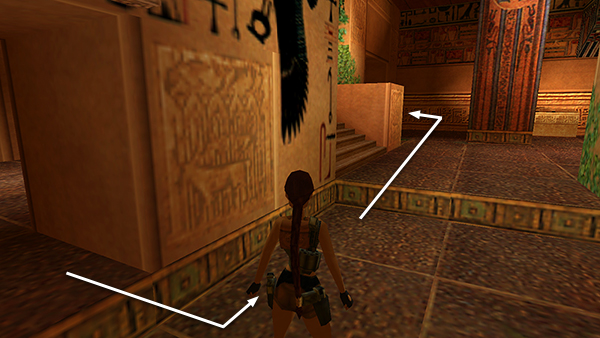
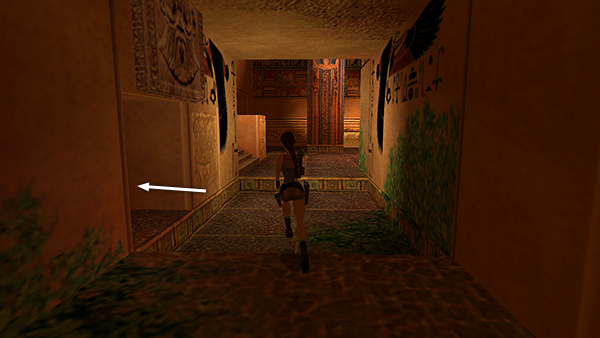
Exit the sarcophagus room and turn left to get back to the ROOM WITH HUGE, SQUARE COLUMNS. Go straight through and out the doorway in the far left (northeast) corner.
This leads to a small room with two spike-trapped hallways leading to the left and straight ahead, and a curved staircase leading up to a closed door. We'll return to this door momentarily. For now, enter the spiked hallway straight ahead.
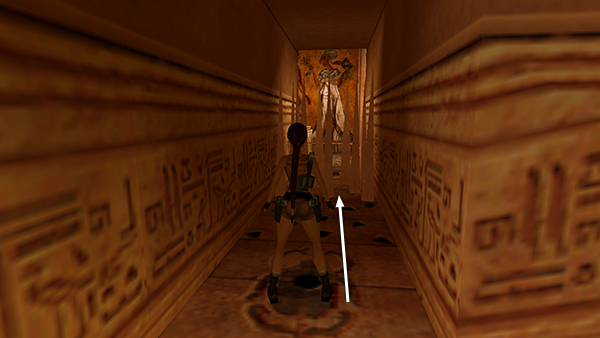
Use the MECHANICAL SCARAB to deactivate the spikes. Then follow the SCARAB to the level's only SECRET (54/70).
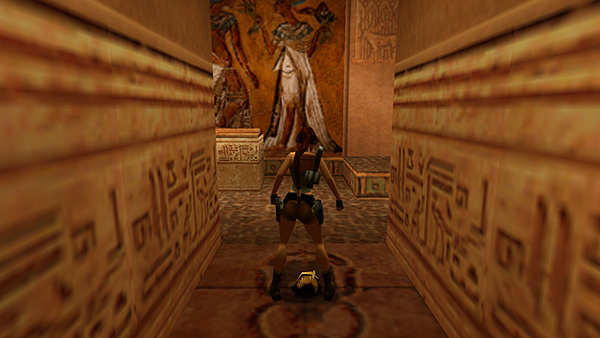
Be sure to retrieve the SCARAB.
Then open the sarcophagus to get explosive arrows, a small medipack, a box of wideshot shells, and 3 boxes of regular shotgun shells (all in one pickup).
Return over the deactivated spikes to the previous room.
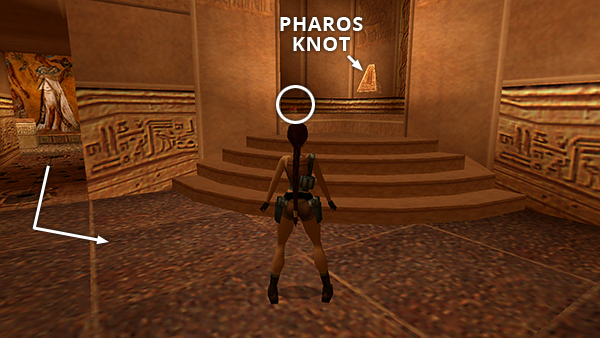
Climb the curved steps and pick up the box of shotgun shells on the landing. Place the PHAROS KNOT (or PILLAR or whatever) into the receptacle to open the door next to it.
Copyright © 1999- - Stellalune ( ). All rights reserved. Feel free to copy or print this walkthrough for personal use. By all means, share it with friends, but please include this credit line so people can send me their feedback. No part of this walkthrough may be reproduced on another site without permission. Follow this link for details about this site's advertising and privacy policy.