Catacombs - Room with Pole and Pedestal - Trident #2
and Return to the Lower Rooms
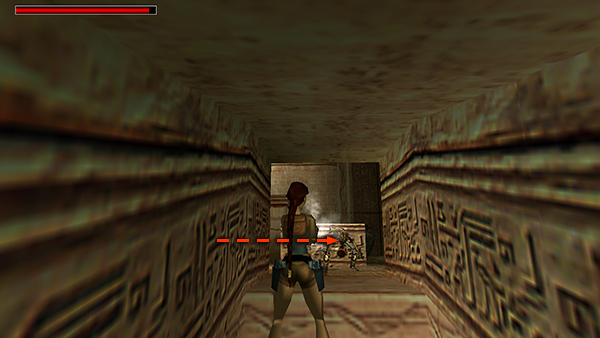
As you climb the stairs to this room, a skeleton hops out from the left. There's no convenient ledge to knock it off, so use a grenade or explosive arrow to blast it.
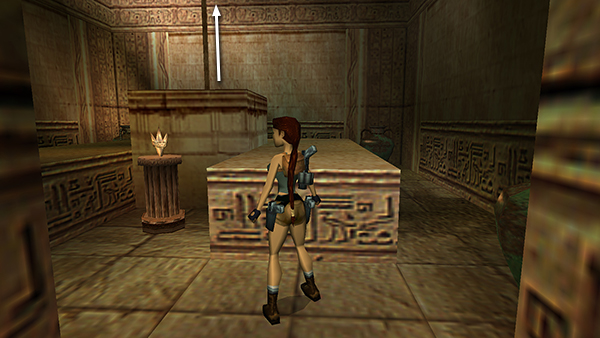
Take the TRIDENT (2/4) from the pedestal and climb the pole to the level above.
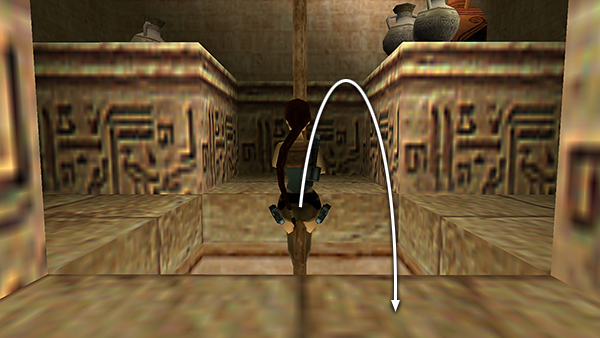
Backflip onto any of the ledges.
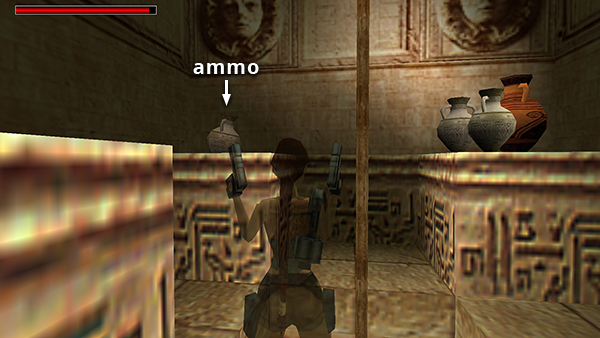
Shoot the ceramic jar in the southwest corner to find explosive arrows. (The other jars are empty.)
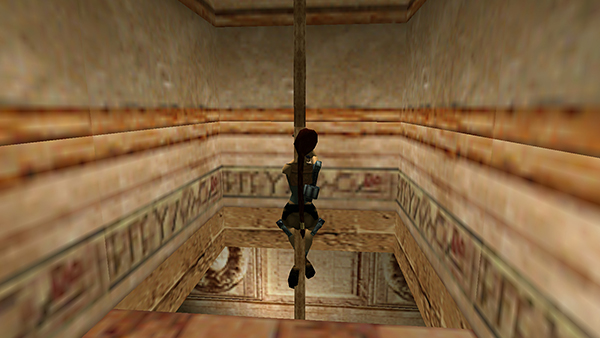
Take a standing jump to grab the pole and continue climbing almost to the top. Turn so the passageway is behind Lara. Adjust her position up/down so you can see her feet and a bit of the ledge behind her.
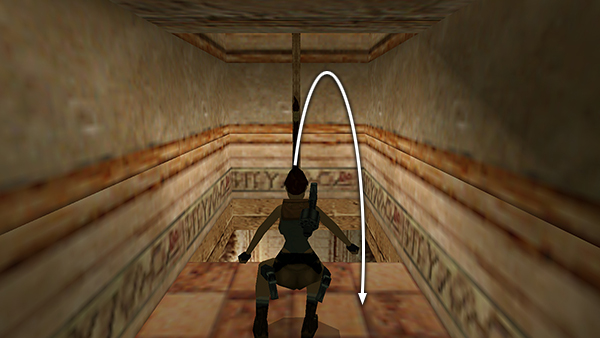 Then press Jump to backflip into the passageway.
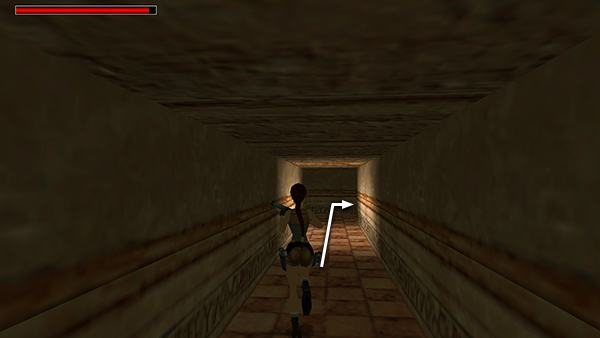
Follow the hallway.
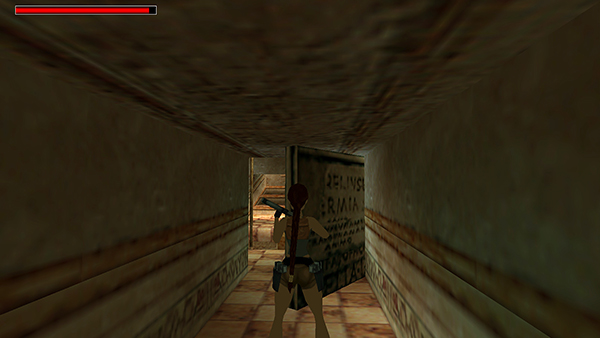
The door at the end opens letting you back into the ROOM WITH THE POLE near where you first entered this level.
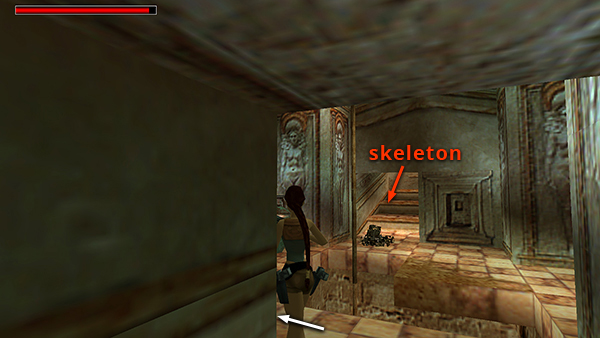
A skeleton comes up from the floor ahead. Destroy it with explosives, or wait for it to jump across the pit toward you...
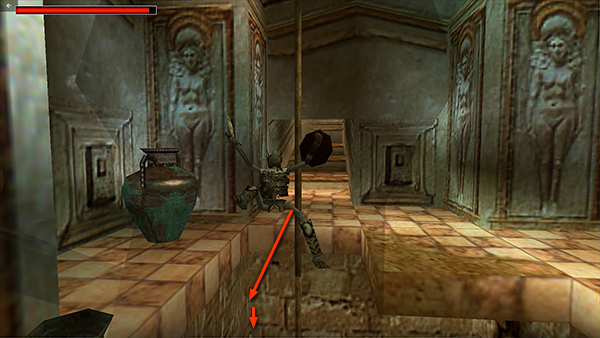
...and then knock it back with the shotgun. Or, just avoid it.
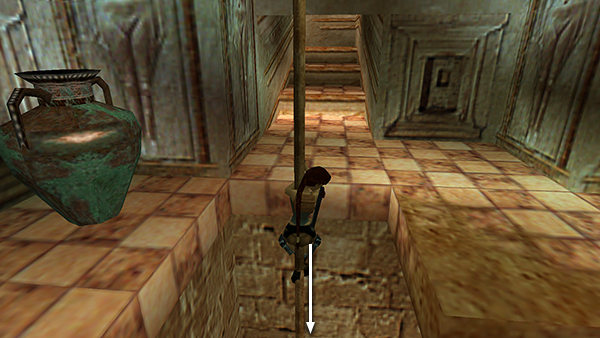
Slide down the pole.
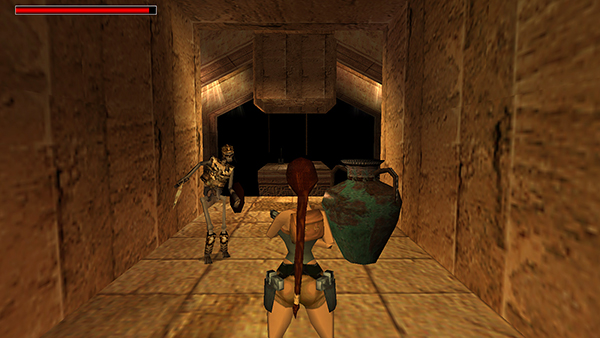
At the bottom, watch out for another skeleton that rises from the floor near the metal jar.
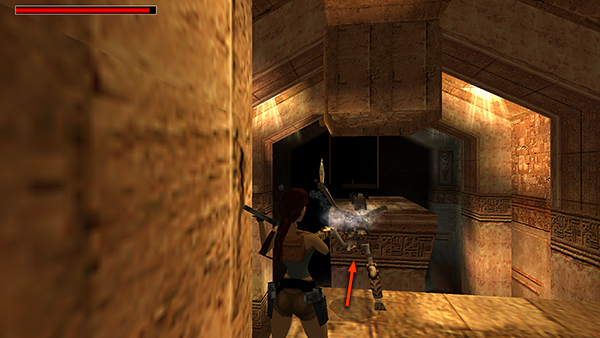
It'll take a few shotgun rounds to knock it off the edge, so if you use that method, be sure to wait for it to stand up between each shotgun blast. Shooting it while it's down just wastes ammo. You can also destroy it with a grenade, or just avoid it and head for the ladder (see below).
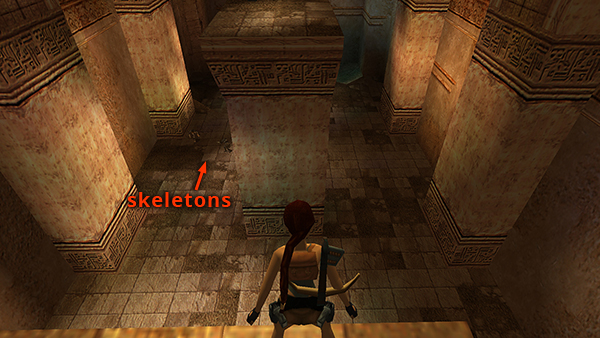
Now you're back at the HUGE ROOM WITH HIGH PLATFORM, ROPES, AND SMALL POOL. From this high ledge at the eastern end of the room, you can spot 2 skeletons sneaking around the floor way down below. If you destroyed that skeleton, you can take your time with these two. Blast them from above with the laser sight-equipped crossbow and explosive arrows or disable them using regular arrows to the head (as shown in the COASTAL RUINS walkthrough).
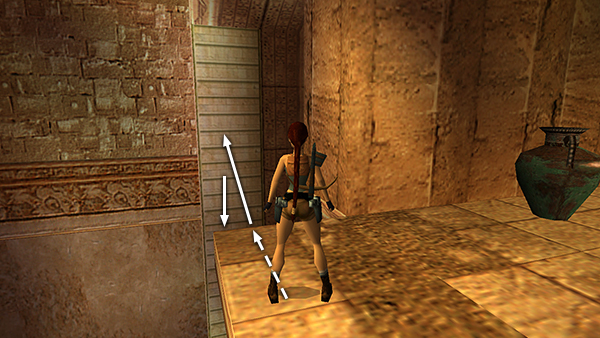
Take a running jump from the ledge to grab the long ladder on the wall to the right. Climb down to the floor.
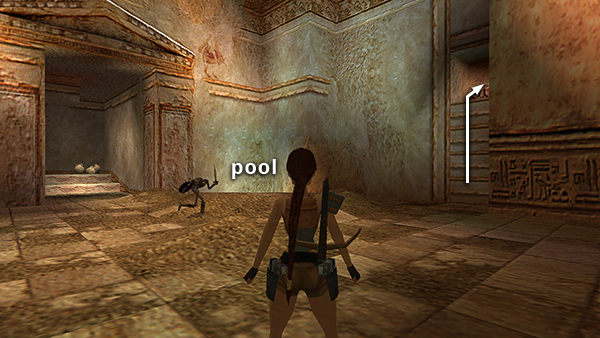
Cross the room toward the pool in the northwest corner. Climb the short ladder to the right of the pool. Then follow the stairs down to a large room with a high ceiling and smaller rooms on each side.
Copyright © 1999- - Stellalune ( ). All rights reserved. Feel free to copy or print this walkthrough for personal use. By all means, share it with friends, but please include this credit line so people can send me their feedback. No part of this walkthrough may be reproduced on another site without permission. Follow this link for details about this site's advertising and privacy policy.