Coastal Village - Large Cavern with Pool (part 2)
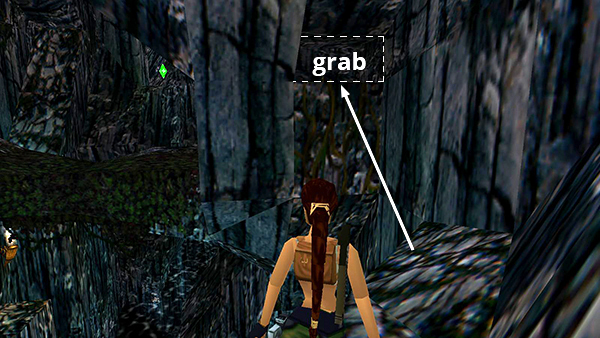
Off to the left, you can see the stone bridge with the vines underneath, which you used to monkey swing across the cavern earlier, and beyond them a save crystal on another high ledge. Walk to the end of the uneven ledge where Lara is now standing. Directly ahead you'll see a raised crawlspace above a vine-covered wall. Jump forward to grab the edge of the opening and pull up into the crawlspace.
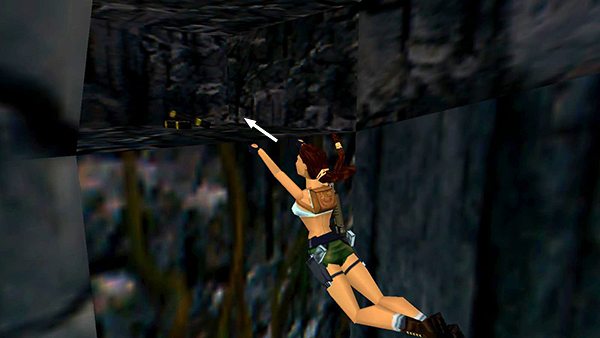
If Lara won't immediaetly climb in, climb up as far as you can. Then briefly release and re-press the Action button to make her let go of the vines and grab onto the edge of the opening. Then try climbing in again Pick up the MP5 clips.
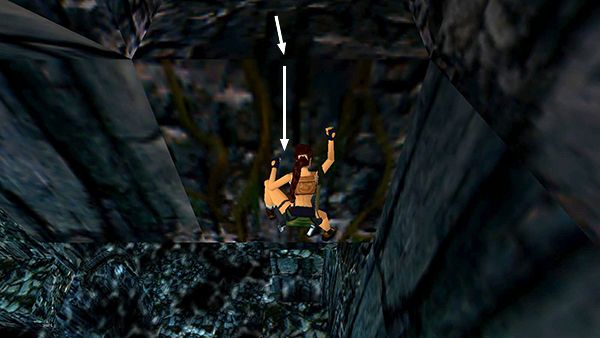
Then back out of the opening and hang from the edge. Climb about halfway down the vine-covered wall and press Jump...
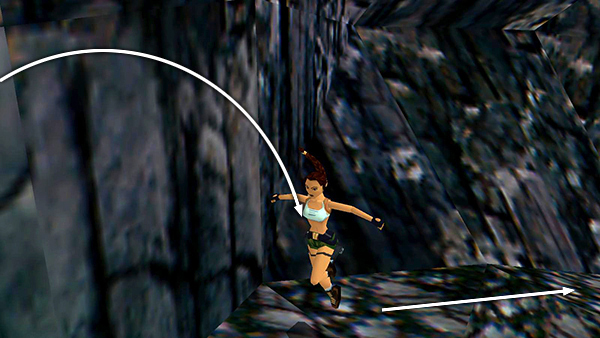
...to backflip onto the ledge behind. Turn around and follow the ledge back to the other end, where you climbed up.
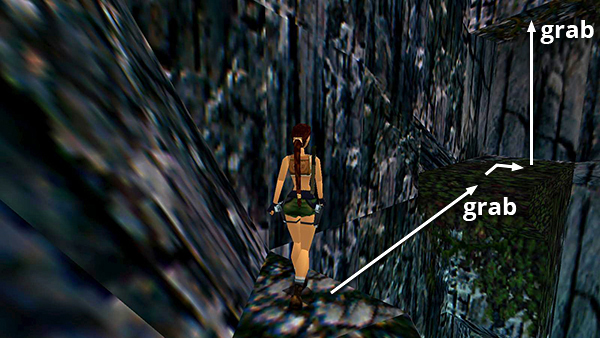
Take a standing jump from the edge to grab the green ledge above the entrance. Pull up, walk toward the corner, turn right, and jump straight up to grab the vines on the ceiling.
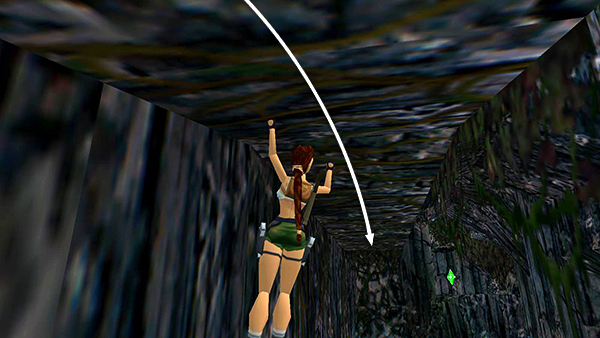
Monkey swing forward to the last section of vine-covered ceiling.
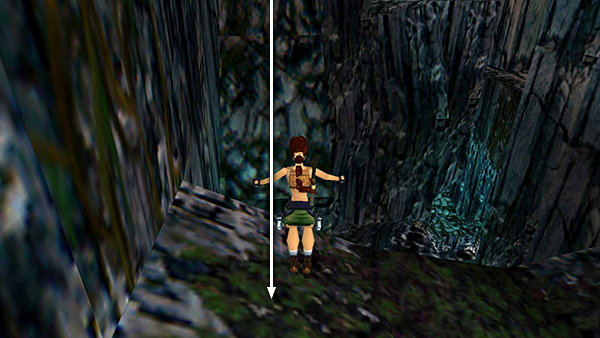
Then drop down onto the stone bridge near the body of the tribesman you killed earlier.
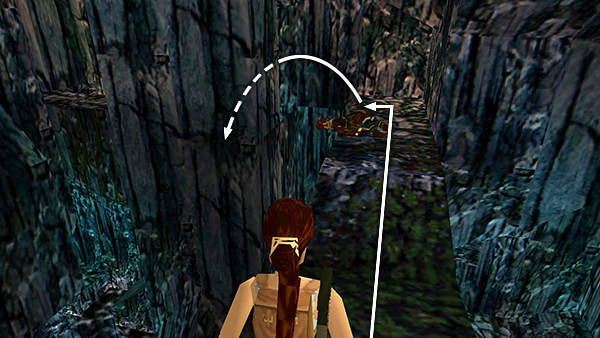
Cross the bridge to the far end, turn left, and take a standing jump forward onto the slope hidden behind the thick, stone column.
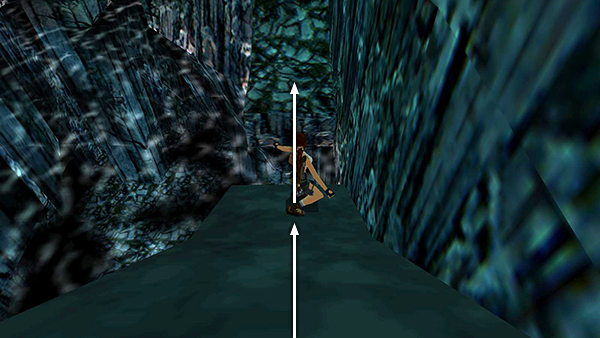
Slide down the slope and jump near the end to land on the next ledge. Try not to fall into the water or you'll have to reload an earlier save or swim all back to the ledge near the entrance and work your way around to this point again.
[Part 1 | Part 3 | Return to the Coastal Village Walkthrough]
Copyright © 1998- - Stellalune ( ). All rights reserved. Feel free to copy or print this walkthrough for personal use. By all means, share it with friends, but please include this credit line so people can send me their feedback. No part of this walkthrough may be reproduced on another site without permission. Follow this link for details about this site's advertising and privacy policy.