Lost City of Tinnos - Earth Element Area (part 1)
From the Entrance to the Switch for Secret #2
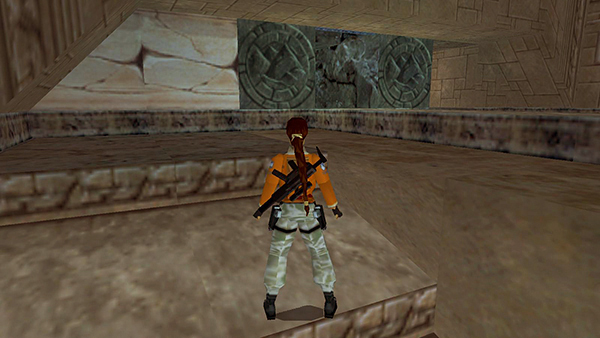
When you climb the steps from the lower level of the PILLAR OF LIGHT ROOM, the EARTH ELEMENT AREA is directly ahead. It's the one with the carved panels depicting mountains.
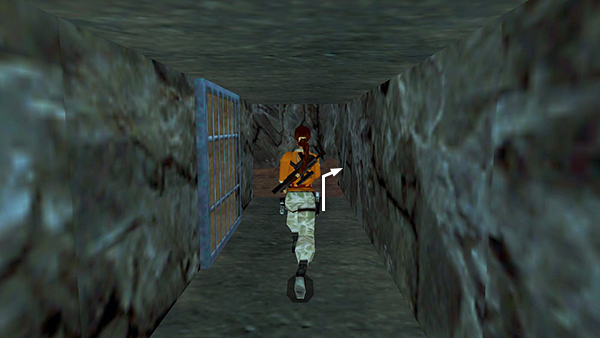
Enter and walk into the quicksand. Follow the right wall forward.
Lara's head will occasionally disappear below the surface, but if you keep moving she'll be fine.
As you go along, 5 wasps fly in from above. There's a small ledge just before the first round symbol carved on the wall, where you can climb out of the quicksand...
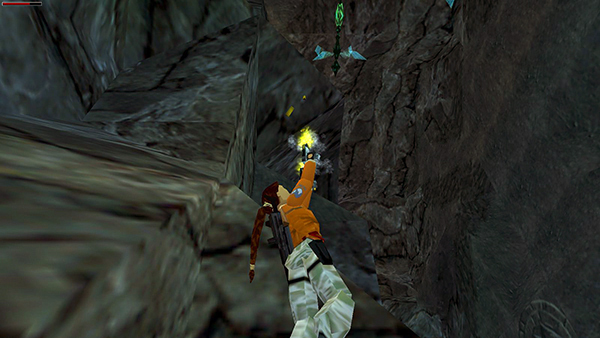
...and shoot at the wasps.
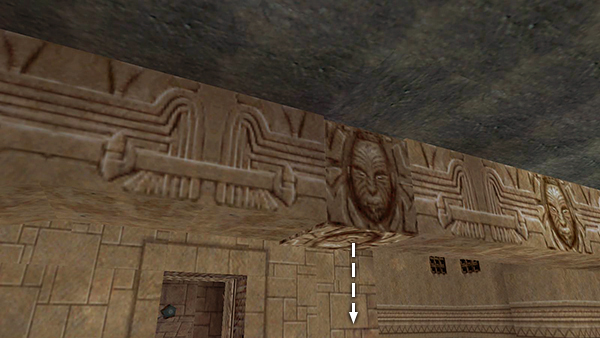
When the coast is clear, continue through the quicksand, past the round symbol...
...then a second similar symbol, until you come to an alcove on the right with steps leading up.
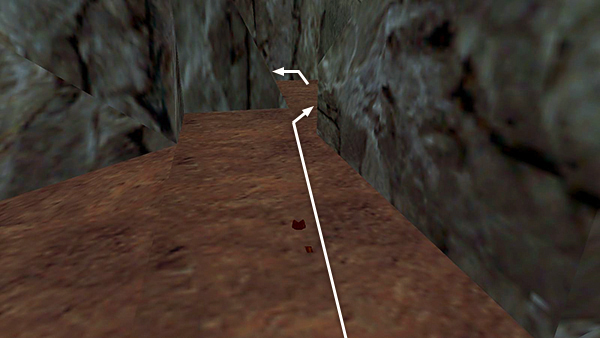
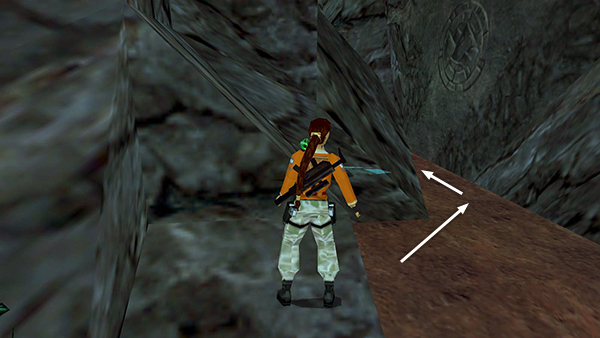
Climb out of the quicksand on the lowest step.
Turn around, and take a standing jump onto the sloped block to the right of the step.
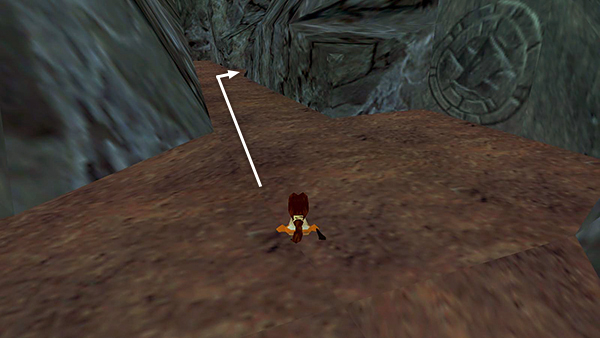
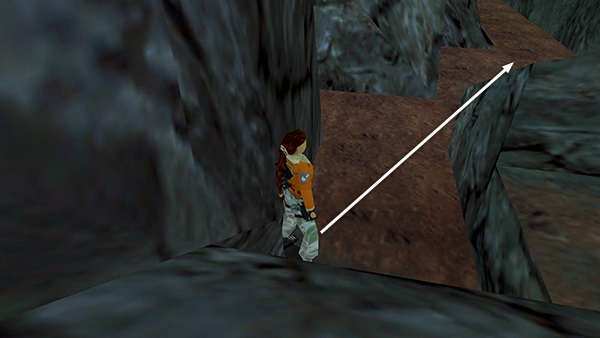
Now take a standing jump over the quicksand onto the rock pile.
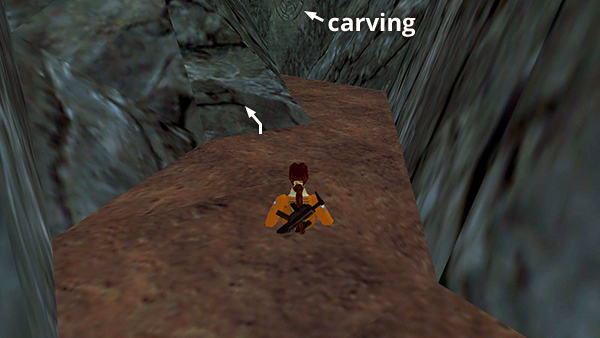
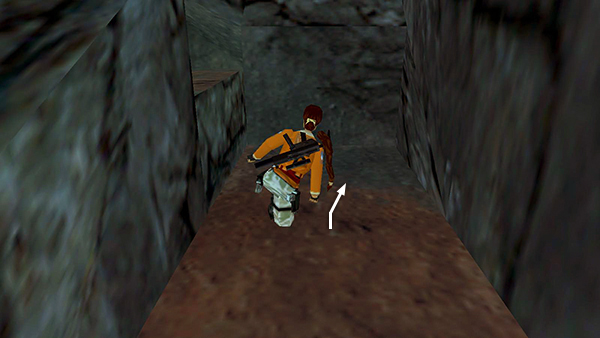
Turn left and look back toward the round, carved symbol. Take a running jump across the quicksand to the triangular ledge at the corner of the rock pile near that carving.
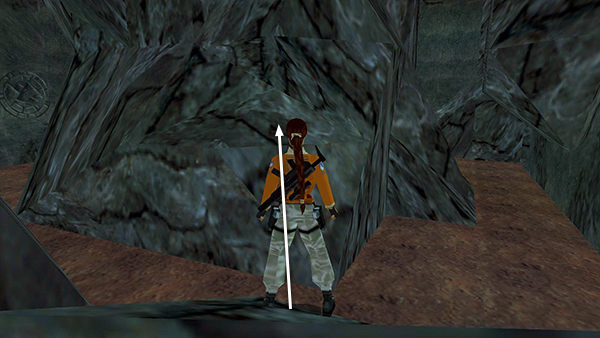
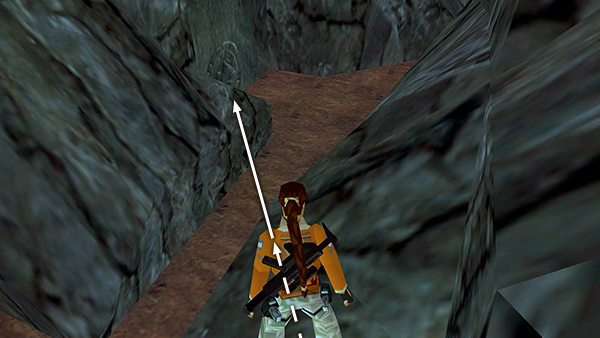
Climb into the opening above.
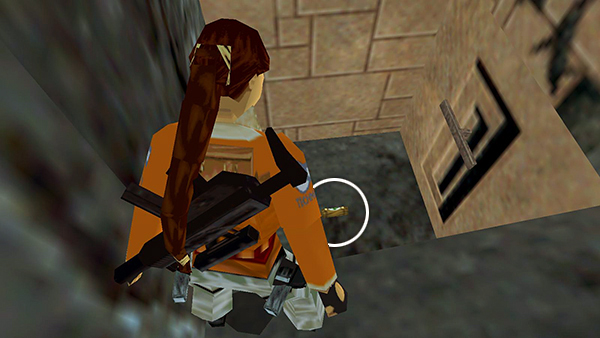
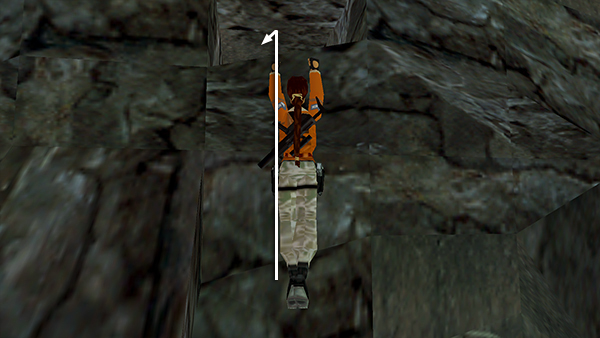
Take the small medi pack and throw the switch.
This drops a block from the ceiling of the first room after the swinging burners. This will enable you to get secret #2 later.
BUG NOTE: Be sure to pull the switch only once. Using the switch more than once can cause a bug that can prevent you from obtaining secret #2. If you've already done this, see the main walkthrough for possible solutions.
Copyright © 1998- - Stellalune (
). All rights reserved. Feel free to copy or print this walkthrough for personal use. By all means, share it with friends, but please include this credit line so people can send me their feedback. No part of this walkthrough may be reproduced on another site without permission. Follow this link for details about this site's advertising and privacy policy.