Lost City of Tinnos - Secret #3 (part 4)
The following sequence is also shown in a short video walkthrough. Continuing the timed run from the PILLAR OF LIGHT....
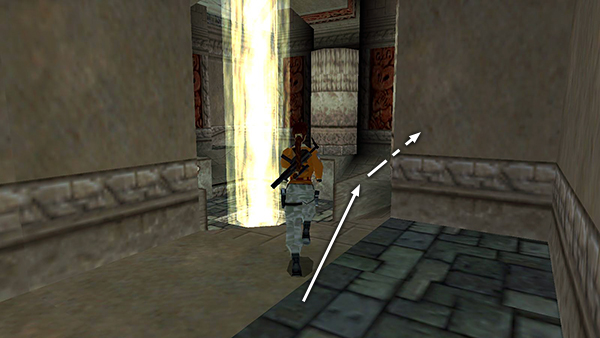
As you enter the PILLAR OF LIGHT room through the gate at the top of the ladder, turn right...
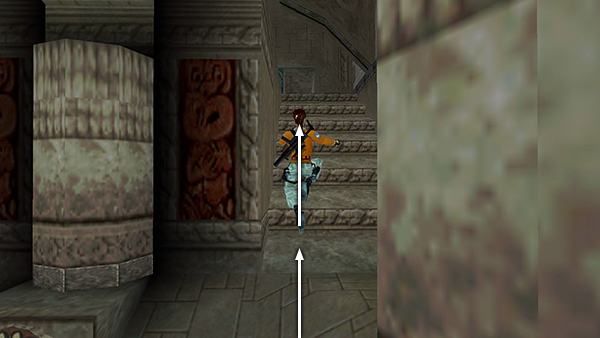
...and take running jumps over the mask receptacle on the right side of the light beam. Continue taking running jumps up the stairs...
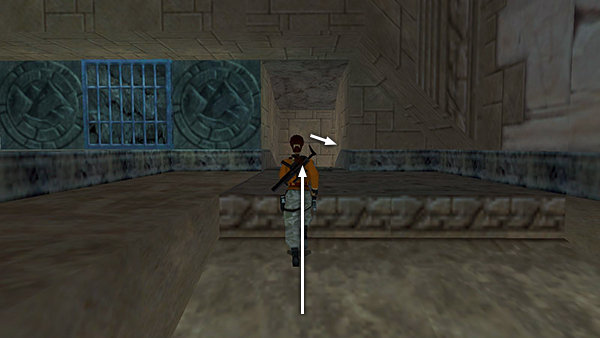
...and through the doorway directly ahead (i.e., the doorway to the right of the EARTH GATE). Turn right at the bend in the stairs...
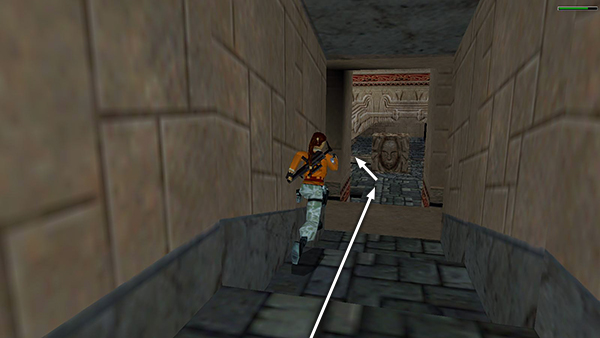
...and sprint straight down into the room with the movable block and secret #2.
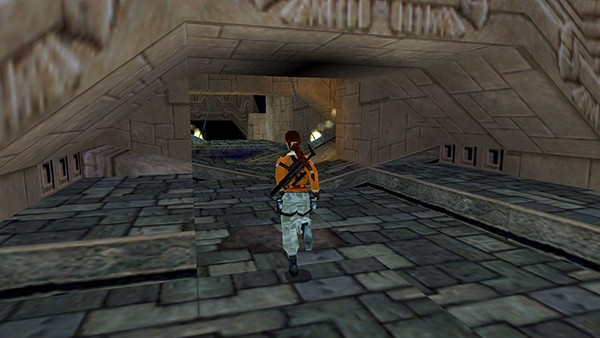
Turn left and run carefully past the 2 swinging burners. (If you've done well and not run into anything yet, you'll have time to hesitate a little here to avoid catching fire. If you've done very well, you might want to save your game in a new slot. Then if Lara catches fire, you can reload and not have to redo the entire run.)
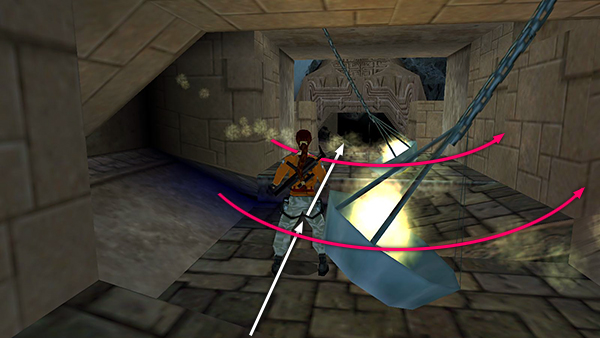
As before, wait for each burner to start to swing away and then run past it, pausing between the two burners if necessary.
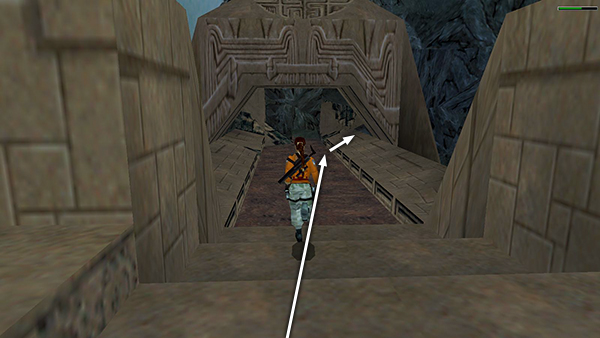
Beyond the burners, sprint to the far end of the bridge...
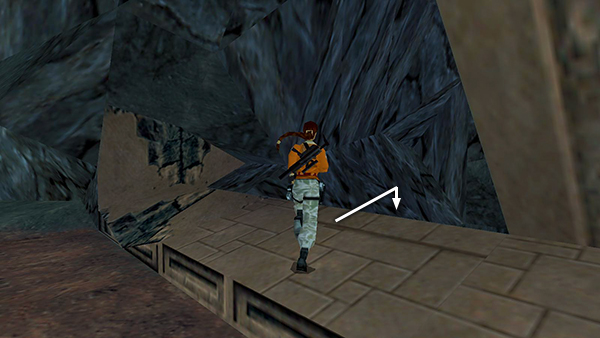
...and run off the right side...
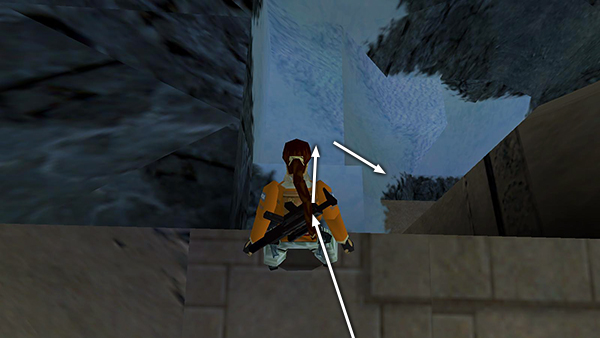
...to land on the snowy block below. Step off the edge onto the snowbank below, turn right, and run/jump/slide down the slope onto the gray rocks.
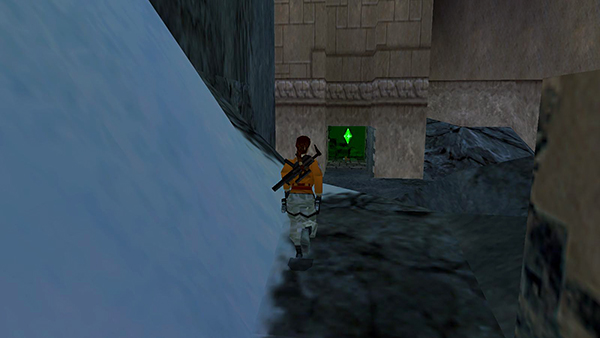
Then dash through the door, which hopefully is still open, and claim SECRET #3—the final secret in the game—a save/power-up crystal, Desert Eagle clips and a large medi pack.
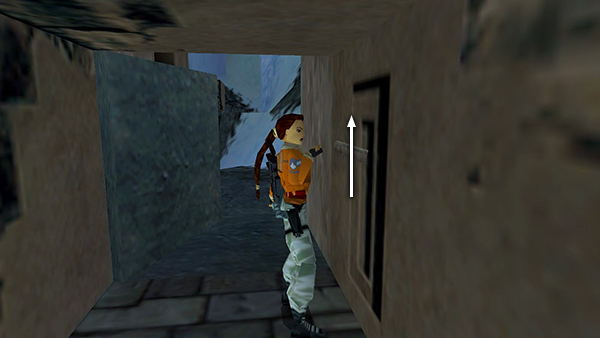
If the door closes while you're inside the secret room, use the switch twice to reopen it.
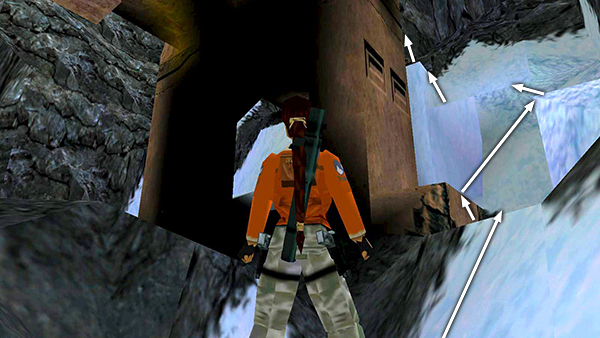
Climb back onto the bridge.
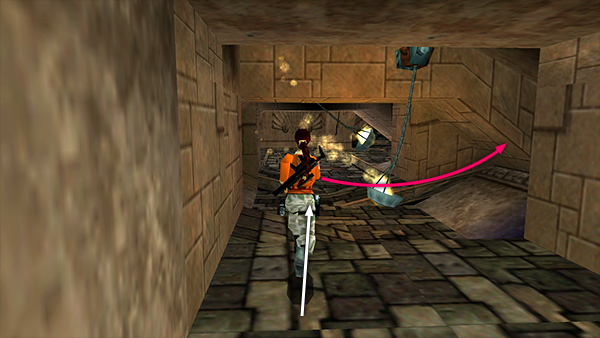
Then return past the swinging burners...
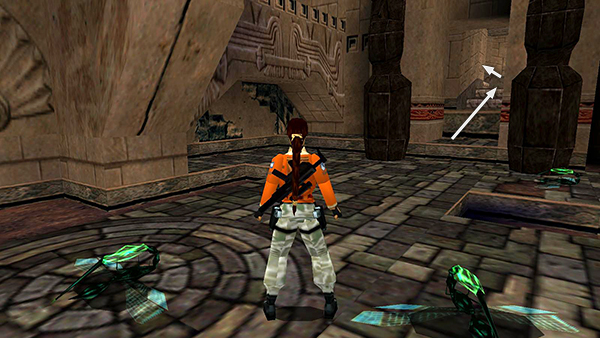
...and up the stairs on the right to the PILLAR OF LIGHT room.
Copyright © 1998- - Stellalune (
). All rights reserved. Feel free to copy or print this walkthrough for personal use. By all means, share it with friends, but please include this credit line so people can send me their feedback. No part of this walkthrough may be reproduced on another site without permission. Follow this link for details about this site's advertising and privacy policy.