Temple of Puna - Corridors with Giant Boulders
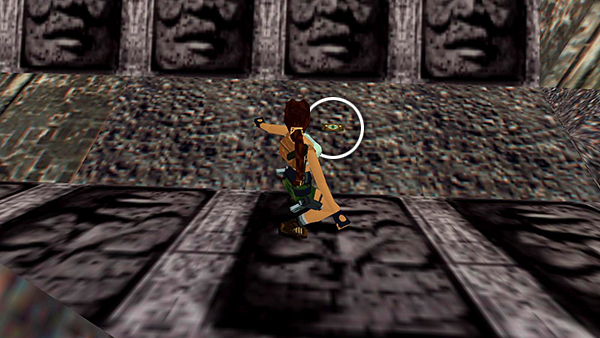
Slide down onto the walkway and pick up the small medi pack.
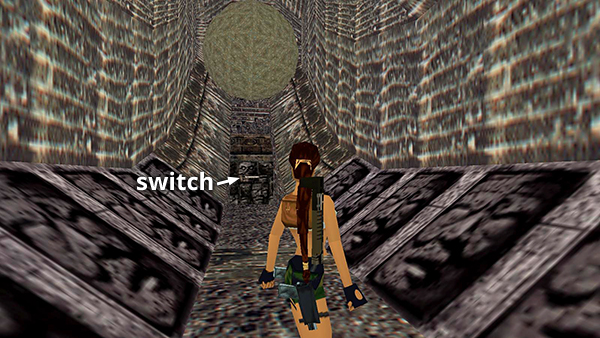
Follow the walkway to the left and pull the switch. This opens the gate at the opposite end of the room and arms the boulder trap. (It also closes the gate where you came in, lights a flame in front of the entrance, and reveals trenches filled with some kind of freaky yellow lava on either side of the walkway.)
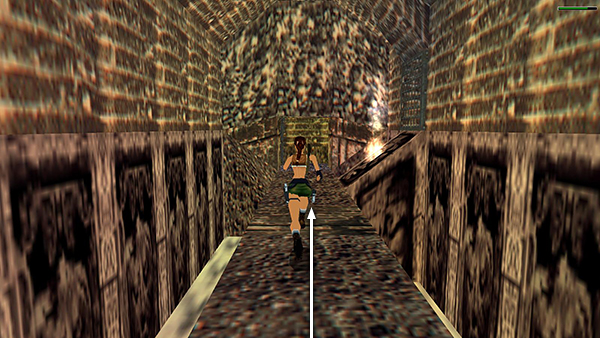
The boulder doesn't roll until you pass over the tile in the middle of the walkway. To avoid being squashed, sprint along the walkway toward the gate.
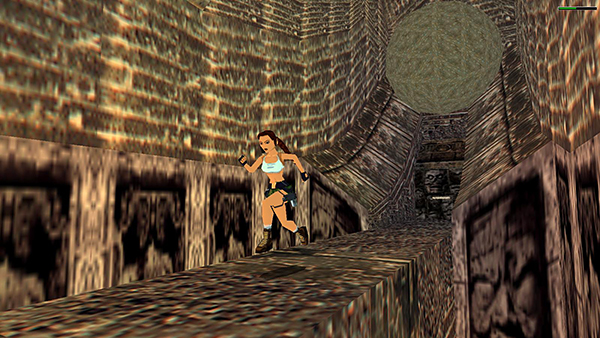
When the camera angle shifts to show the boulder rolling down behind you, tap Look to get Lara's perspective back.
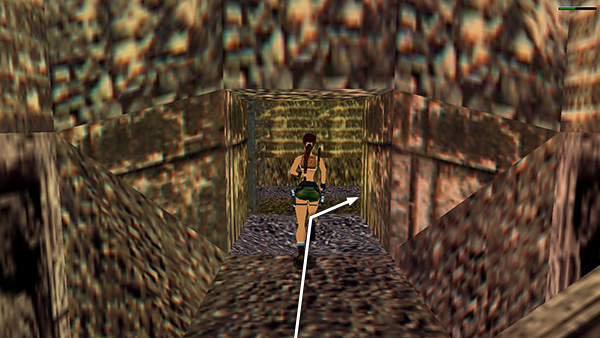
Continue running but release the sprint button as you approach the doorway so you can make the next turn. Run over the breakaway tiles above more yellow lava and veer to the right onto the perpendicular walkway.
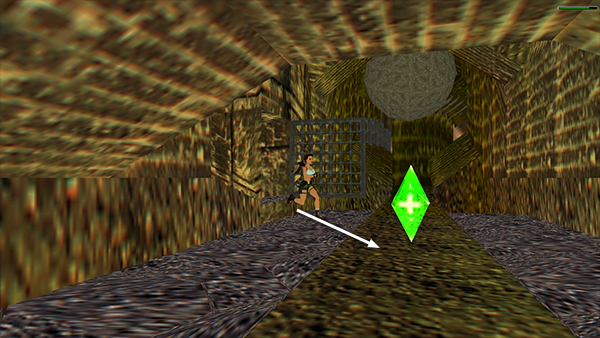
Again, the camera angle shifts to show a second humongous boulder, which begins to roll down toward you. Press Look briefly to move the camera behind Lara, but keep running.
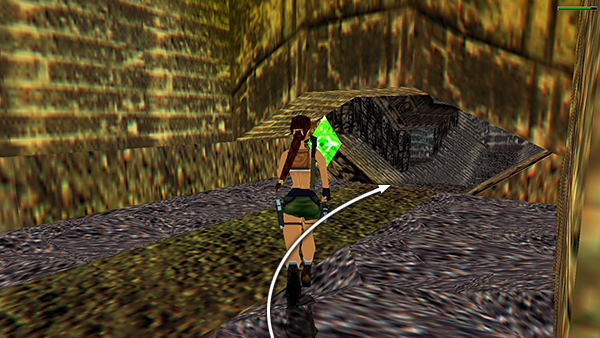
Try to stay in the middle of the walkway to snag the save/power-up crystal and avoid the breakaway tiles above lava on either side. When you reach the low archway with the step down, you're safe.
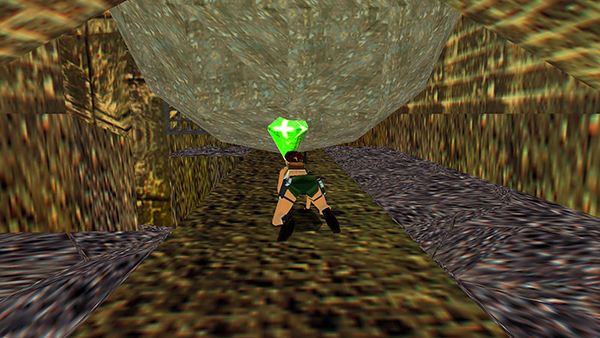
If you missed the crystal, turn around and crawl under the edge of the boulder to retrieve it.
NOTES: If you're playing the PC/Mac game, you may want to deliberately avoid the crystal at first, deal with the next group of enemies, and then go back for the crystal if you get poisoned. Also, several players described a technique for avoiding the first boulder by traversing along the walkway above the lava, as shown in this short video by ykeen. This didn't work for me in the PC version. The boulder ran over Lara's hands causing her to drop into the lava. Maybe it's PlayStation only. If you have better luck, please let me know.
Copyright © 1998- - Stellalune ( ). All rights reserved. Feel free to copy or print this walkthrough for personal use. By all means, share it with friends, but please include this credit line so people can send me their feedback. No part of this walkthrough may be reproduced on another site without permission. Follow this link for details about this site's advertising and privacy policy.