Madubu Gorge - Shortcut - Across the River and Back Again (part 2)
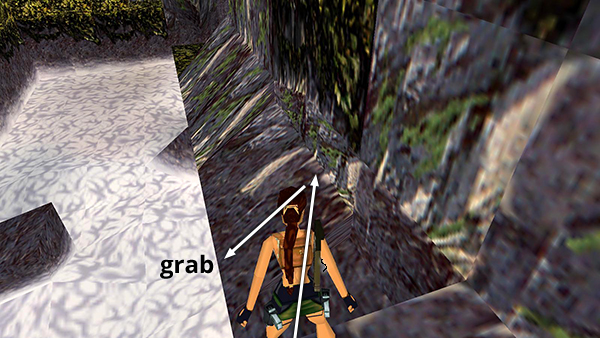
Walk across the top of the block, angle Lara a little to the right, and then take a standing jump onto the slope ahead. Slide back and grab the edge.
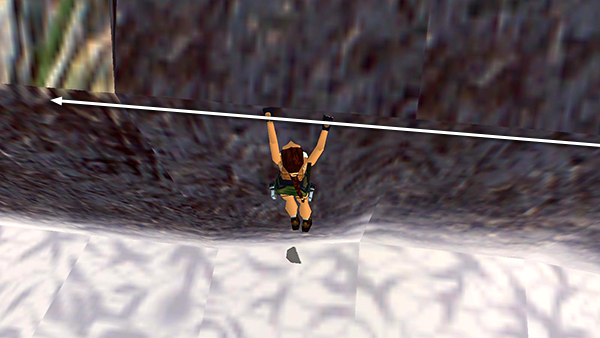
Traverse to the left above the rapids until Lara reaches the first block with the light green and white top.
If you want to take a short detour for a save/power-up crystal, continue traversing to the left, as shown below. If you don't care about getting the crystal and just want to move on, skip the next 7 screenshots, and return to the start of the level, as shown below.
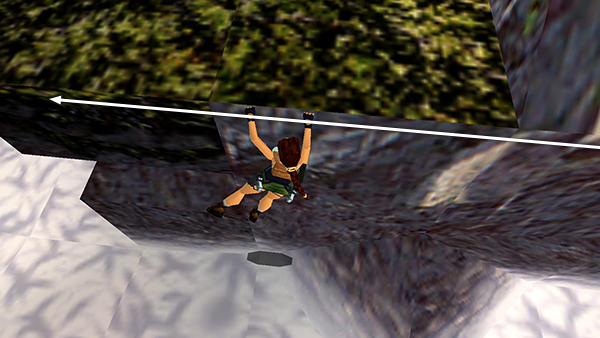
After traversing all the way to the left along the base of the slope, you'll come to a flat green ledge where you could pull up. Instead, continue a little farther to the left.
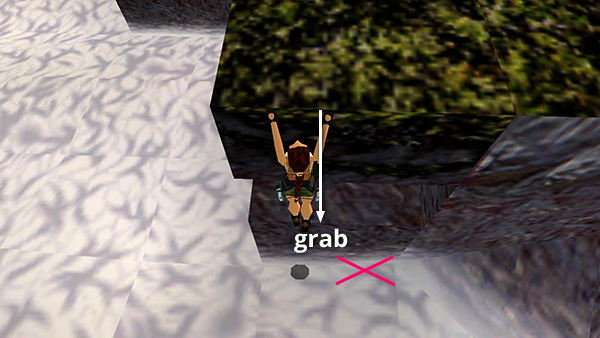
Position Lara so she's hanging from the left side of the corner block and then drop and grab the ledge below. If she drops on the right side, her legs will dangle into the rapids and she'll be sucked under.
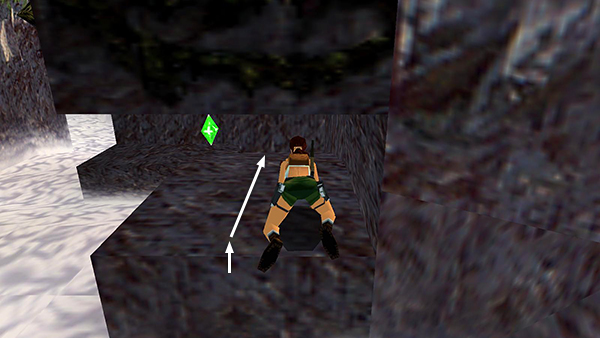
Pull up and crawl forward until Lara can stand.
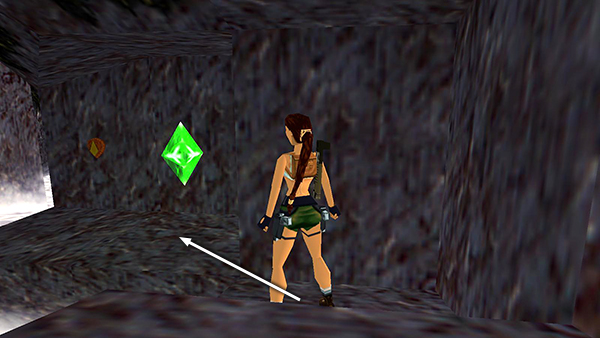
Step down onto the block below. Then take a standing jump-grab (pressing Action lowers Lara's trajectory) to the ledge with the save/power-up crystal. Press the button to open the nearby trapdoor.
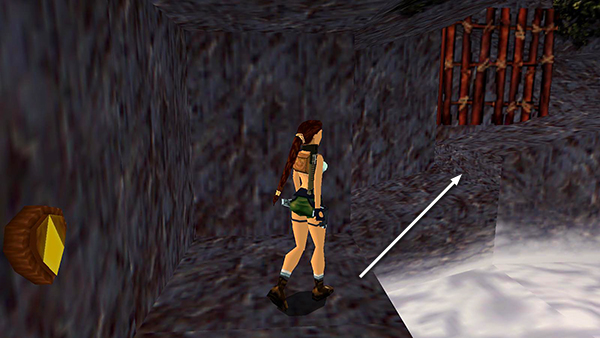
Turn around, walk to the edge, and jump back to the previous ledge.
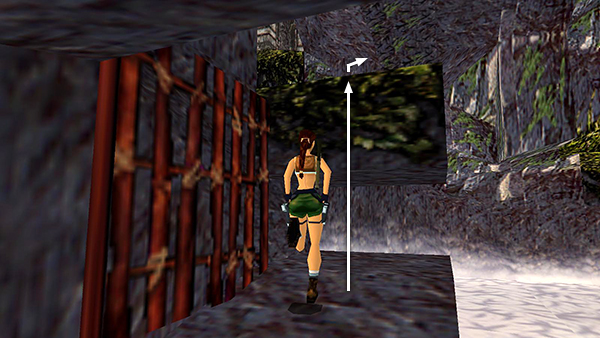
Climb up through the trapdoor.
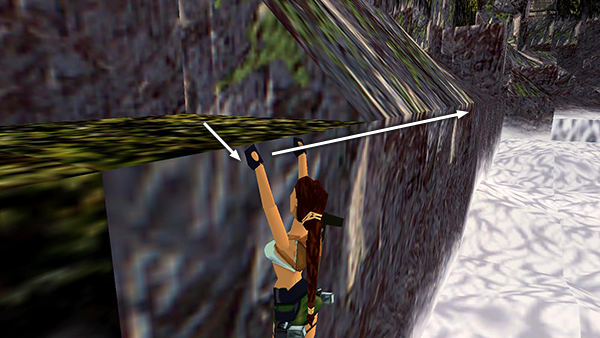
Now turn around, drop back and grab the edge of the green ledge, and traverse to the right along the angled blocks until the square block in middle of the river is behind you.
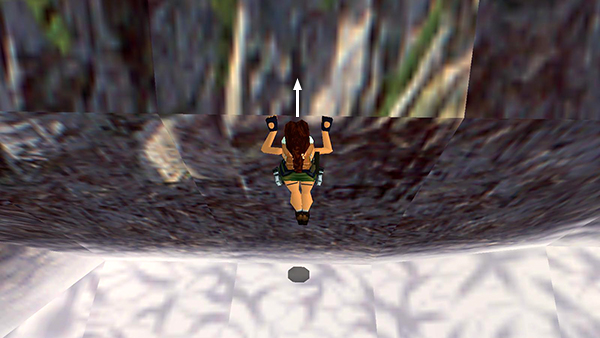 You can't see the block behind you when you're hanging, but if you stop at the rightmost section of the slope with the green-and-white top, you'll know you're in the right spot. Pull up and immediately press Jump...
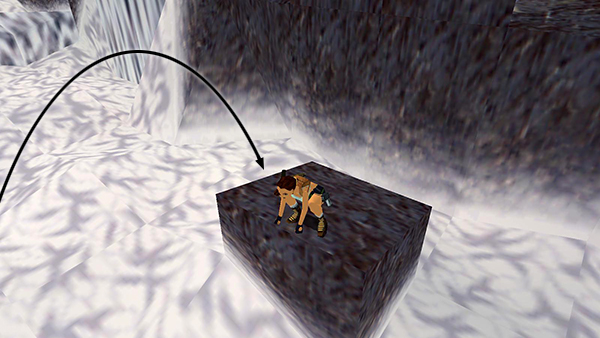
...to backflip onto the block.
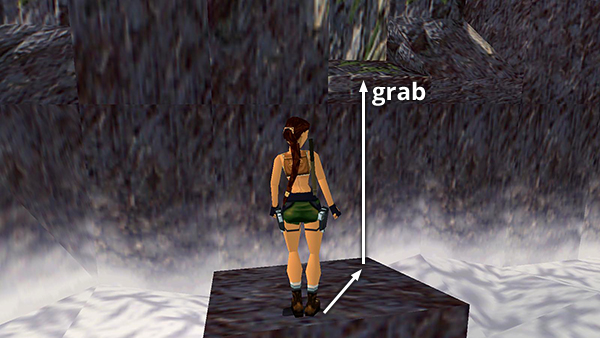
Turn around, walk to the far right corner of the block, and then take a standing jump to grab the flat ledge ahead. Pull up and climb back up the rocks on the left to the ruins near the start.
Copyright © 1998- - Stellalune ( ). All rights reserved. Feel free to copy or print this walkthrough for personal use. By all means, share it with friends, but please include this credit line so people can send me their feedback. No part of this walkthrough may be reproduced on another site without permission. Follow this link for details about this site's advertising and privacy policy.