Madubu Gorge - Upriver on Foot (part 6)
Rock Hopping Across the Rapids
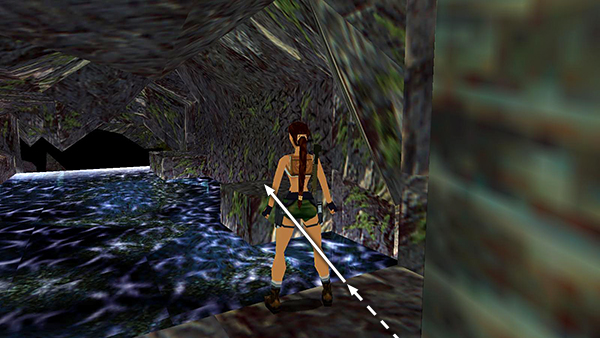
If you didn't pass this way earlier in the kayak, you'll trigger another harmless flock of bats as you enter this tunnel. Position Lara just to the right of the doorway, so she won't hit the overhanging rocks, and take a running jump to the square block ahead.
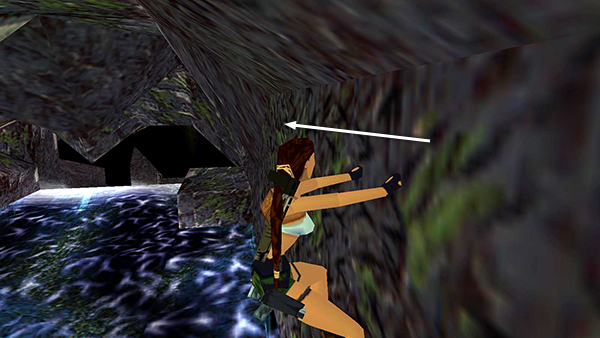
Use the handholds on the wall to climb over to the next ledge.
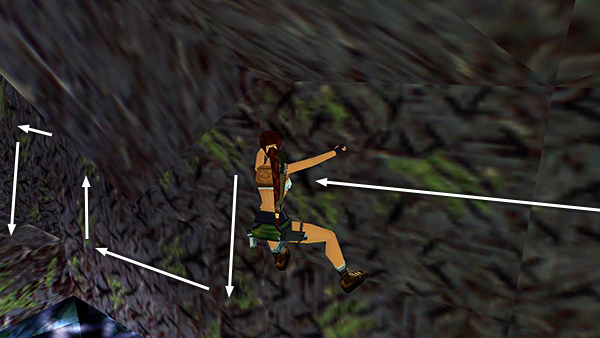
You'll need to climb around the rock that points down from the ceiling, as shown above.
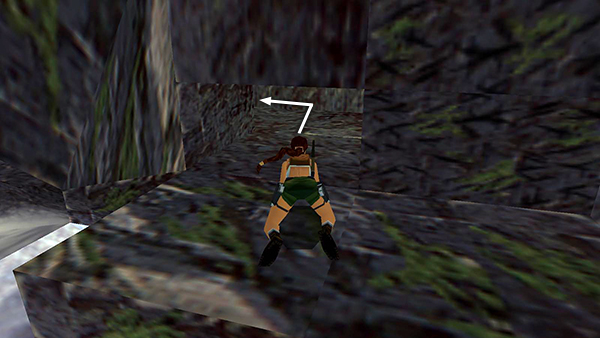
Crawl through the low opening...
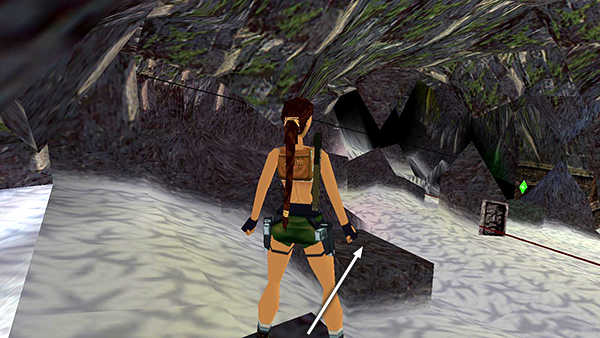
...to a ledge overlooking the rapids. Take a standing jump from the corner of this ledge to the square block in the middle of the river.
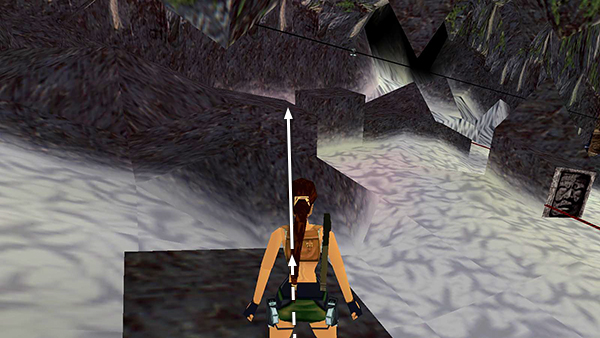
Then take a running jump along the downstream edge of the block to land on the pile of rocks ahead. (Be sure to aim to the right of the pointed rock hanging down from the ceiling.)
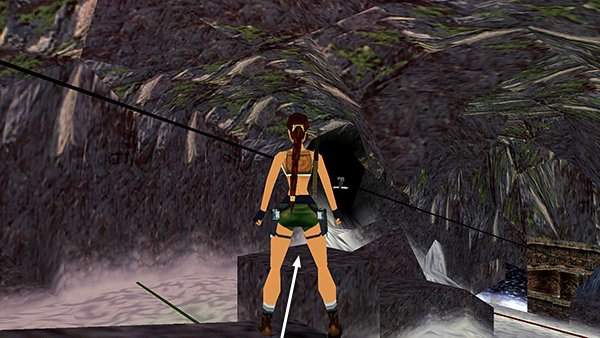
Walk to the far corner of this rock pile. Then take a standing jump down to the rocks below the zip line handle.
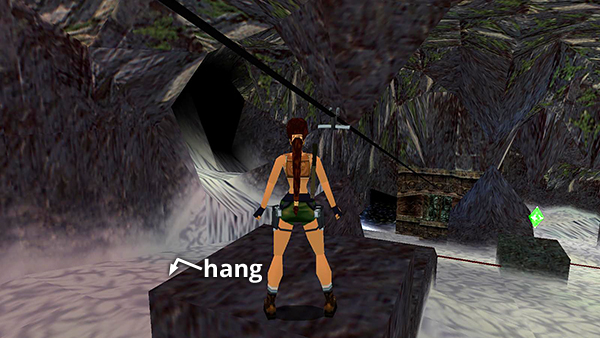
If you ran over the green tripwire earlier, there will be a save/power-up crystal on one of the blocks downstream. If you missed the tripwire, it's not too late to trigger it. Just hang from the edge of the block below the zip line handle...
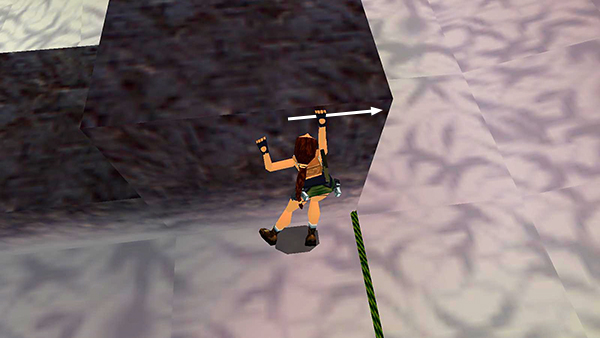
...and traverse to the right until Lara's feet touch the green wire. This should do the trick.
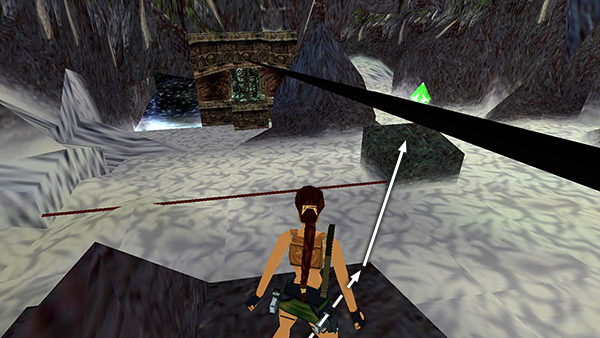
To get the crystal, move down to the lower right corner of the rock outcropping and take a running jump to land near the crystal.
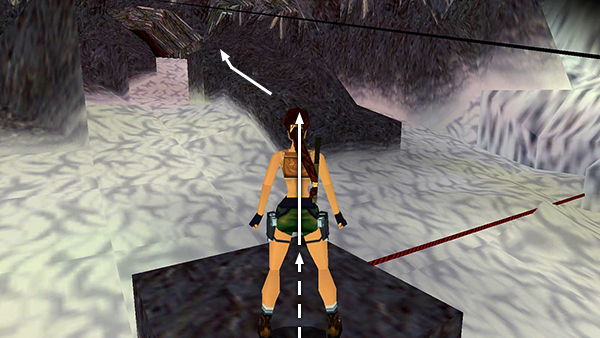
Turn around and take a running jump, without pressing Action, back to the bottom of the rocks below the zip line. Climb back up to the handle.
Copyright © 1998- - Stellalune ( ). All rights reserved. Feel free to copy or print this walkthrough for personal use. By all means, share it with friends, but please include this credit line so people can send me their feedback. No part of this walkthrough may be reproduced on another site without permission. Follow this link for details about this site's advertising and privacy policy.