Jungle - Getting Down from Secret #2
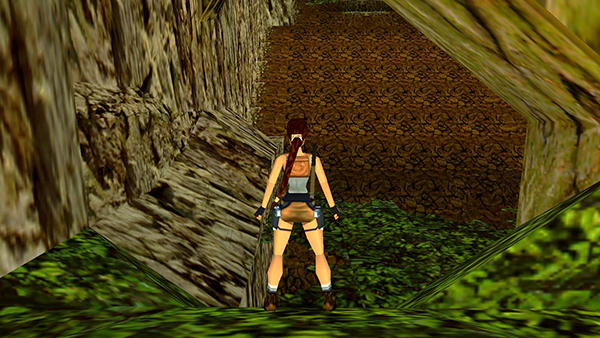
After picking up the goodies, face up the big hill toward the level start. Walk to the edge of the opening between the stone wall on the left and the tree in the middle of the secret area.
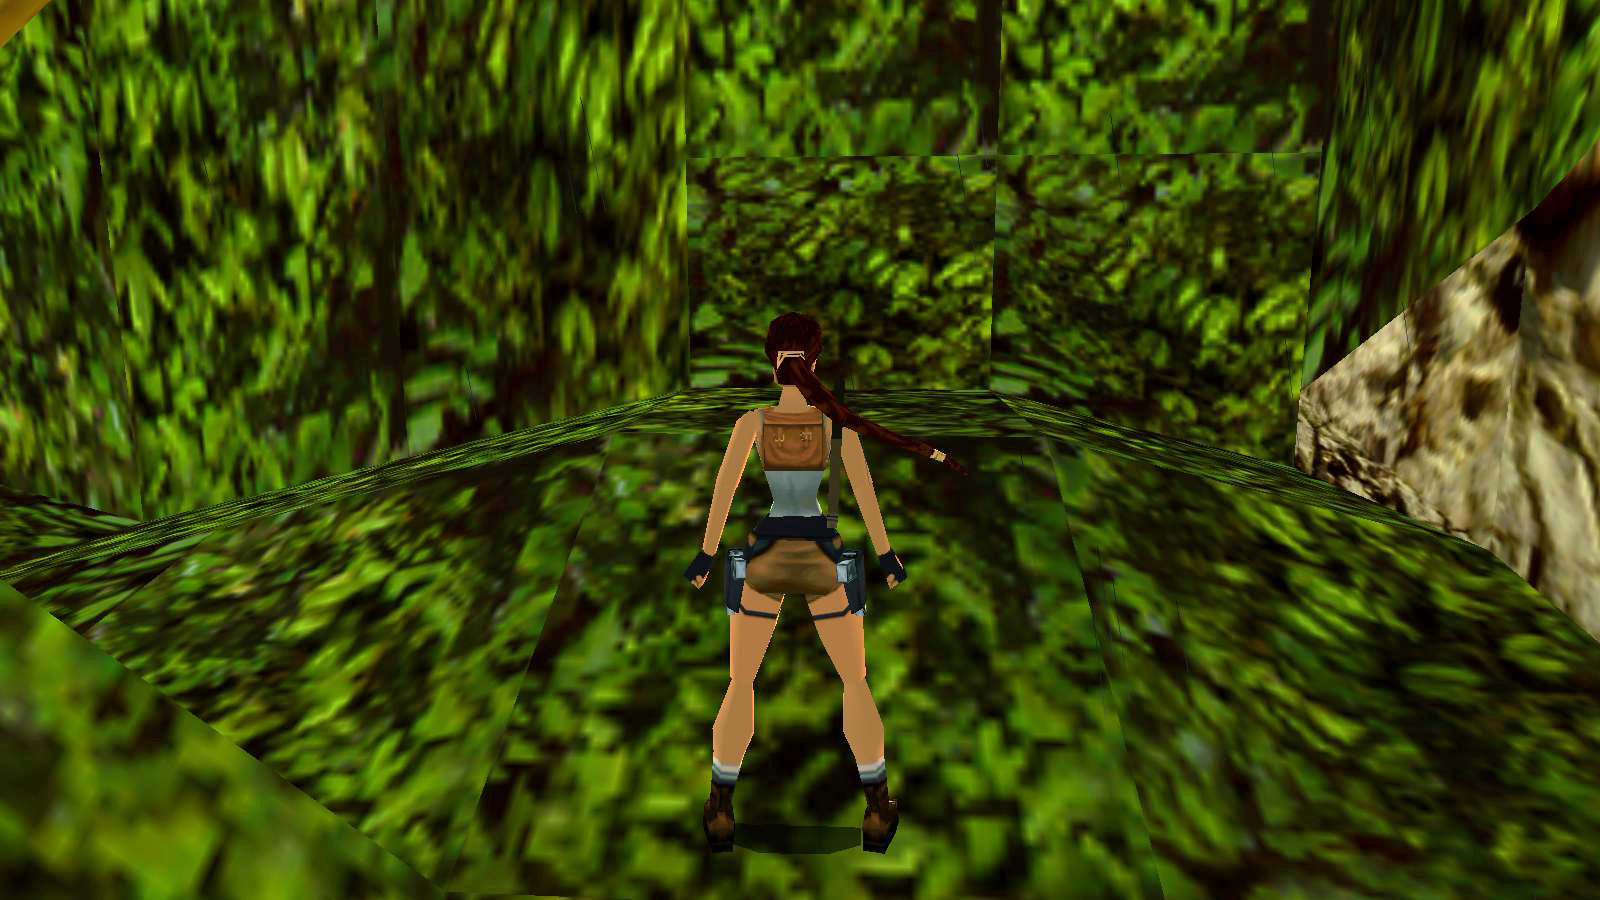
Turn around so Lara's back is toward the big hill and she's facing the leafy, green hump where the save crystal was.
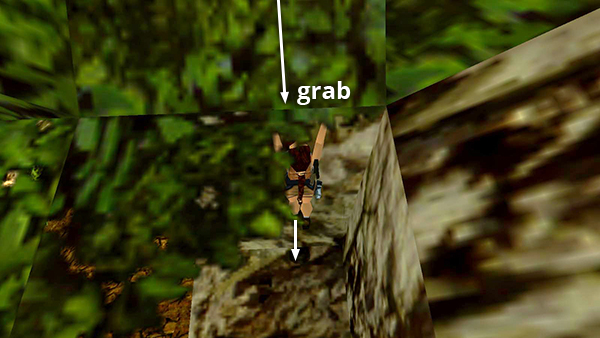
Then hop back and hold Action to slide backwards down the green slope and grab the edge. Release Action to drop to the tan stone ledge below.
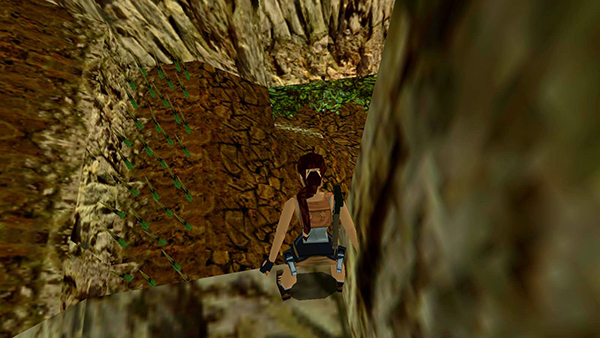
If you look over the edge, you'll notice more deadly spikes below.
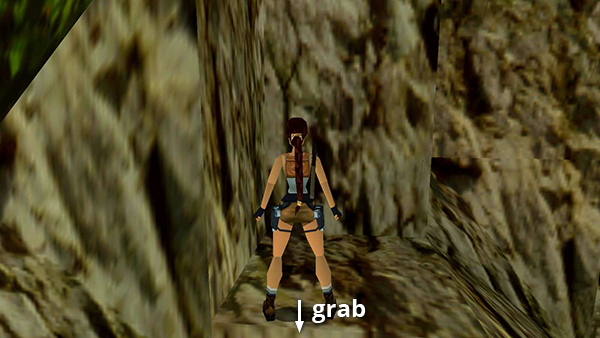
Turn around so Lara's back is toward the edge. Press Back and hold Action again to drop and hang from the stone ledge.
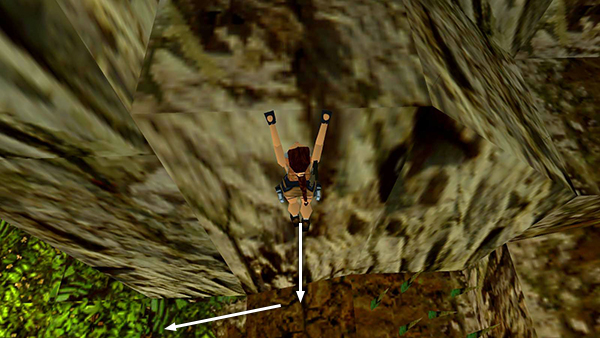
If you use the Look button now, you'll see that Lara is not hanging above the spikes and it's safe to drop. Release Action to let go and slide the rest of the way down the hill.
NOTE: This maneuver, where you hang from a ledge and then let go, rather than just stepping off, is called a safety drop. It's useful when you're not sure what lies below, or when you need to make a long drop, since it helps reduce—and sometimes even eliminate—damage from falling.
Copyright © 1998- - Stellalune ( ). All rights reserved. Feel free to copy or print this walkthrough for personal use. By all means, share it with friends, but please include this credit line so people can send me their feedback. No part of this walkthrough may be reproduced on another site without permission. Follow this link for details about this site's advertising and privacy policy.