Jungle - Secret #2 - Ledge Above Muddy Slope
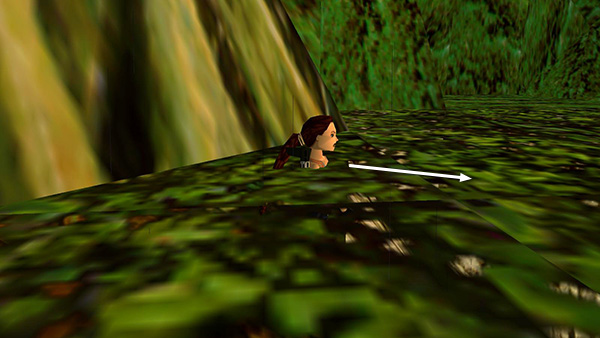
After getting the first secret, turn right...
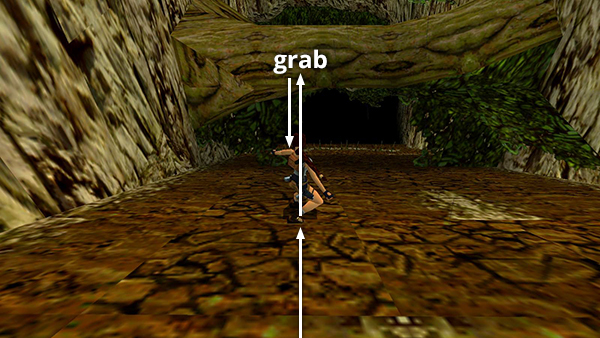
...and step forward to slide downhill. If you want all the kills, as you're sliding, jump to grab the edge of fallen tree trunk that you'd otherwise pass under. Pull up and you'll meet a friendly monkey. It won't hurt you if you don't shoot at it, so this is entirely optional. To get down, hang from the edge of the tree where you grabbed and drop down just to the left of center to continue sliding.
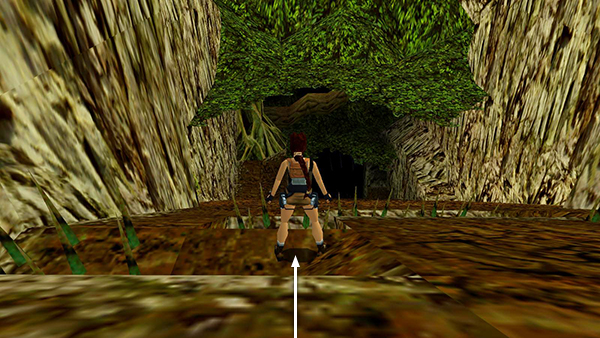
After sliding as shown above, Lara lands in a flat spot near the first set of spikes.
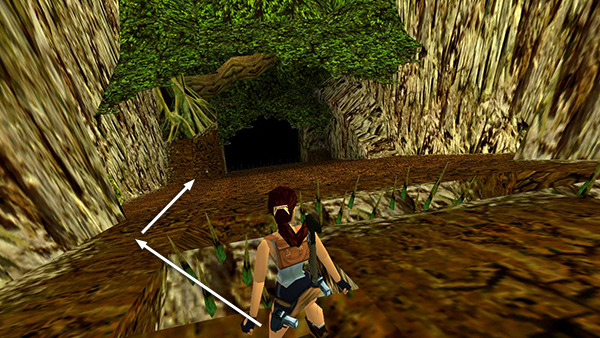
Turn a little to the left and jump over the spikes. Lara will then slide down the hill to the next flat area, where you'll find some shotgun shells and a large medi pack.
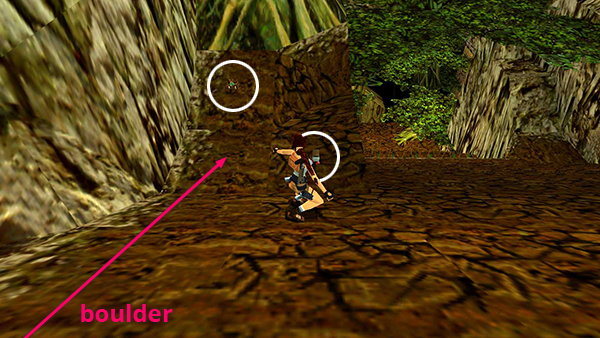
When you approach the medi pack, a huge boulder rolls down the slope toward you.
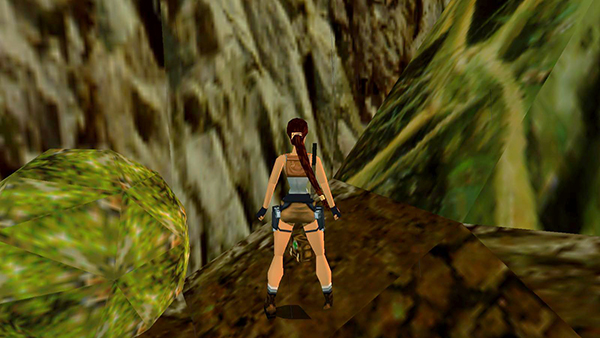
If you don't move after picking up the medi pack, the boulder will land safely just behind you.
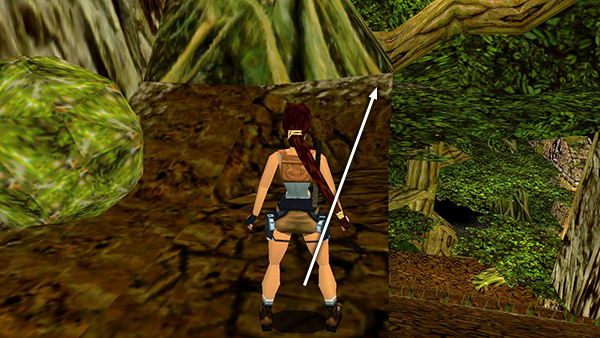
From the spot where the shells were, walk up the low rise and position Lara in the corner near the right edge.
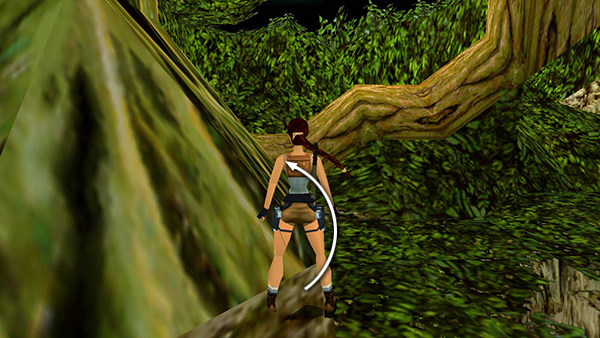
Take a standing jump around the big tree on Lara's left. If you jump forward and then hold the Left direction button while Lara is in the air, she'll defy the laws of physics and curve around to the left to nail the landing.
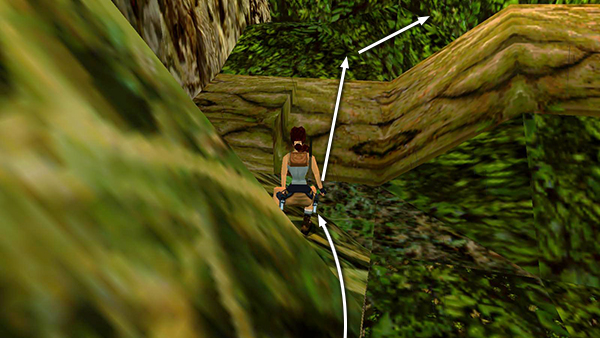
Then use a series of standing jumps to get up behind the tree. This is SECRET #2...
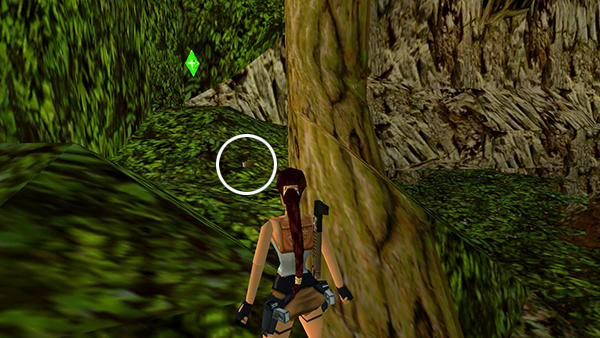
...shotgun shells and a save/power-up crystal.
Copyright © 1998- - Stellalune ( ). All rights reserved. Feel free to copy or print this walkthrough for personal use. By all means, share it with friends, but please include this credit line so people can send me their feedback. No part of this walkthrough may be reproduced on another site without permission. Follow this link for details about this site's advertising and privacy policy.