Nevada Desert - Alternate Paths to the TNT Cave
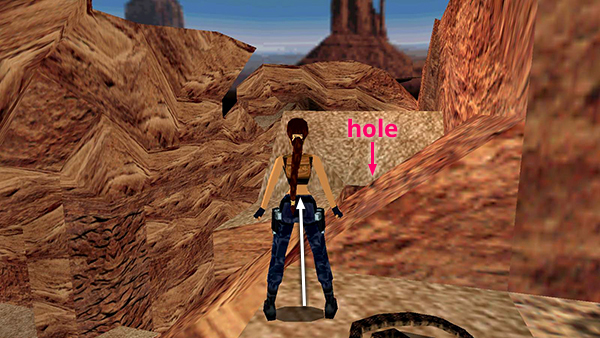
After jumping from the ledge with the rattlesnake to the ledge next to the steeply angled blocks and hole, as described in the main walkthrough, instead of jumping over the slope, try this:
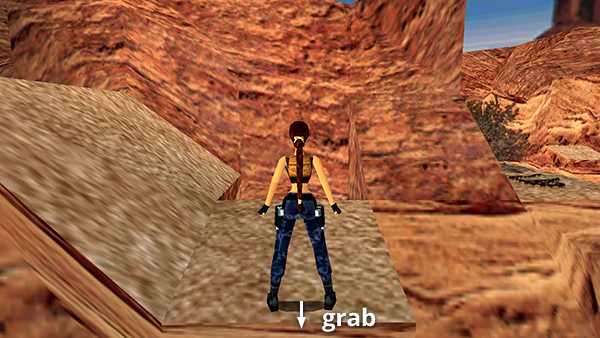
Turn so the hole is in front of Lara and the steep slope is on her left. Drop back and grab the edge.
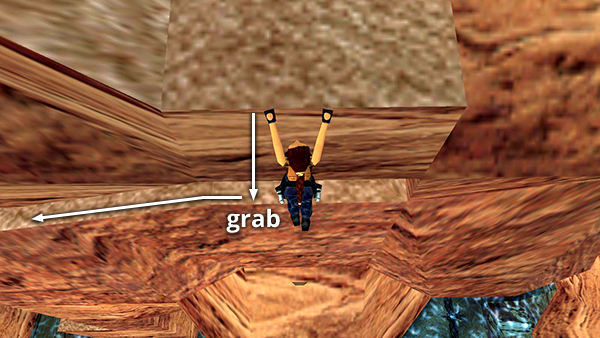 Let go and immediately press Action again to grab the horizontal crevice below. Traverse to the left...
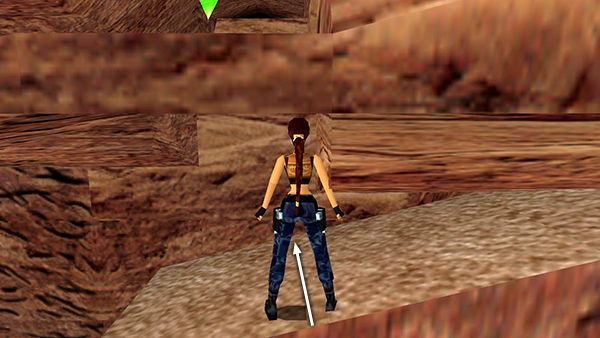
...until Lara can pull up onto a ledge beneath a low, rock ceiling. There's a save/power-up crystal directly above.
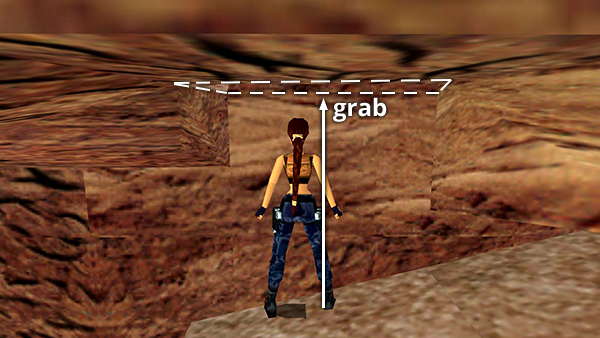
Walk forward to the edge. Then take a standing jump forward to grab the far edge of the opening in the ceiling.
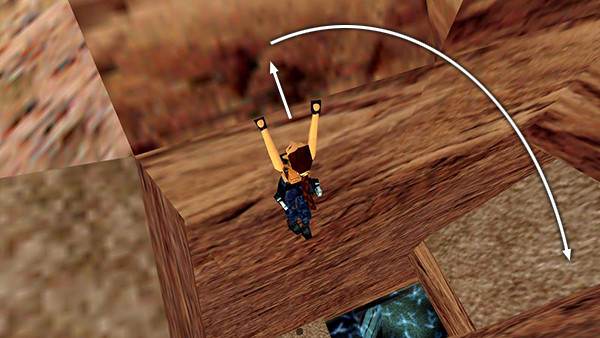
Pull up onto the slope above and immediately backflip...
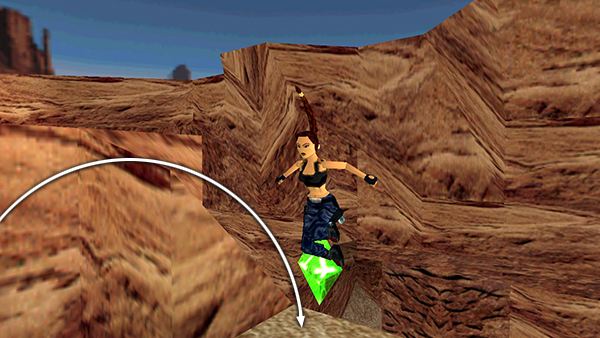
...to land on the ledge with the crystal.
- OR -
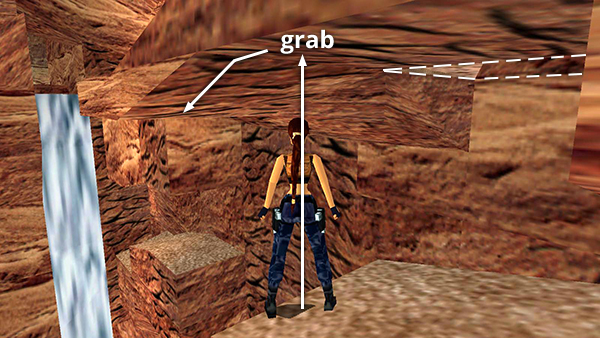
When standing on the ledge below the crystal, instead of jumping to grab the edge of the hole in the ceiling, move to the left end of the ledge and jump straight up to grab the handholds above. Monkey swing forward...
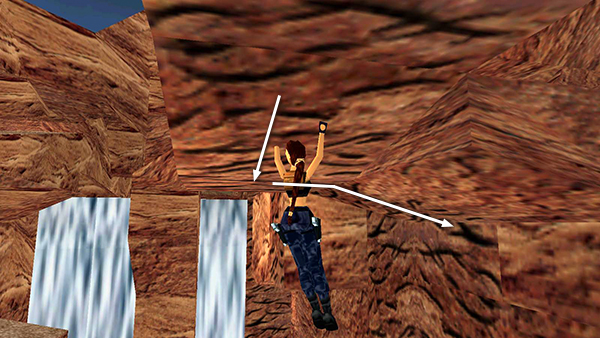
...then around to the right toward the wall.
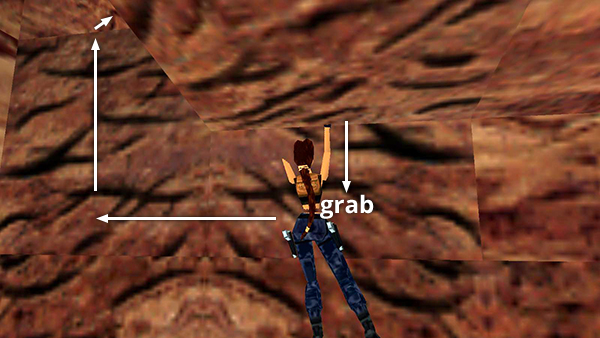
Swing forward until Lara is touching the wall. Then briefly release and re-press Action to grab onto the climbable wall. Climb to the left then upward...
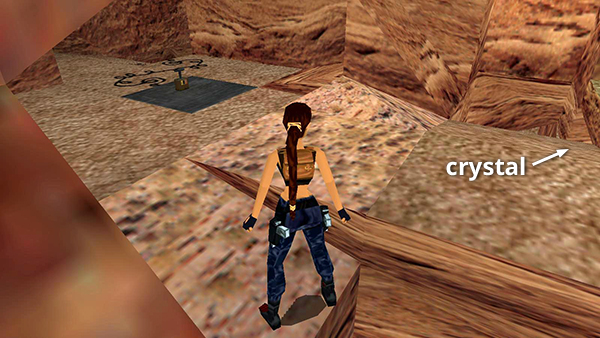
...into the cave. The save/power-up crystal is behind Lara on her right.
Copyright © 1998- - Stellalune ( ). All rights reserved. Feel free to copy or print this walkthrough for personal use. By all means, share it with friends, but please include this credit line so people can send me their feedback. No part of this walkthrough may be reproduced on another site without permission. Follow this link for details about this site's advertising and privacy policy.