Nevada Desert - From the Canyon Entrance to the TNT Cave
Begin by retracing your steps along the ledges, around to the climbable wall above secret #2. Here's a recap using the same screenshots from before:
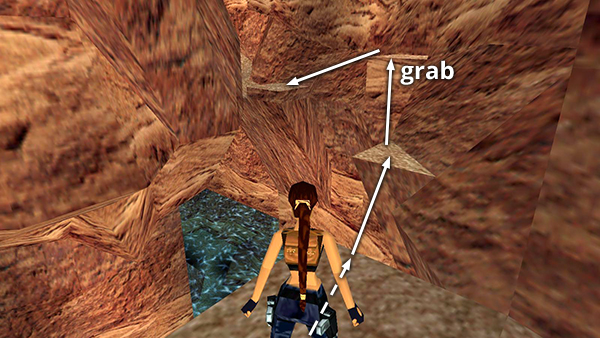
Take a running jump with Action from the ledge overlooking the pool to the small, triangular ledge. Take a standing jump to grab the next ledge and pull up. Turn left, walk to the edge, and jump down to the next ledge.
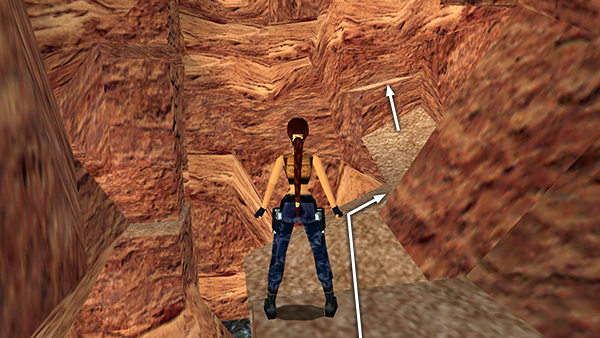
Follow this ledge to the end and climb onto the chest-high block directly ahead.
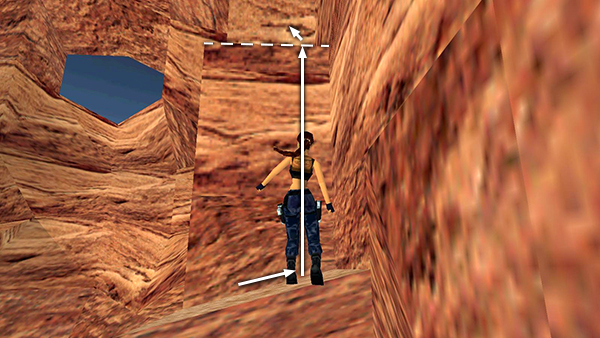 Sidestep a little to the right if necessary and then pull up onto the next higher block.
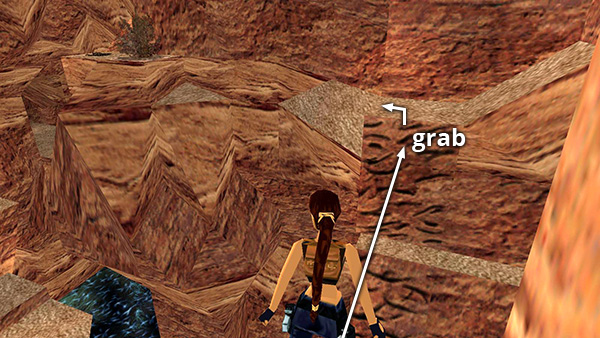
Turn left and take a running jump across the water to grab onto the climbable wall. This time, instead of climbing down to the little cave with the secret, climb up onto the ledge above.
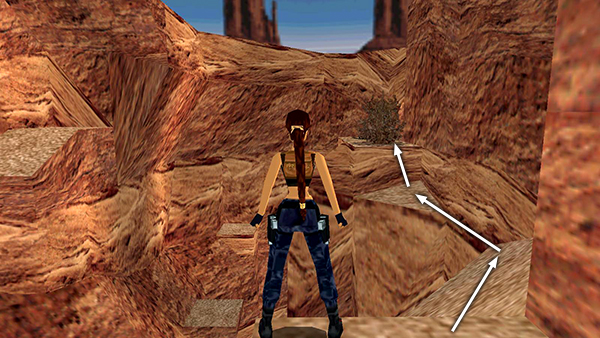
Turn left, walk out to the end of this uneven ledge, and take a standing jump across the gap onto the small triangular ledge ahead. Vault up onto the next low block but don't run forward yet.
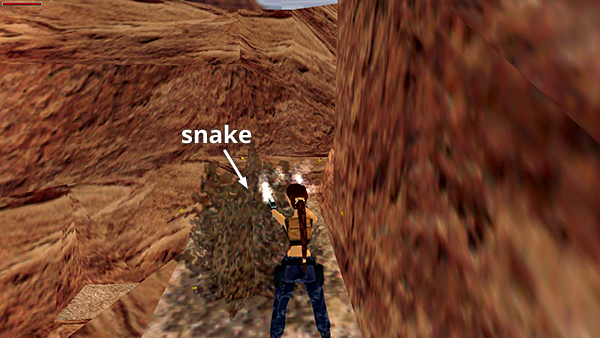
Shoot the rattlesnake lurking behind the bush first.
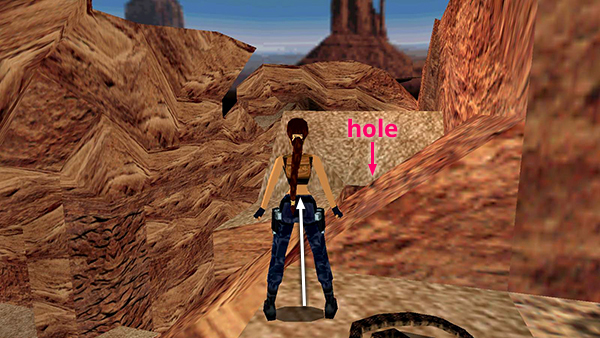
Then walk through the bush to the other side of the ledge. Turn right and jump over the sloping block to the flat spot ahead on the left. Be careful not to land on the slope or fall into the hole next to it.
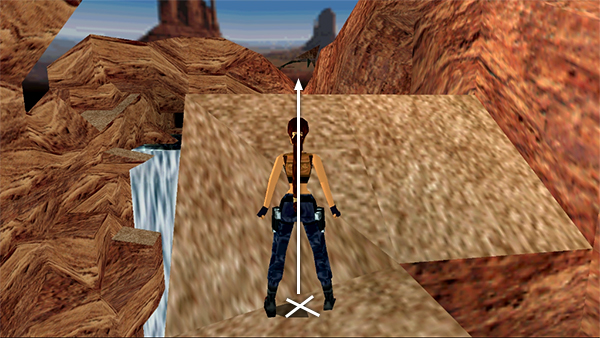
Now, you must get past the steeply angled blocks ahead. There are several ways to do this. The quickest is to position Lara at the base of the slope and take a standing jump over the peak and onto the perpendicular slope beyond it. In order to land this jump correctly, don't press Action but do tap Right just briefly while she's in the air so she lands on the second slope facing uphill.
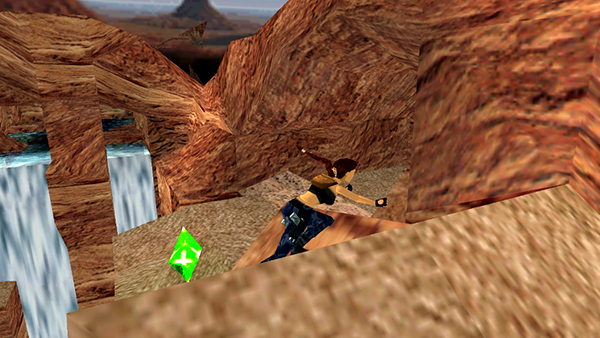
That way, she lands on the second slope facing uphill. Then slide back...
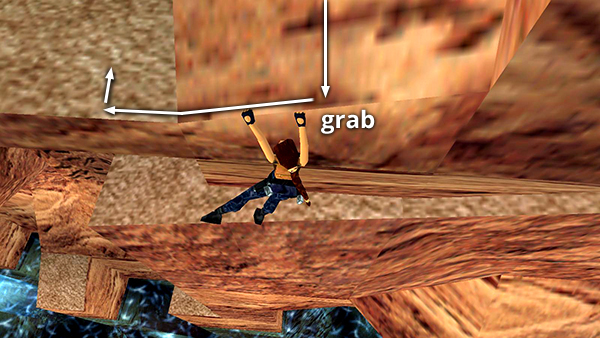
...grab the edge, traverse left...
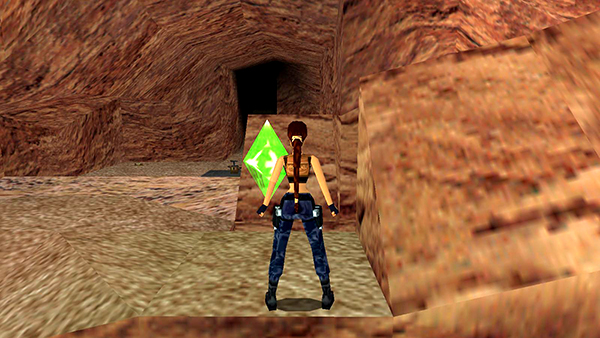
...and pull up near a save/power-up crystal. This, as we'll see in a moment, is the TNT CAVE.
Follow this link for two alternate paths to the TNT cave.
Copyright © 1998- - Stellalune ( ). All rights reserved. Feel free to copy or print this walkthrough for personal use. By all means, share it with friends, but please include this credit line so people can send me their feedback. No part of this walkthrough may be reproduced on another site without permission. Follow this link for details about this site's advertising and privacy policy.