Nevada Desert - Returning Downstream to the Waterwheel
After diverting the flow of water to the waterwheel, as shown in Part 1, it's time to return there.
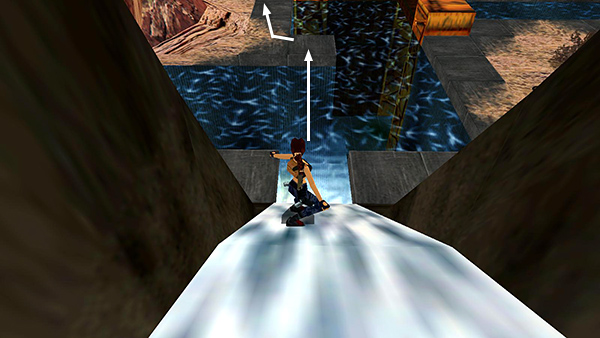
Slide down into the pool and climb out of the water directly ahead. Run forward along the streambank...
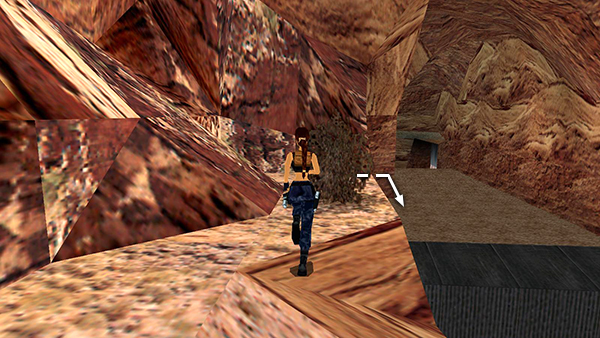
...past the small bush, to the end of the sandy ledge. Drop into the dry channel there, where it's not as deep.
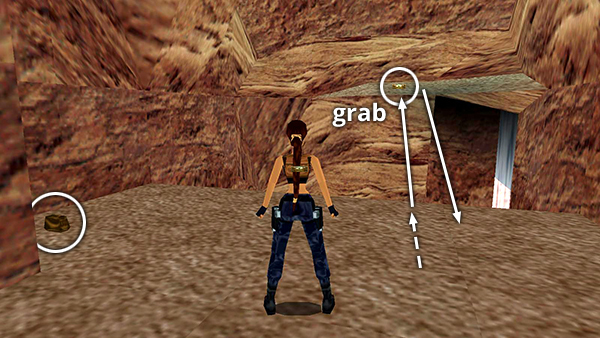
Walk along the dry streambed and pick up a large medi pack on the left. Then take a running jump from the edge to grab the ledge with the small medi pack. Pull up, take the health, then turn around and jump back down to the dry streambed.
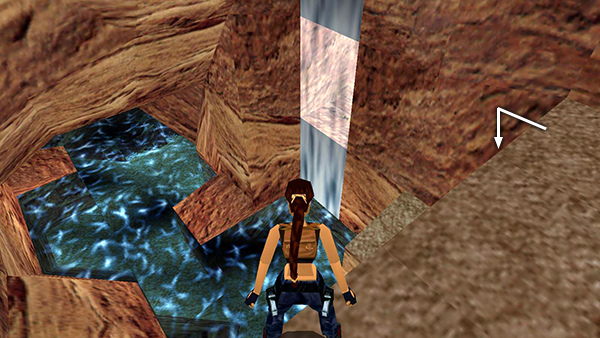
Turn around again and drop down onto the corner block below on the right.
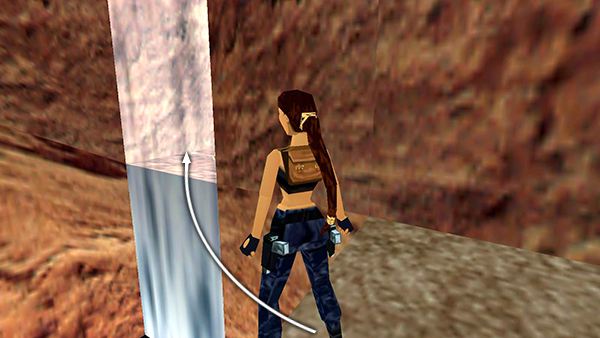
Step to the outer corner of the block and take a standing jump with a slight turn to the right into the alcove behind the waterfall. Pick up a rocket.
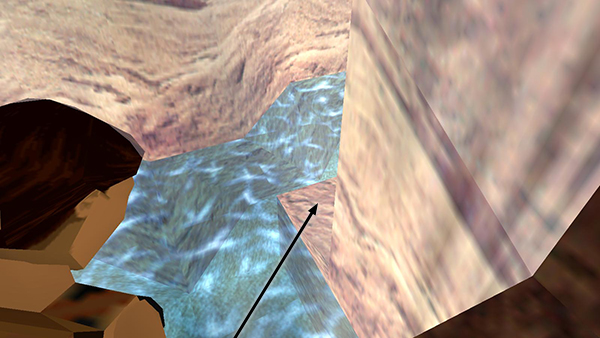
It's possible to jump from the alcove with the rocket onto the small, reddish ledge below on the right, but you need to set it up carefully and press Action while Lara is in the air so she doesn't overshoot the ledge. You'll need to jump from the left side of the opening (when facing out) and press Action while Lara is in the air so she doesn't overshoot the ledge.
- OR -
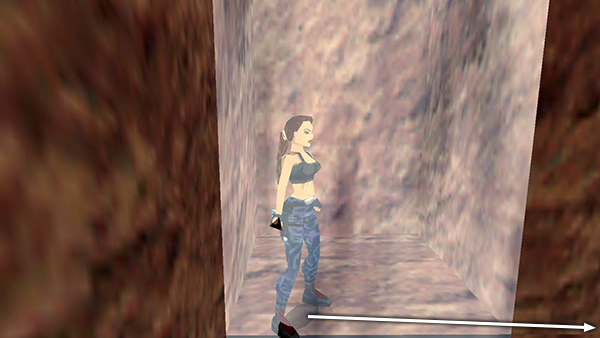
Alternatively, if that sounds too challenging, take a standing jump from the right side of the alcove behind the waterfall (i.e., right side from Lara's perspective)...
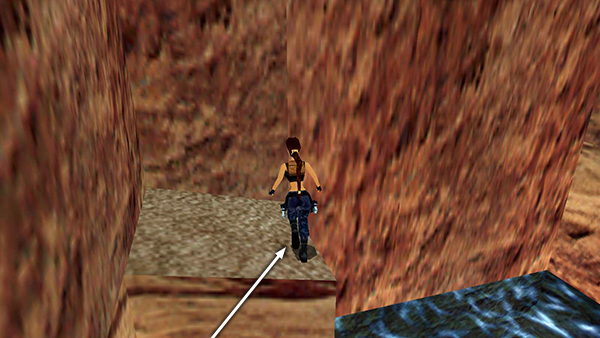
...back to the corner block.
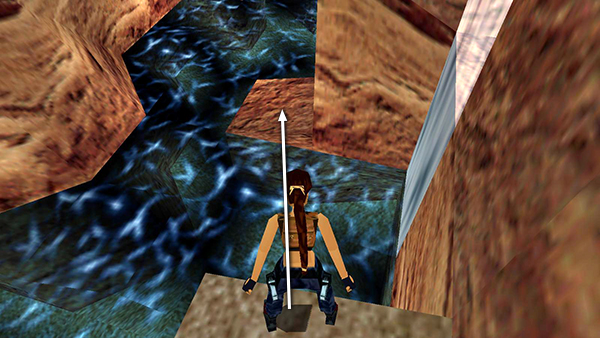
Turn around, walk to the edge, and take a standing jump down to the lower ledge.
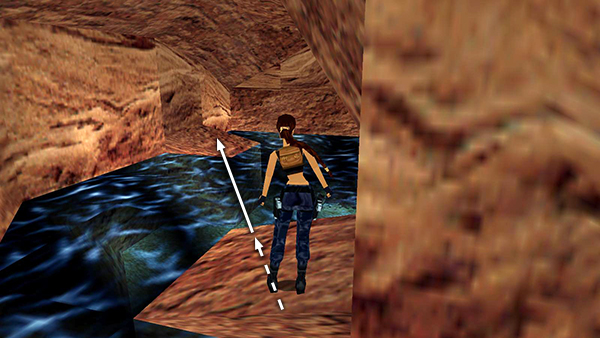
Take a running jump to the next ledge, downstream on the left.
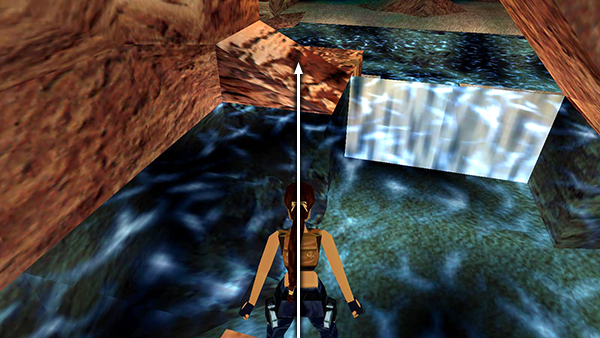
Turn right and take another running jump to the angled, brown-and-white to the left of the little waterfall.
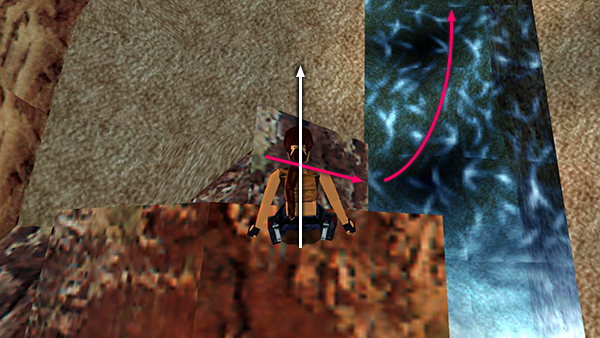
When you reach the stone ledge to the left of the small waterfall, do not run forward or Lara will slide down the sloping block beyond it into the rushing stream. Instead, jump over the slope to the flat, sandy area ahead.
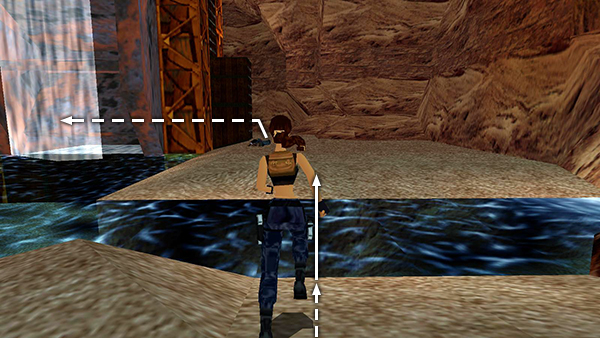
Turn right and take a running jump across the stream. Go around behind the waterwheel. Notice it's now turning as water flows over it.
Copyright © 1998- - Stellalune ( ). All rights reserved. Feel free to copy or print this walkthrough for personal use. By all means, share it with friends, but please include this credit line so people can send me their feedback. No part of this walkthrough may be reproduced on another site without permission. Follow this link for details about this site's advertising and privacy policy.