Nevada Desert - Diverting the Water to the Waterwheel
In order to continue, you must now divert the flow of water to the waterwheel below. Here's how:
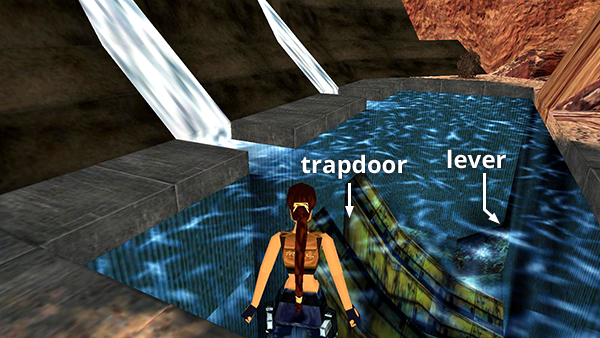
Return past the yellow blocks toward the two water slides. With the water slides on Lara's left, swim down to the far right corner and pull the underwater lever to open the trapdoor between the two angled, yellow footings.
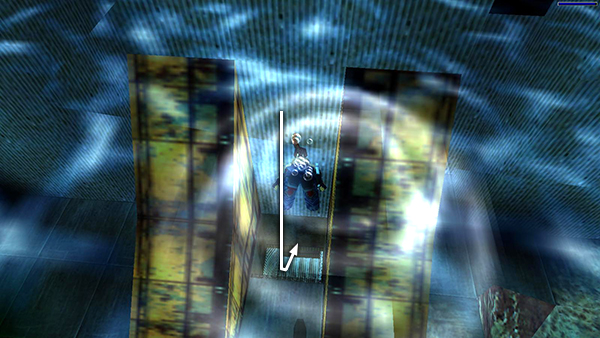
Swim down through the trapdoor.
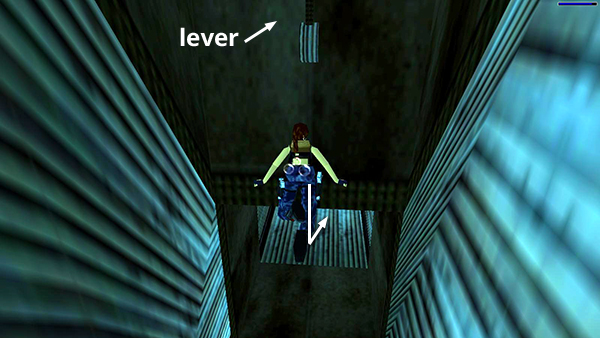
There's another lever on the wall just inside and above. Pull it to open a trapdoor at the end of the underwater tunnel. If you need air, swim back to the surface above the yellow footings. Then swim back down into the tunnel and continue forward.
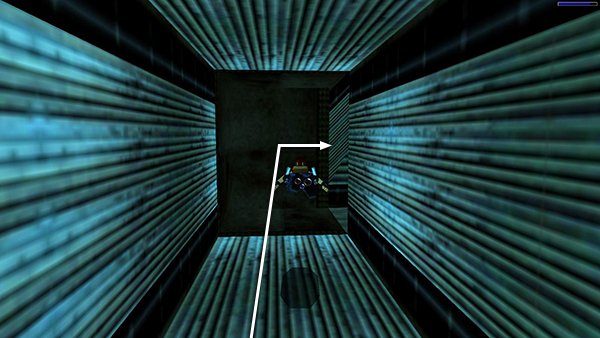
Just around the first corner...
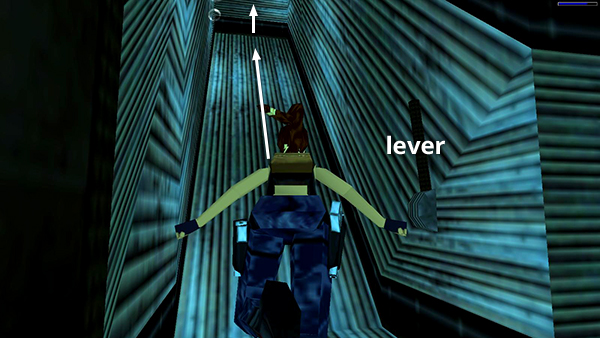
...there's another lever on the right wall. Pull it to open a yellow door in the hallway above. Continue swimming upward along the tunnel...
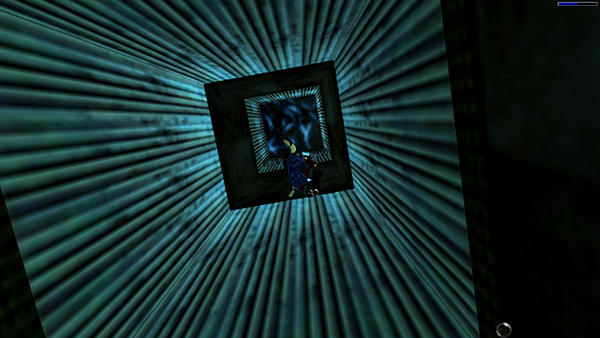
...until you can climb out trough the trapdoor. (This is the door you opened a moment ago using the first lever inside the tunnel.)
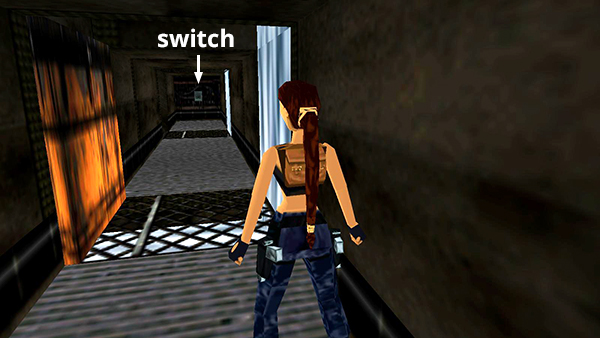
Run to the end of the hallway and pull the switch to divert the stream into the dry sluiceway where you entered this area. Doing so activates the WATERWHEEL and raises the ELEVATOR down below.
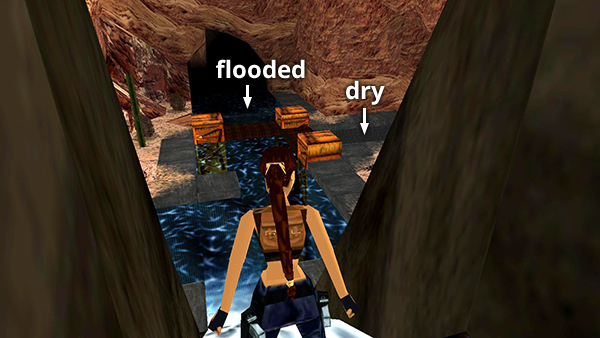
This screenshot shows the view from the opening above the waterslide before pulling the switch. Notice how the channel on the right, where you came in, is dry; and the channel straight ahead, beyond the yellow blocks, is flooded.
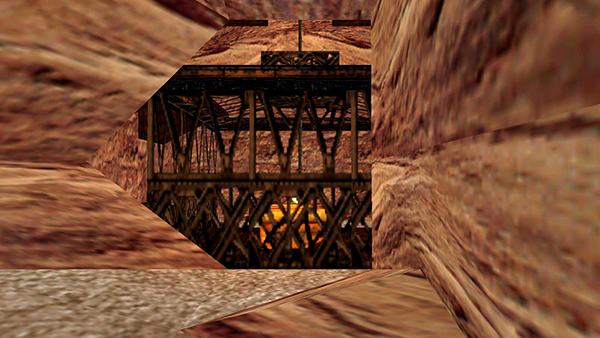
When you pull the switch, you see a brief cutaway showing the elevator in the tunnel near the WATERWHEEL.
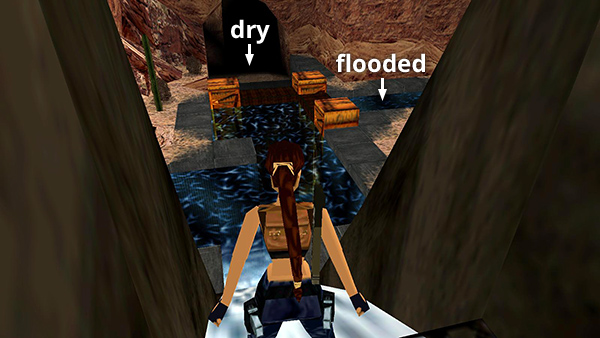
After pulling the switch, the channel on the right, where you came in, is now flooded. The channel straight ahead, beyond the yellow blocks, is dry.
Copyright © 1998- - Stellalune ( ). All rights reserved. Feel free to copy or print this walkthrough for personal use. By all means, share it with friends, but please include this credit line so people can send me their feedback. No part of this walkthrough may be reproduced on another site without permission. Follow this link for details about this site's advertising and privacy policy.