High Security Compound - Secret #1

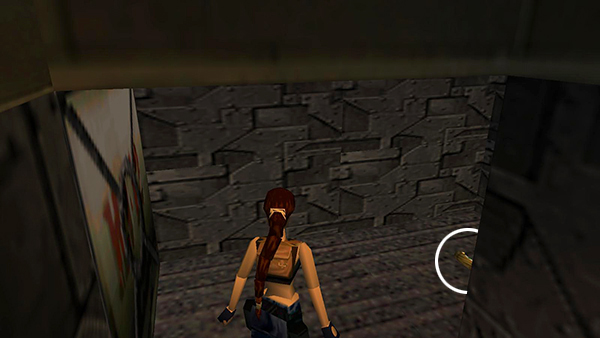
Follow the catwalk to the other side of the upper level and press the third button, on the right, to open the next two cells. This will release 2 more prisoners. You don't need them right now, but they'll make good reinforconcretes when you return here later. You can ignore the fourth button if you like, since the cell it opens is empty. Enter the cell on the far left (i.e., the one marked "exit" in the screenshot above).
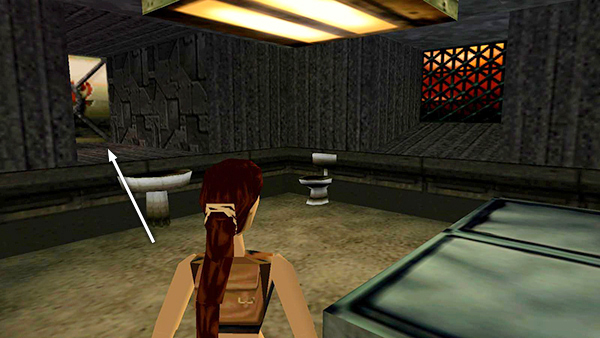
Jump over the sink into the passageway above it.
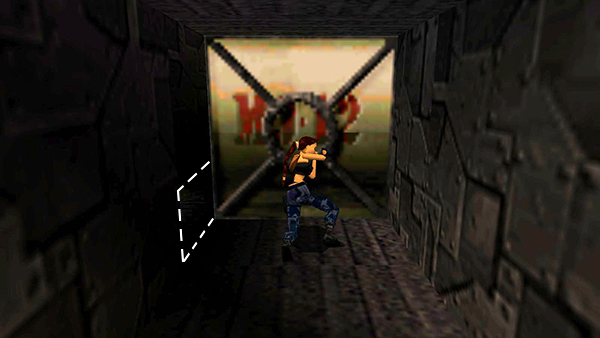
Push the movable box once to reveal a low tunnel on the left.
Crawl through and continue around to the right...
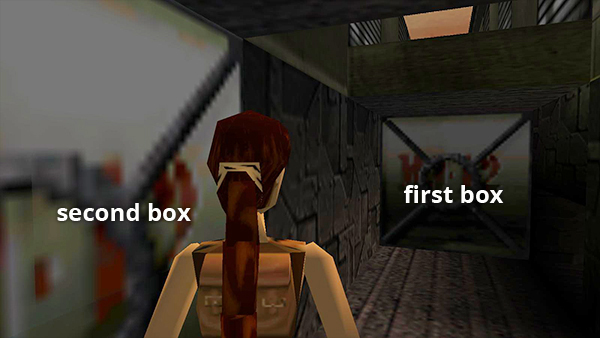
...to a second movable box. Push it once. Doing so reveals the back of the first box.
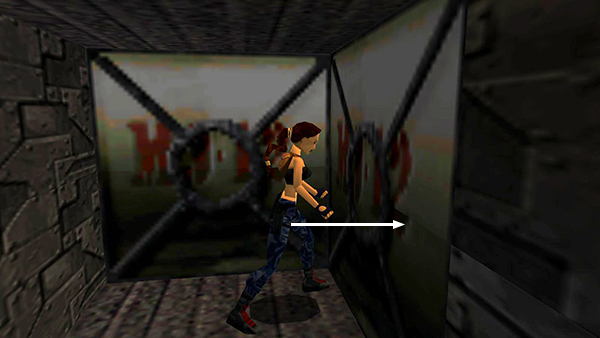
Push the first box twice.
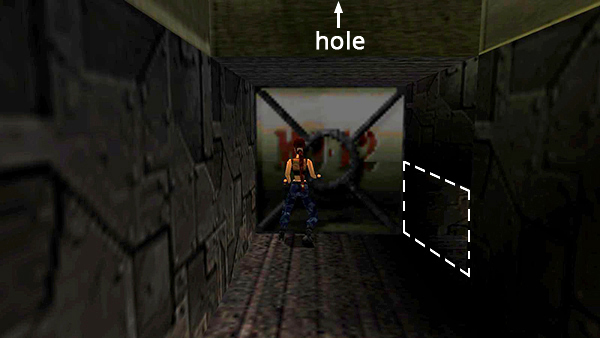
The first push moves the box back to its original position and reveals a hole in the ceiling. The second push exposes the crawlspace again (now on the right).
Ignore those openings for now. Turn around and go back to the second box.
 Pull it twice.
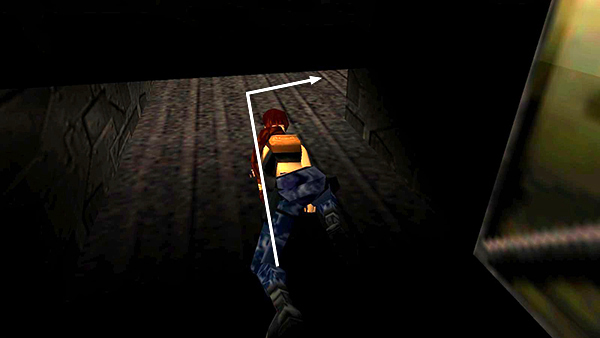
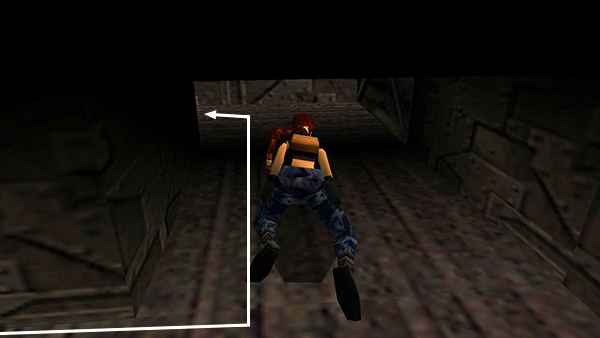 Now return through the crawlspace to the passageway behind the first box. Turn left...
 ...and proceed to the dead end where the second box was to find SECRET #1, a small medi pack.
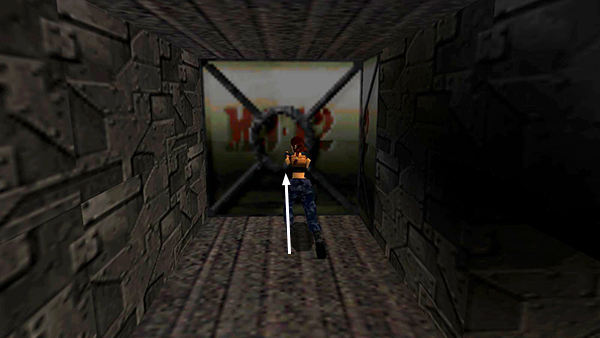
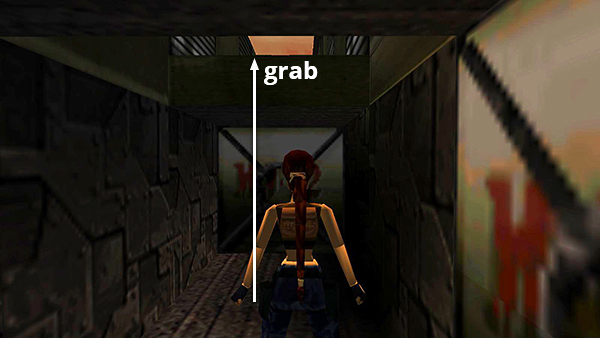 Then climb up through the hole in the ceiling onto the walkway above.
Copyright © 1998- - Stellalune ( ). All rights reserved. Feel free to copy or print this walkthrough for personal use. By all means, share it with friends, but please include this credit line so people can send me their feedback. No part of this walkthrough may be reproduced on another site without permission. Follow this link for details about this site's advertising and privacy policy.