High Security Compound - Green Crawlspace to Yellow Key and Lock (part 2)
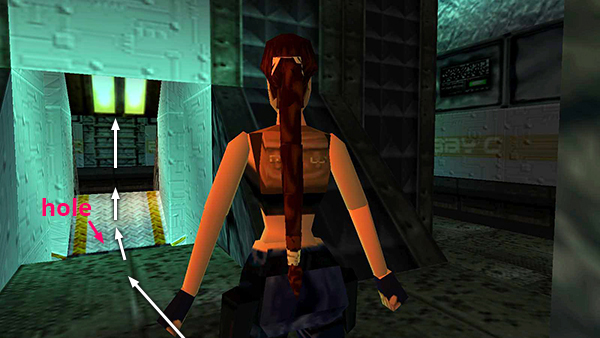
At the top of the ladder, run up the gray ramp to emerge in a square room halfway up the satellite dish tower. (If you took the shortcut mentioned in the main walkthrough, you'll drop down from the tower and land just to the right of where Lara is standing in the screenshot above.) Go through the central structure, jump across the hole in the floor above the pool, and continue forward to the opposite wall. Or go around the perimeter to the other side of the room. Climb the ladder to the next level.
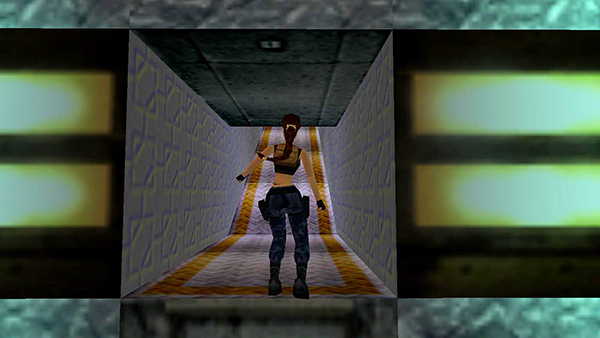
You can run about halfway up the yellow-and-white ramp, but you should slow to a walk as you near the top.
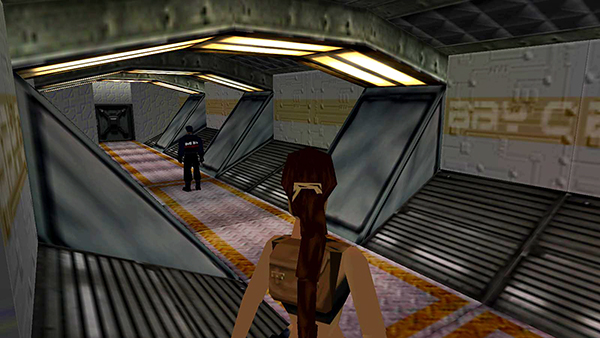
There's a guard posted off to the left with his back to you.
NOTE: Make a mental note of this guarded hallway. There's a locked door at the far end. You will return here later to pick up a secret.
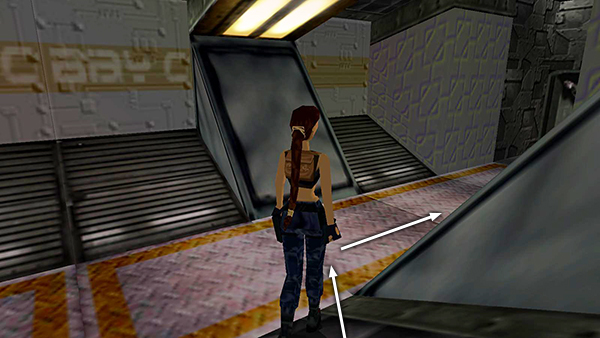
Turn right and walk or crawl to the end of the hall. As long as you don't run, the guard won't notice you.
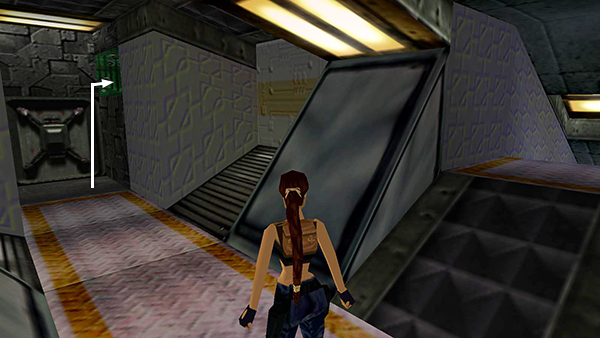
Climb into the raised crawlspace on the right.
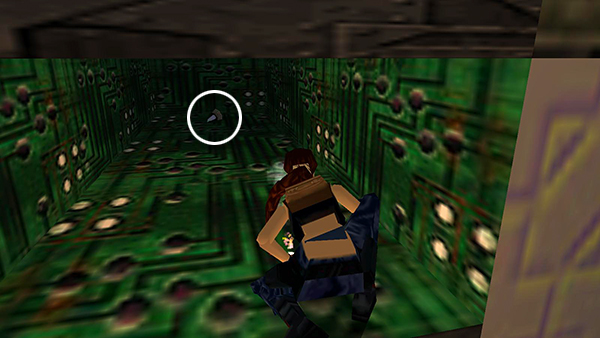
Crawl forward and grab the SECOND YELLOW SECURITY PASS.
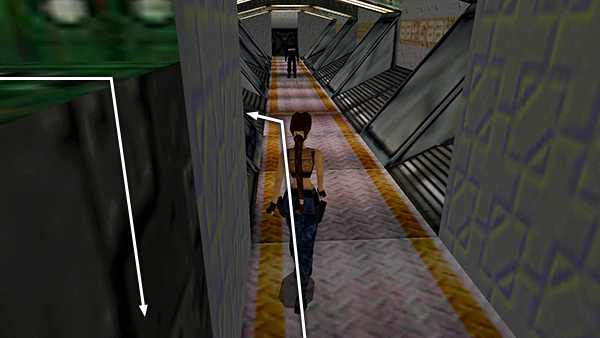
Crawl backwards to the opening and drop to the floor. Then walk or crawl back to the yellow-and-white ramp, which is now on your left. Return to the bottom of the yellow-and-white ramp and climb down the ladder.
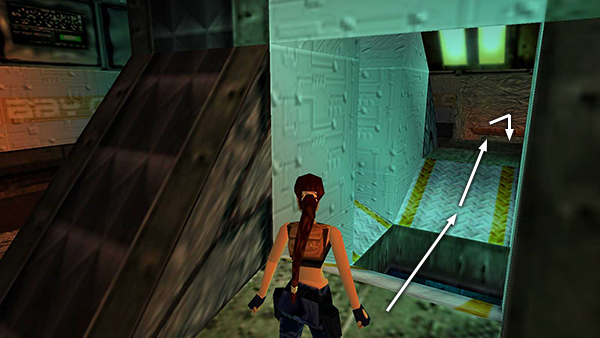
Cross the tower room, again jumping over the hole in the floor above the pool. Or go around the perimeter to the other side of the room. Continue down the next ramp and climb down the ladder at the end.
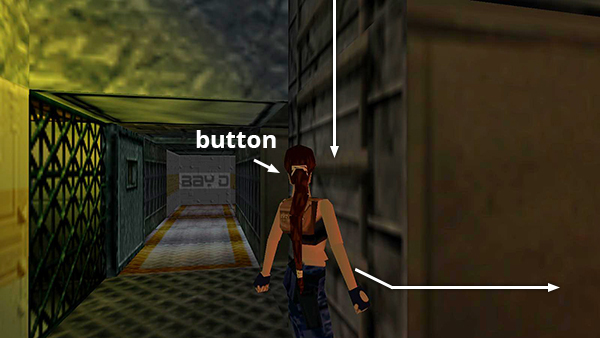
At the bottom of the ladder, look to the left. The metal door there should be open so you can see into the BAY D hallway, where you avoided the guard earlier. If you took the shortcut mentioned earlier or shut this door to trap the guard, you should now press the button in the alcove to the left of the ladder to open the door. You do not need to go that way now, but you will return here later to get a secret.
Once you've checked the door, turn around and head away from BAY D into the next room.
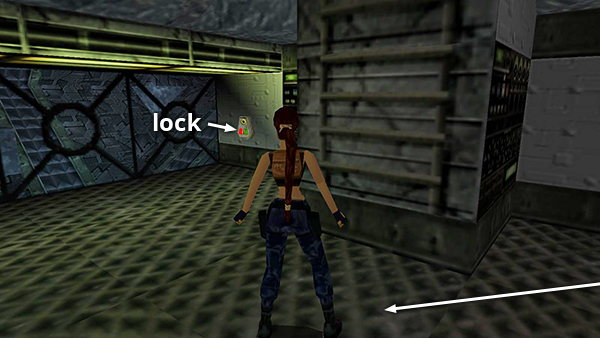
Use the YELLOW SECURITY PASS in the yellow lock near the window.
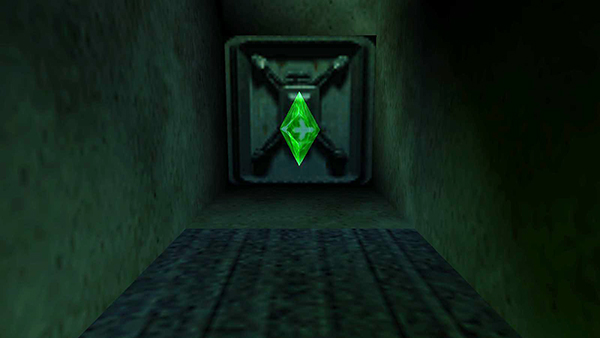
This closes a hatch between the circulating fan and the save/power-up crystal in the square duct at the bottom of the pool.
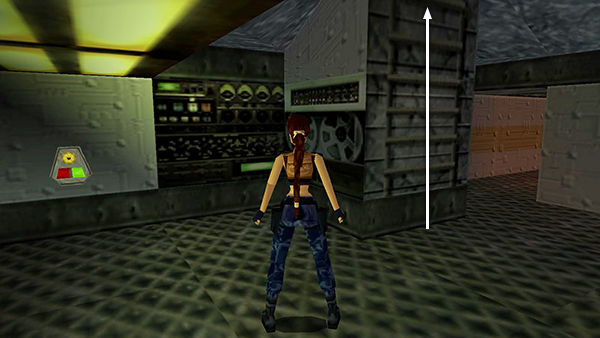
Climb the ladder to the right of the yellow lock...
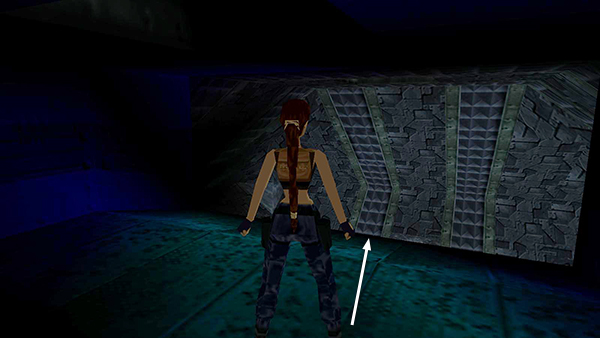
...into a dimly lit blue room with a large opening overlooking the pool. Walk to the edge.
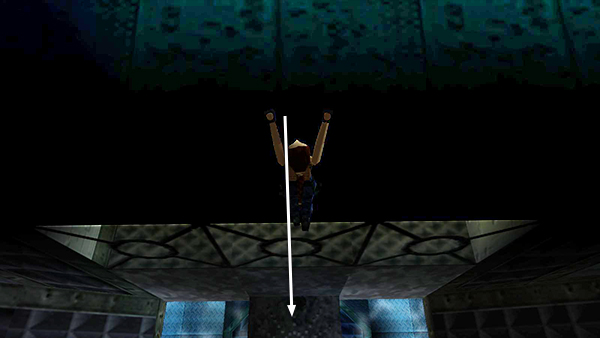
Then safety drop from the opening onto the small, square ledge that juts out into the pool.
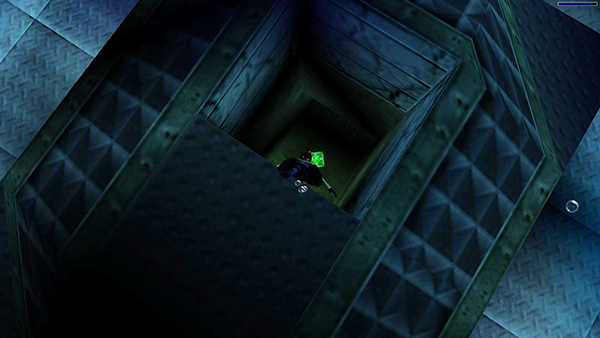
From there, you can step off into the water almost exactly above the opening with the save/power-up crystal. Now that you've deactivated the circulating fan, it's safe to swim down into the duct.
[Previous | Return to the High Security Compound Walkthrough]
Copyright © 1998- - Stellalune ( ). All rights reserved. Feel free to copy or print this walkthrough for personal use. By all means, share it with friends, but please include this credit line so people can send me their feedback. No part of this walkthrough may be reproduced on another site without permission. Follow this link for details about this site's advertising and privacy policy.