All Hallows - Cathedral Interior (part 3) - Vault Key and Zip Line
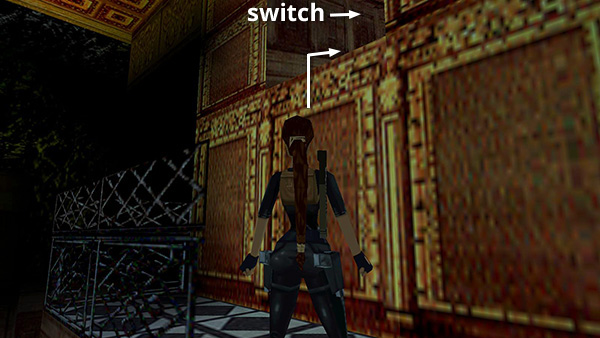
After climbing up to the long, black-and-white walkway, as shown in part 2, climb into the raised passageway on the left and use the switch to open a door elsewhere.
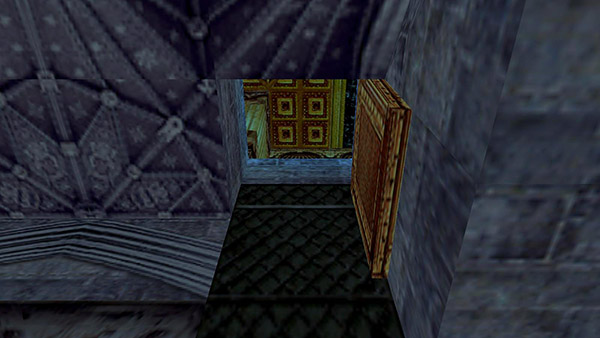
This will enable you to exit the level later.
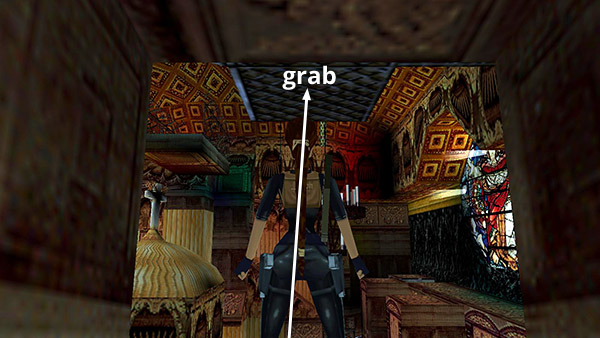
Take a standing jump from the opening to grab the ceiling grates.
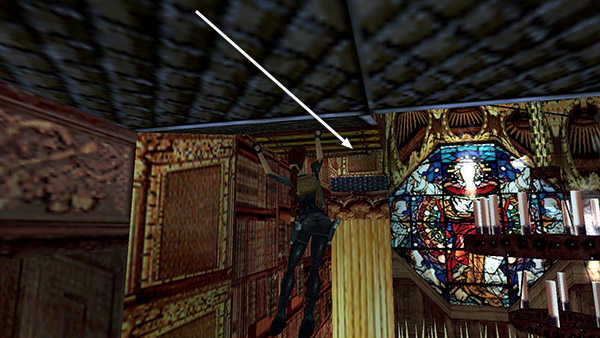
Monkey swing along the grating and the bars you raised earlier using the switch.
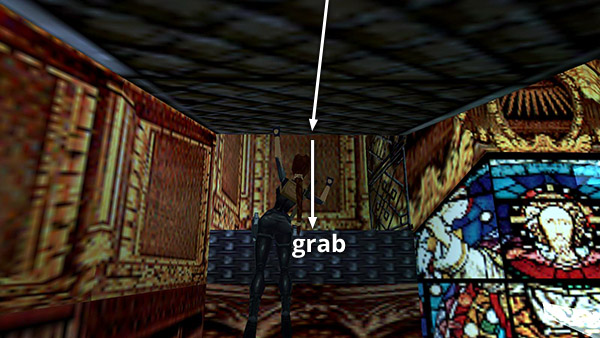
Continue to the end of the grating. Then let go and grab the ledge below. Pull up through the small opening onto a ledge below a zip line. Don't slide down yet.
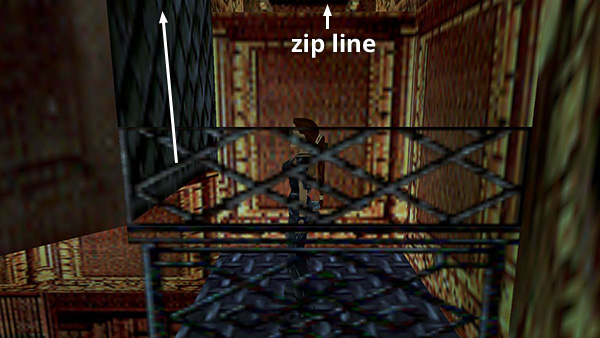
Turn around so the railing is on Lara's left and the zip line handle is above on her right. Climb the grating ladder.
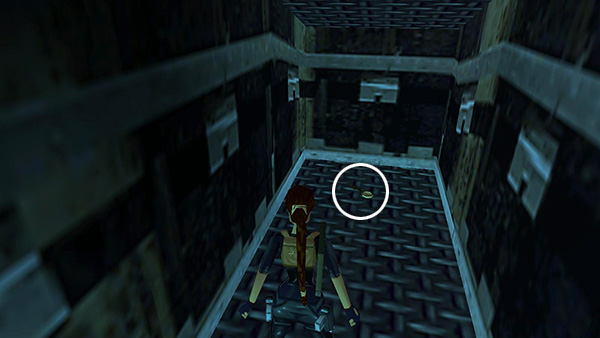
At the top, you'll find the VAULT KEY. Take it and climb back down.
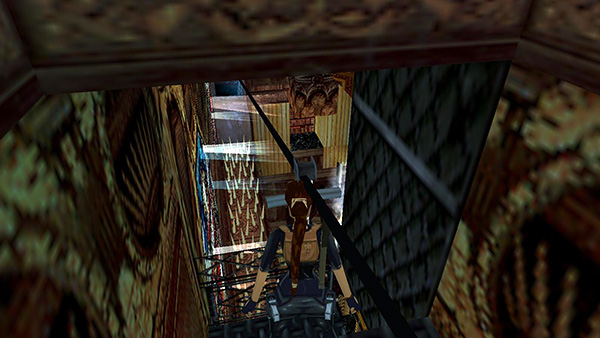
Now grab the zip line handle...
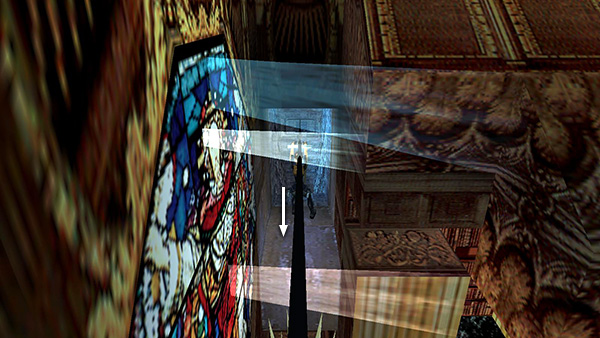
...and ride the line across the room. Press Look to get Lara's perspective back as you slide and be sure to let go just before the end to land on the cement walkway. Otherwise, Lara will slide down a chute and fall to her death.
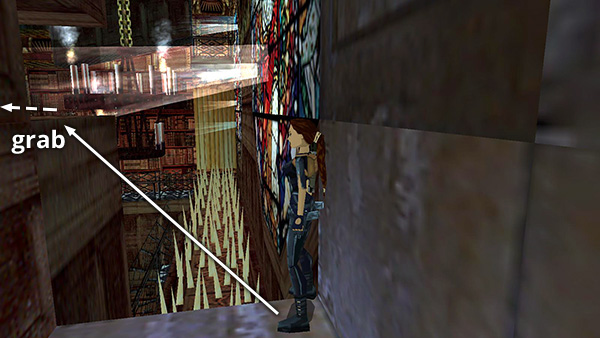
Once you land safely on the concrete ledge, turn around, position Lara with her back to the right wall, and take a standing jump over the spikes to grab the crawlspace on the left. Crawl through...
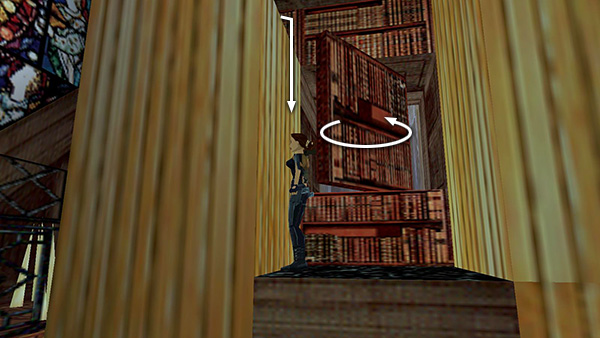
...and drop down on the other side. A concealed door in the bookshelf then opens.
Copyright © 1998- - Stellalune (
). All rights reserved. Feel free to copy or print this walkthrough for personal use. By all means, share it with friends, but please include this credit line so people can send me their feedback. No part of this walkthrough may be reproduced on another site without permission. Follow this link for details about this site's advertising and privacy policy.