All Hallows - Cathedral Interior (part 2)

After using the switch in the raised alcove to open a door, as shown in part 1, either safety drop to the floor, losing some health in the process, or angle Lara toward the climbable wall, jump to grab it...
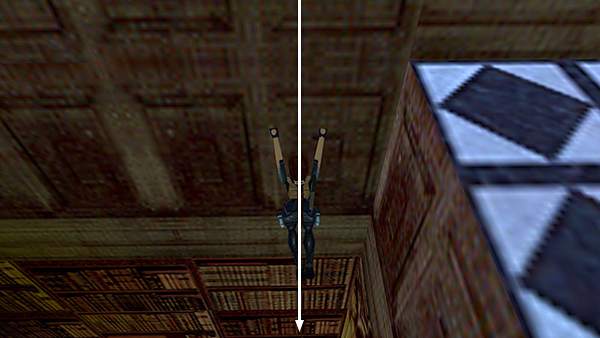
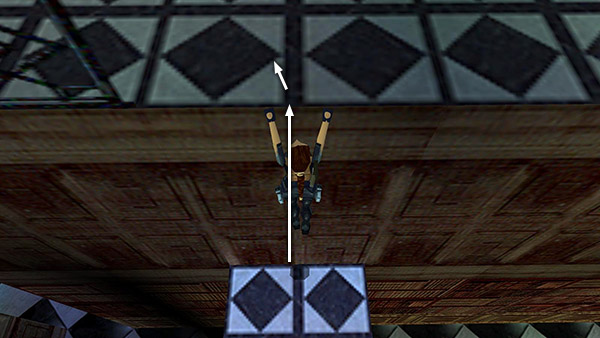
...and climb down.
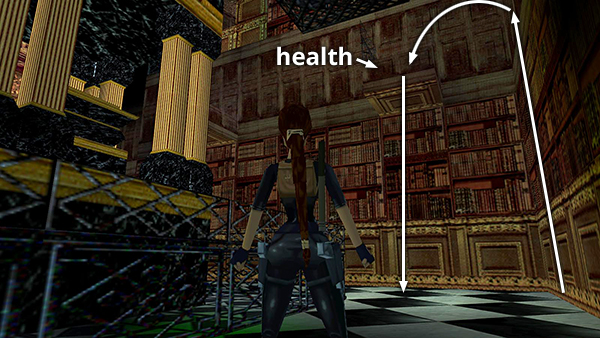
Turn so the central structure is on Lara's left and then head for the right corner of the room. Scale the climbable wall until Lara is hanging above the wide, tan stripe and backflip onto the square ledge with the small medi pack. Then either safety drop to the floor, again losing a little health.
- OR -
To get down without injury, take a standing jump over to the suspended metal platform and safety drop from there.
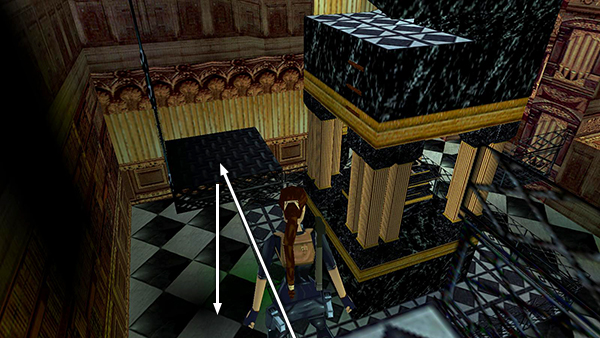
Now head for the door you just opened. It's in the right corner of the room when facing the wall with the square pillars and pipe organ textures.
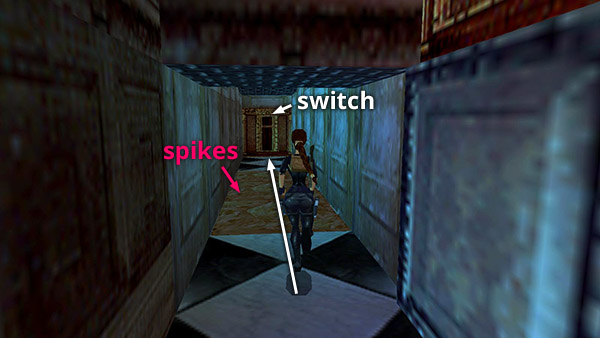
Run across the break-away tiles with spikes below and pull the switch on the other side.
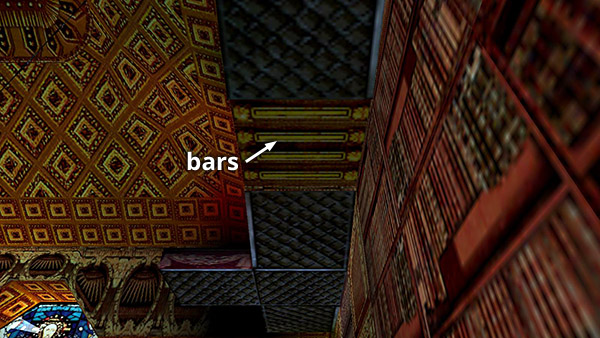
This raises a panel with bars near the top of the room. (Later you will monkey swing across these bars.)
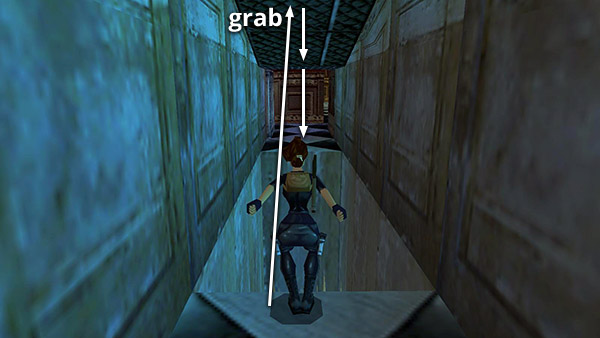
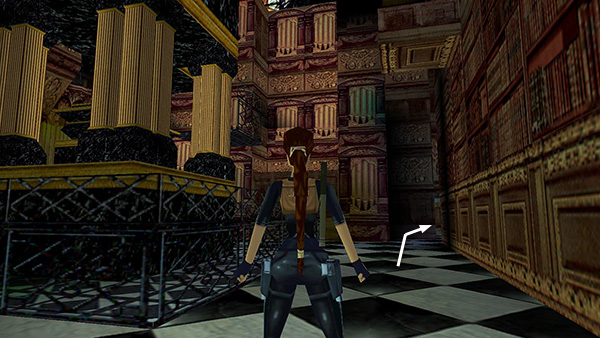
Turn around, walk to the edge of the spike pit, and take a standing jump to grab the ceiling grates. Monkey swing back over the spikes and re-enter the main room.
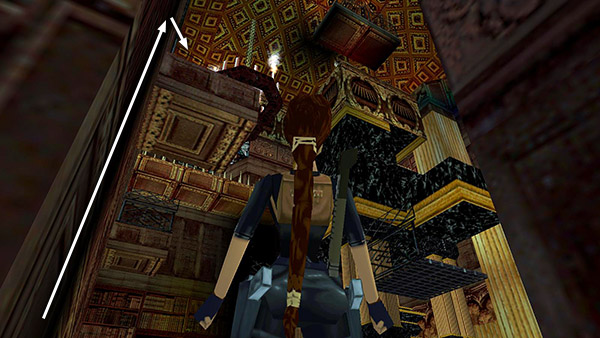
Climb the bookcase on the left wall to the small, protruding ledge.
Then pull up onto the black-and-white tiled walkway.
Copyright © 1998- - Stellalune (
). All rights reserved. Feel free to copy or print this walkthrough for personal use. By all means, share it with friends, but please include this credit line so people can send me their feedback. No part of this walkthrough may be reproduced on another site without permission. Follow this link for details about this site's advertising and privacy policy.