Aldwych - Drill Room - Secret #1
This sequence is also shown in a short video walkthrough.
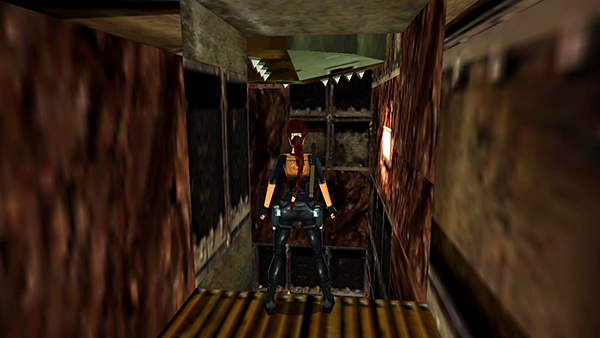
Make sure your health bar is at least half full and save your game, since you'll probably need to try the next sequence a few times and you'll lose about a third of your health in the process.
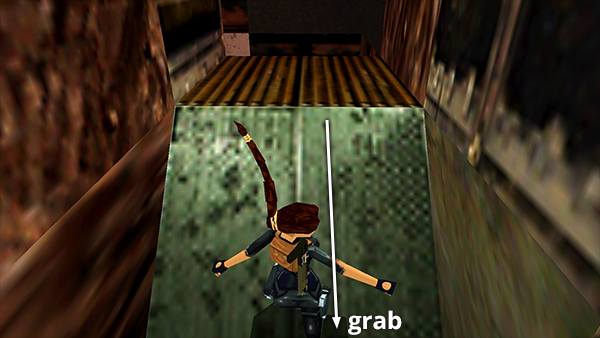
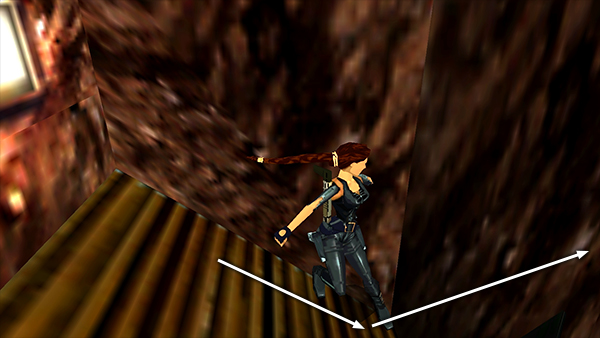
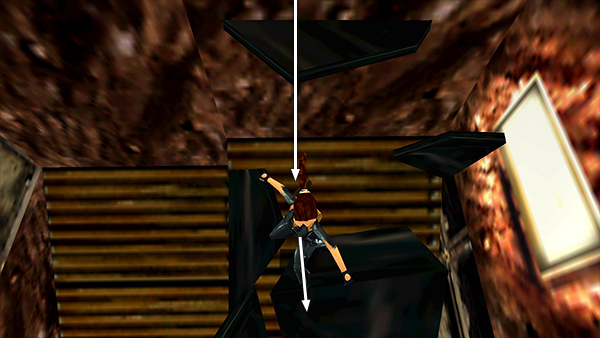
Turn around, slide backwards down the slope, and grab the end.
As soon as you do, the huge drill begins to descend from the top of the shaft.
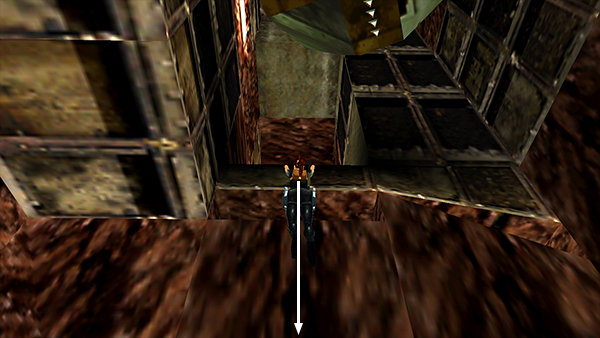
Let go and drop onto the break-away tiles. Immediately side flip onto the slope to the left.
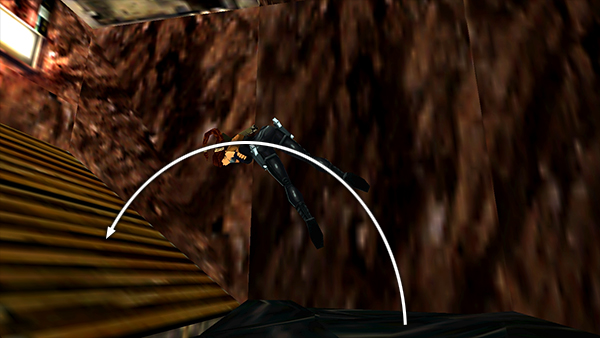
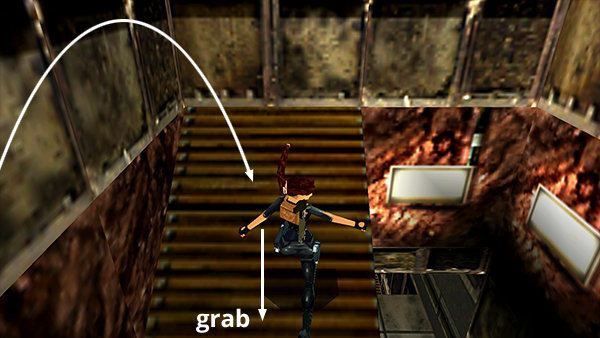
Let Lara slide just a bit, then jump forward...
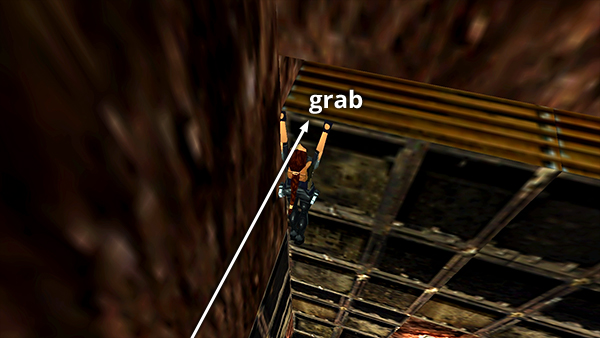
...and grab the horizontal crevice on the opposite wall.
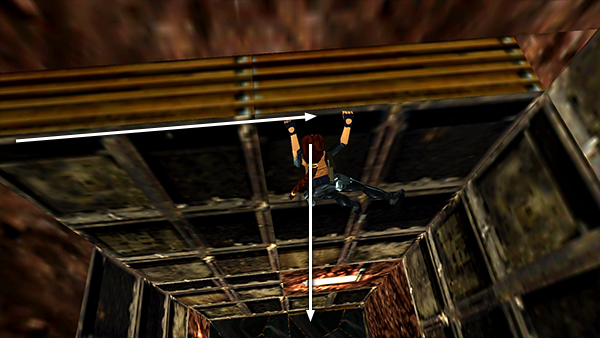
Traverse to the right and drop onto more break-away tiles.
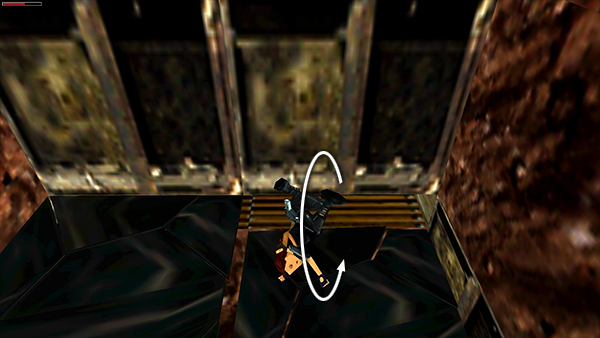
As soon as you land, roll so Lara comes up facing away from the wall.
Then when the tiles break, she'll drop onto the slope below facing downhill. Slide and jump forward...
...to land on the opposite slope facing uphill. Slide back and grab the end of the slope.
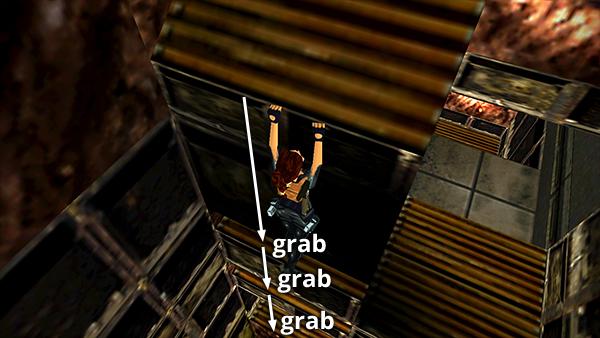
At this point, there's no need to hurry; you're safe from the drill. Drop and grab three more times to descend a series of ledges.
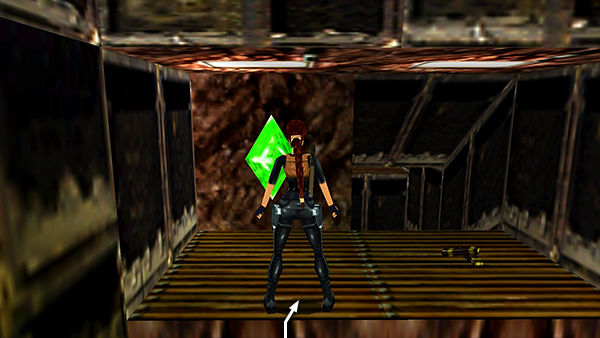
Then pull up into the alcove with the save/power-up crystal and MP5 clips. This is SECRET #1.
NOTE: The secret area will contain the MP5 SUBMACHINE GUN itself if you don't already have it.
Copyright © 1998- - Stellalune (
). All rights reserved. Feel free to copy or print this walkthrough for personal use. By all means, share it with friends, but please include this credit line so people can send me their feedback. No part of this walkthrough may be reproduced on another site without permission. Follow this link for details about this site's advertising and privacy policy.