Aldwych - Turnstile, Second Ticket Office, and Secret #3
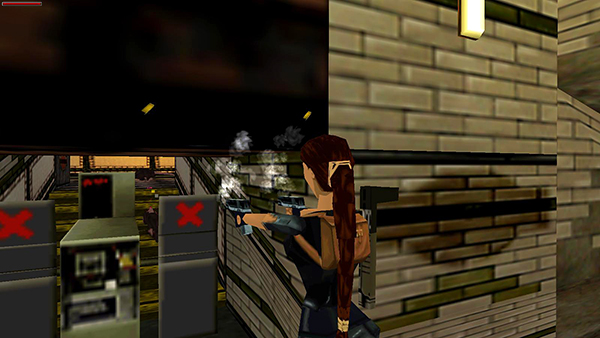
Shoot the 2 rats on the steps beyond the turnstile so they won't pester you while you do the next bit of business.
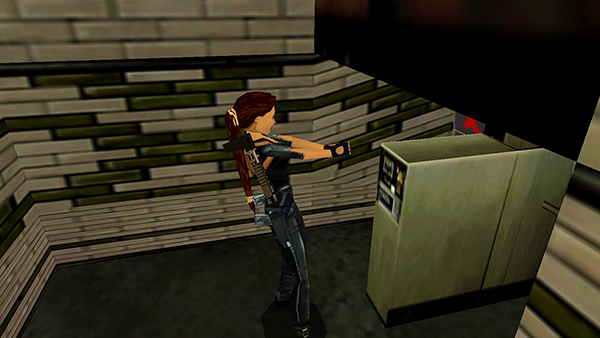
Stand facing the panel in the middle of the turnstile and use the TICKET you bought earlier to gain access to the next room.
NOTE: If you don't yet have the ticket, you'll need to backtrack for it now. Instructions are included on a separate page.
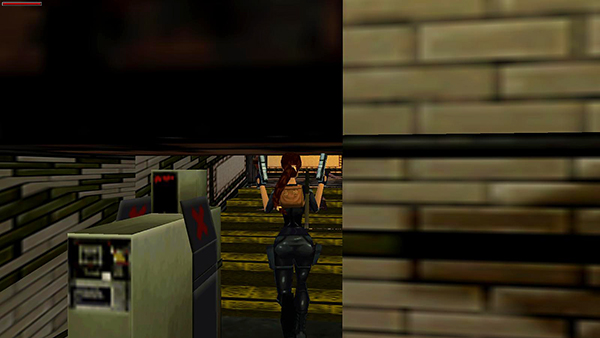
Go through the turnstile and up the steps into the next room.
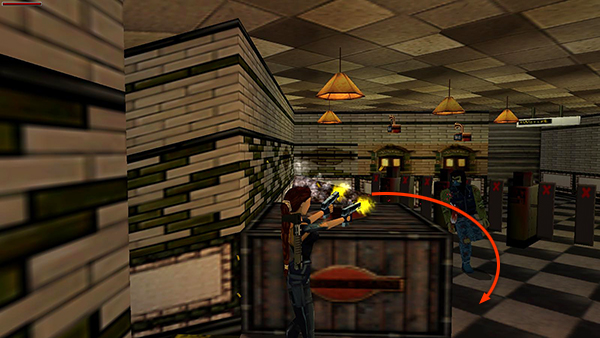
Immediately turn left and take out another club-toting goon as he comes around a crate toward you. Confiscate the goon's small medi pack.
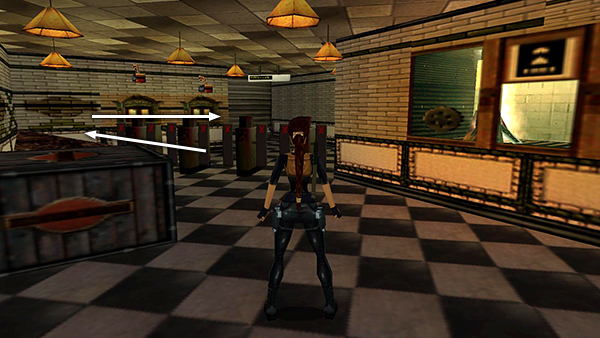
Then go around the left side of the long row of turnstiles...
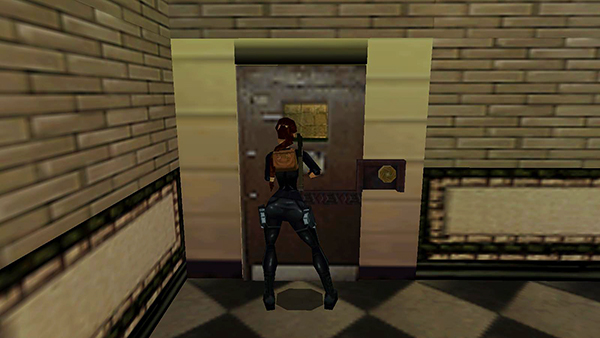
...and use the ORNATE STAR to unlock the room with the campfire inside.
NOTES: If you're having difficulty using the ORNATE STAR, try standing in the middle of the door, rather than facing the lock. If you missed the ORNATE STAR, you can go back for it now. Again, directions are included on a separate page.
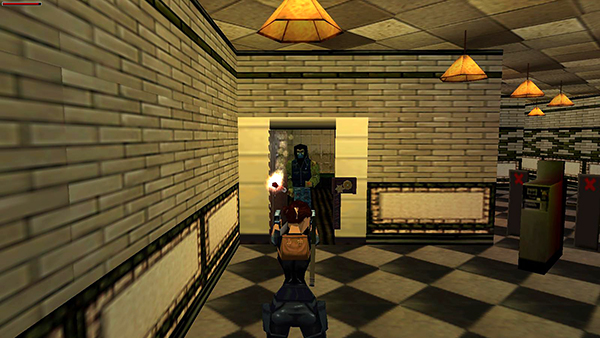
When you open the door, another thug with a flaming club rushes out. Backflip away while shooting or hop back and pop him once with the Desert Eagle before he flambées Lara.
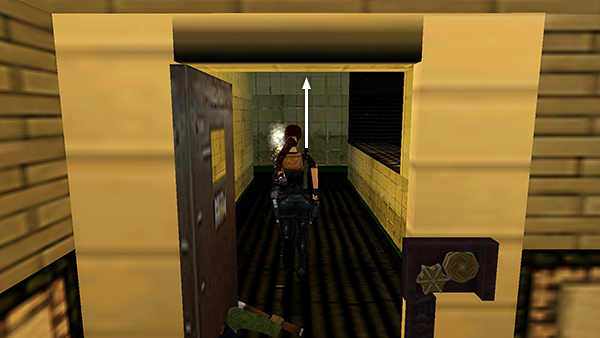
Then enter the office for SECRET #3. The secret registers as soon as you step inside. The reward is a save/power-up crystal, but you need to do a little climbing to get it. If you're playing the PC or Mac version and you don't need a health boost, you can skip it and just continue with the next paragraph. If you've got the PlayStation version, you'll probably want that crystal. So climb up through the hole in the ceiling directly opposite the entrance.
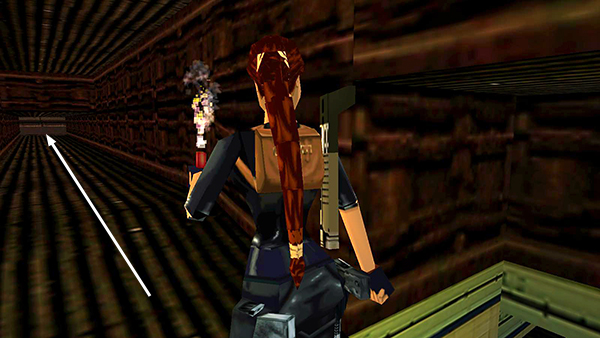
Follow the dark, rusty passageway...
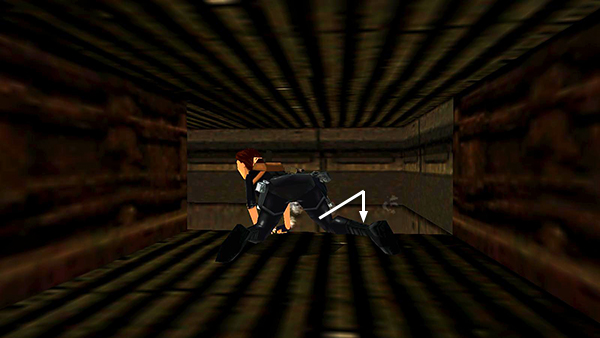
...dropping down once...
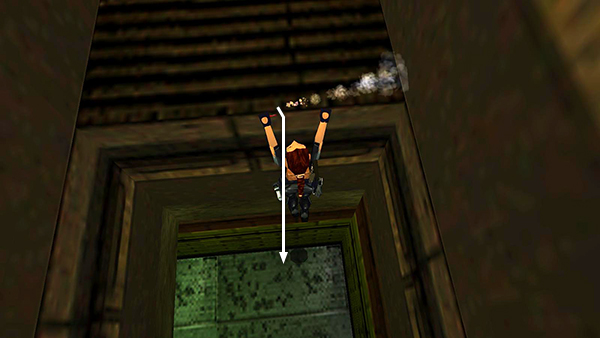
...then again...
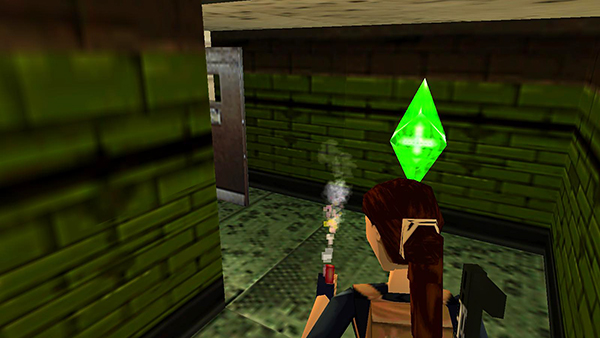
...until you end up in the small room with the crystal. The exit opens automatically, and you're back at the landing above the pool. (Kill that nasty dog on the stairway to the right if you didn't do so earlier.) Then return to the FLOODED ROOM WITH UNEVEN CONCRETE LEDGES at the top of the stairs and climb back up to the TURNSTILE room the same way you did before.
Copyright © 1998- - Stellalune (
). All rights reserved. Feel free to copy or print this walkthrough for personal use. By all means, share it with friends, but please include this credit line so people can send me their feedback. No part of this walkthrough may be reproduced on another site without permission. Follow this link for details about this site's advertising and privacy policy.