Aldwych - Three Timed Doors and Second Solomon's Key (part 2)
This sequence is also shown in a short video.
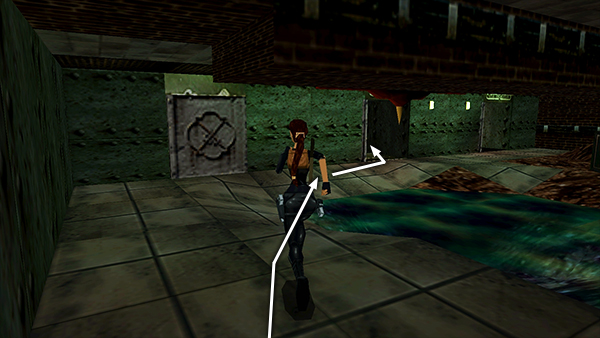
Press the right button again. Repeat the same run shown in the screenshots in part 1, but this time go through the middle door.
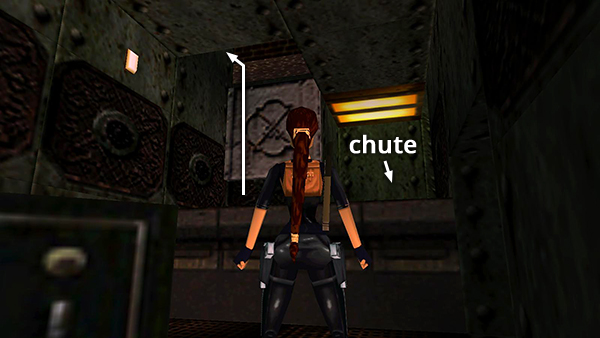
Once inside the middle room, climb up through the trapdoor, which you just opened using the button in the first room. (If you haven't done this yet, just slide down the chute, follow the passageway back to the buttons that control the timed doors, and try again.)
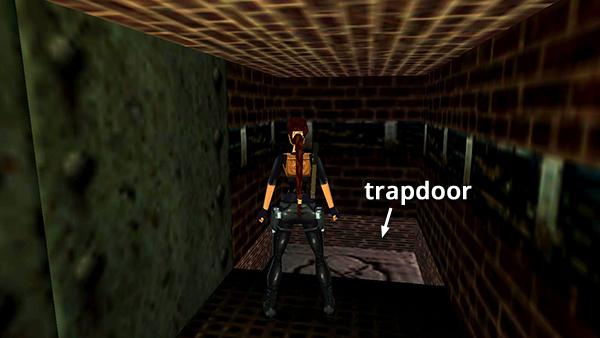
When you pull up into the passageway, the trapdoor closes behind you.
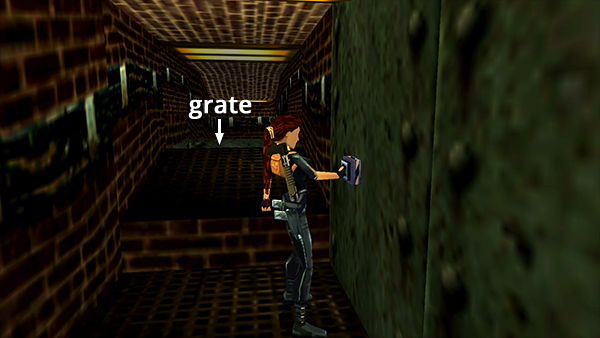
Press the button to raise a metal grate just ahead. This grate actually forms part of the ceiling in the leftmost room, which is now below you.
IMPORTANT: Make sure you press the button in the passageway above the middle room. Do not drop through the open grate into the left room. With the grate still open, you will not be able to swing across the ceiling to get the key. You can go through the doorway in the corner of the third room to get back to the buttons that control the timed doors, but the button that opens the trapdoor in the middle room will not work again. So you'll be stuck and have to reload.
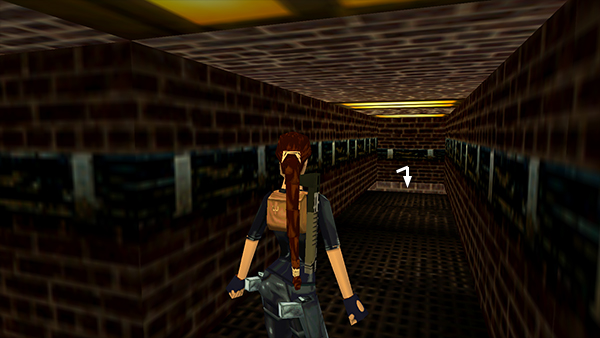
Move over the grate, follow the passageway to the end, and drop down near the pair of buttons.
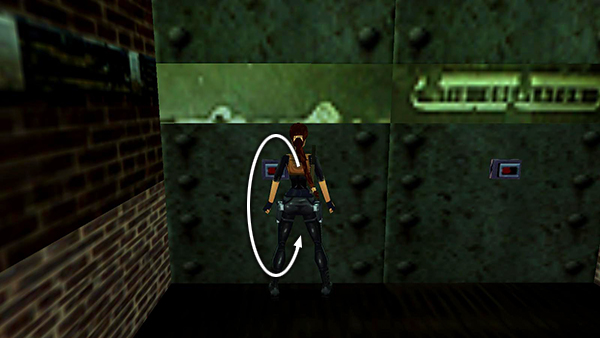
Press the left button. The timer here is even faster, but if you immediately roll...
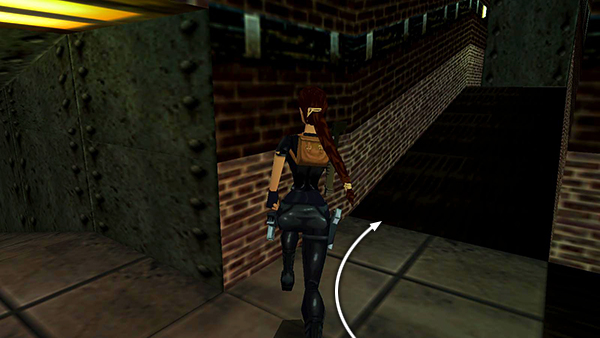
...make a tight turn to the right...
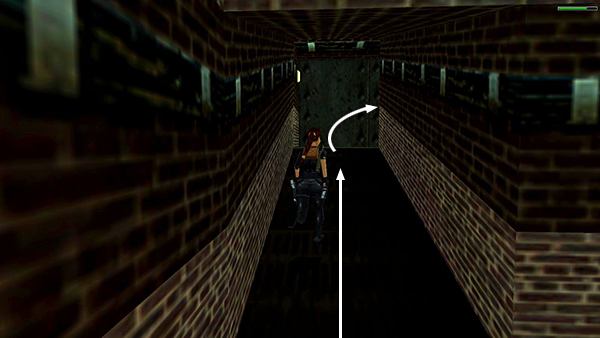
...and dash through the hall, sprinting on the straight parts and releasing the Sprint button while turning corners...
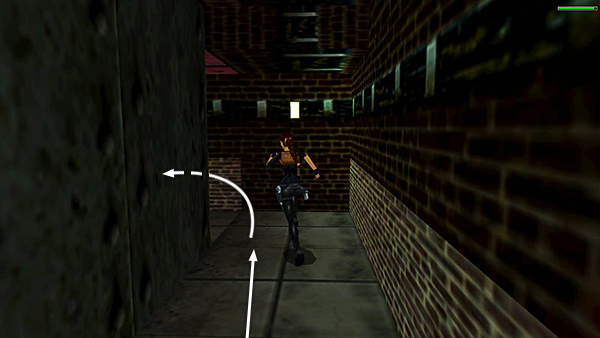
....
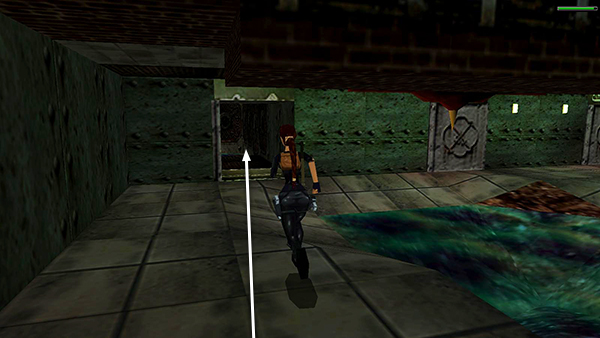
...you can then sprint straight on through the left door before it closes.
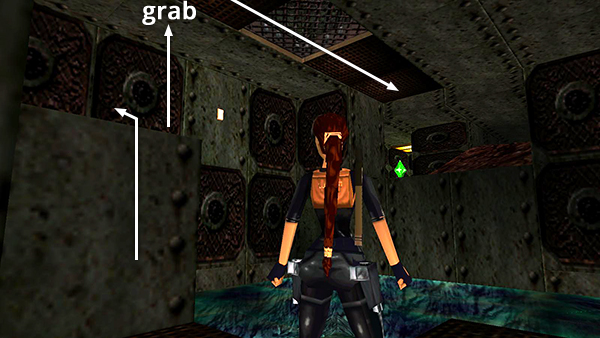
Inside, climb onto the metal ledge and use the ceiling grates to monkey swing across the pool. (This is only possible if you raised the grate by pressing the button in the passageway above the middle room.)
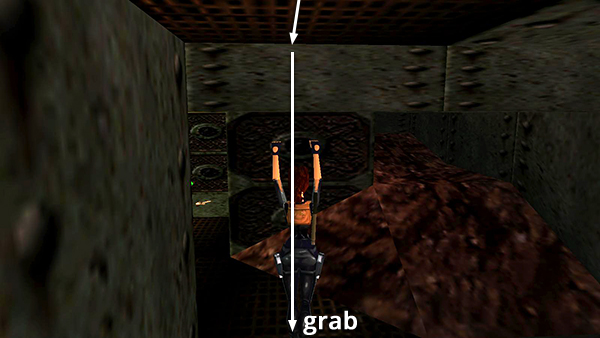
When you reach the end of the ceiling grates, drop and grab the ledge below.
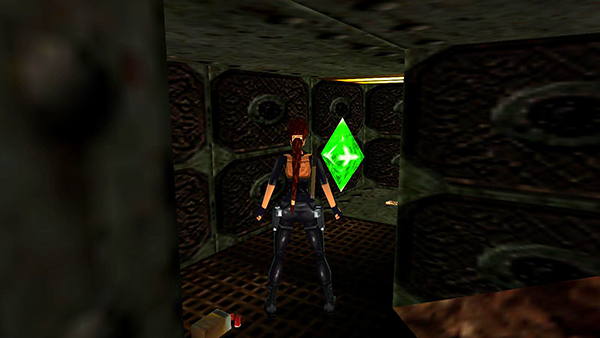
Pull up into the alcove and get shotgun shells, a save/power-up crystal, and the SECOND SOLOMON'S KEY.
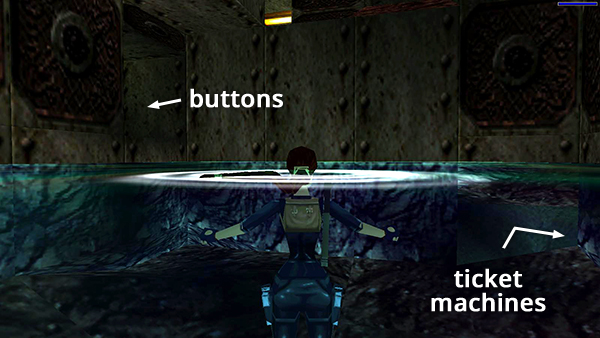
Once you have the key, drop into the pool and follow the underwater tunnel to emerge back in the ticket area, where another gang member is waiting for you.
Copyright © 1998- - Stellalune (
). All rights reserved. Feel free to copy or print this walkthrough for personal use. By all means, share it with friends, but please include this credit line so people can send me their feedback. No part of this walkthrough may be reproduced on another site without permission. Follow this link for details about this site's advertising and privacy policy.