Temple of Xian - Main Chamber
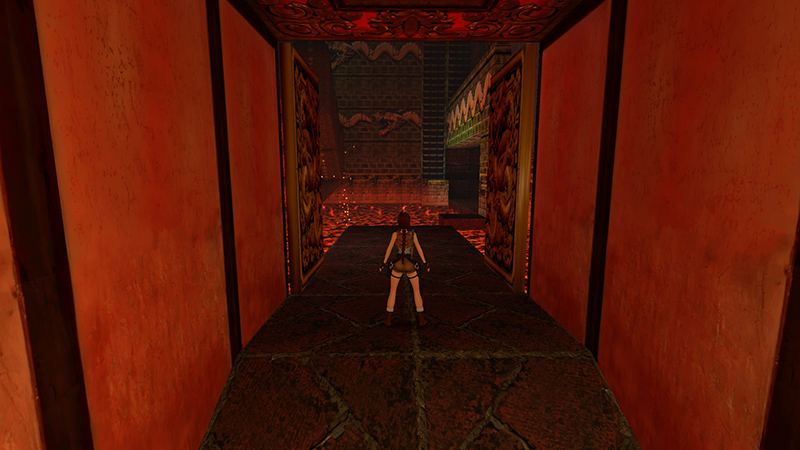
In the last section, you boing-boinged your way up a series of springboards to reach the big double doors. (If you pressed the button at the end of the WOODEN BRIDGE WITH THE ROLLING BLADE earlier, the doors will be open.)
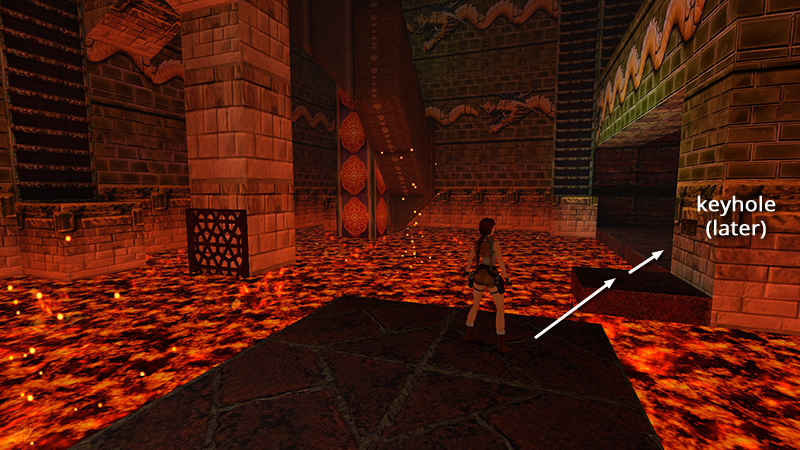
Enter the large, lava-filled room. Move to the end of the walkway and jump over to the small, square ledge near the keyhole. (You'll get the key shortly.) From there, jump to the larger ledge on the right.
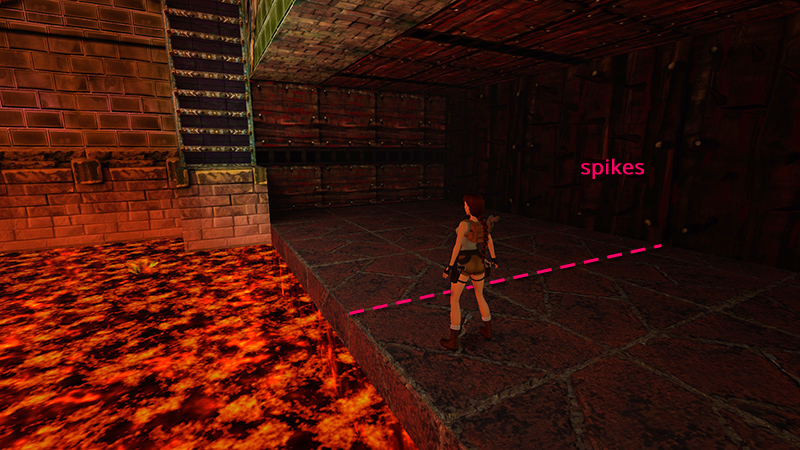
When you cross the line indicated in the screenshot above, the spiked wall moves in from the right.
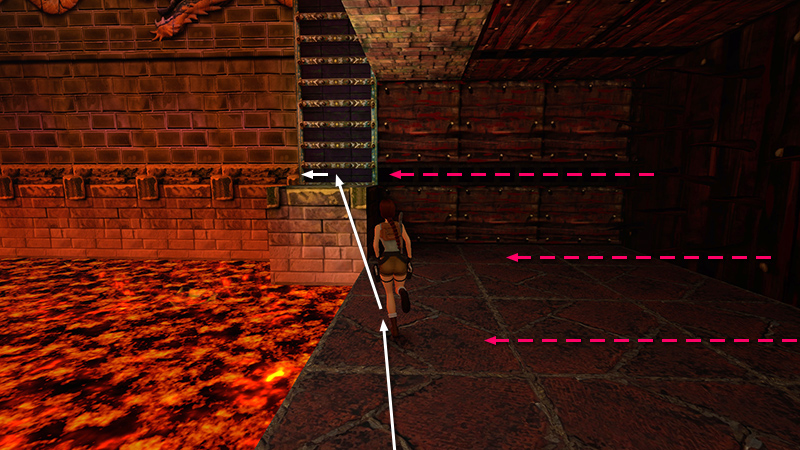
Run forward, jump onto the raised block below the ladder, and quickly move to the left side of the block before the spikes arrive.
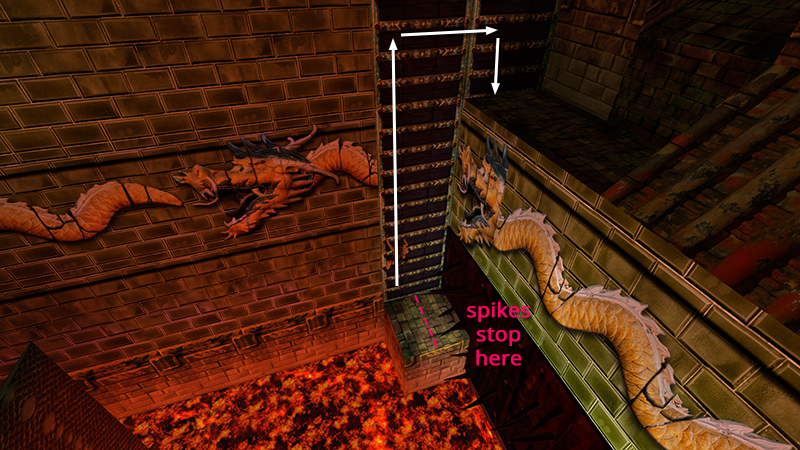
If you then climb the left side of the ladder, the spikes won't touch Lara. Continue climbing up, then right, and dismount on the ledge above.
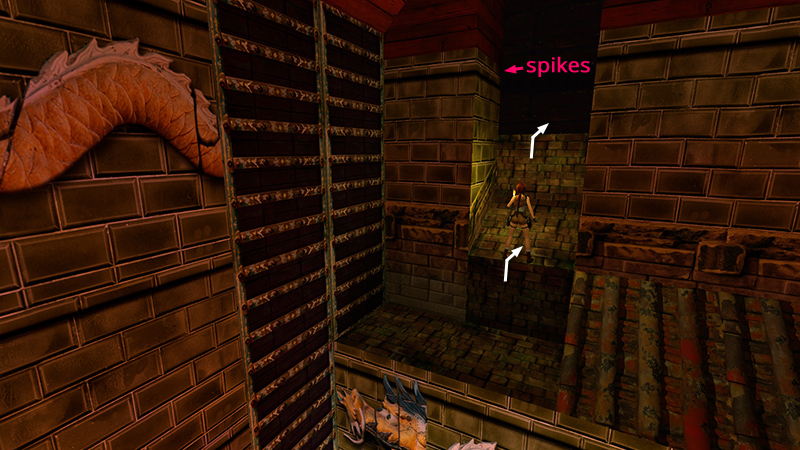
Climb the ledges just beyond the ladder. There's another spiked wall in the small, dark room above, but it doesn't start to move immediately.
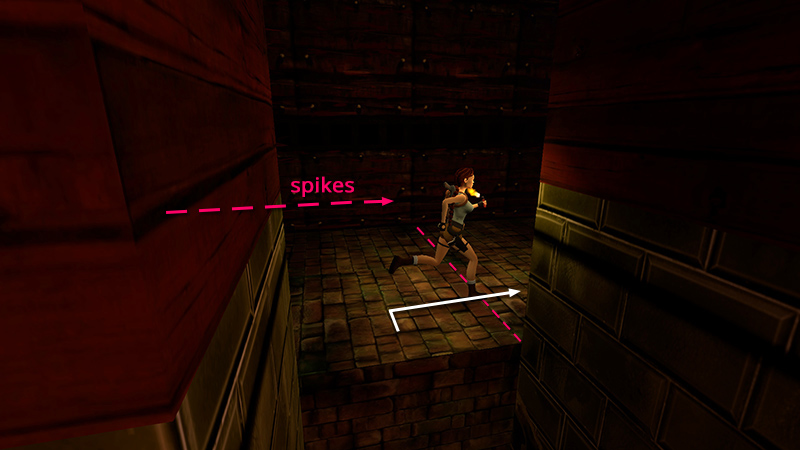
Light a flare, turn right, then run forward, staying close to the right wall. The spiked wall will follow, but you should have time to run forward...
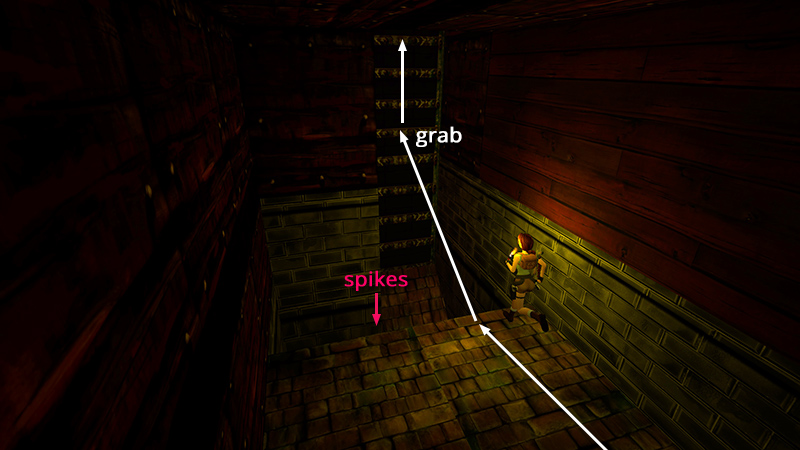
...jump across the spike pit, and grab the ladder on the far wall. Lara is safe here. Climb up.
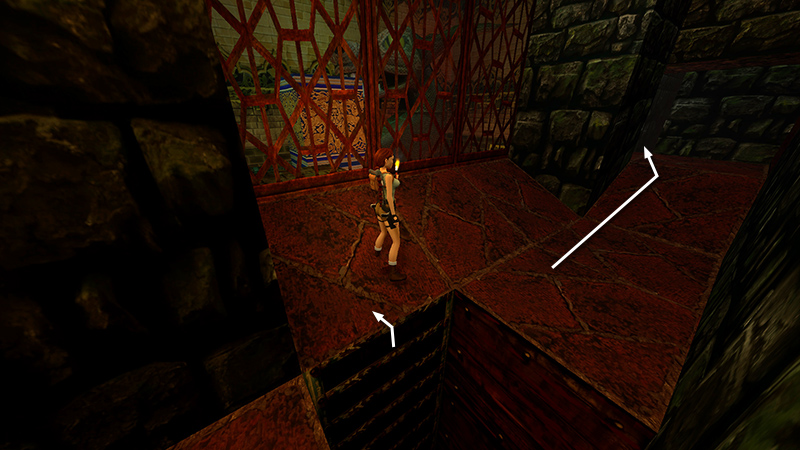
At the top of the ladder, turn right and follow the passageway past several barred openings and a a trapdoor, all closed now.
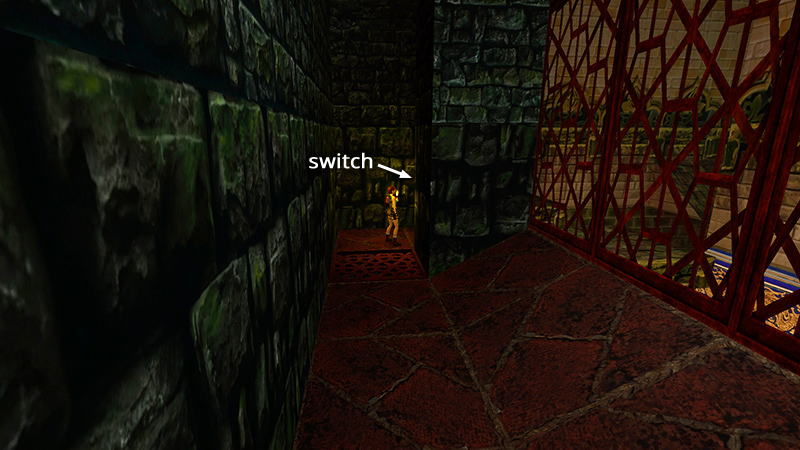
At the end of the passageway, on the right, use the switch to open one of the small gates you just passed.
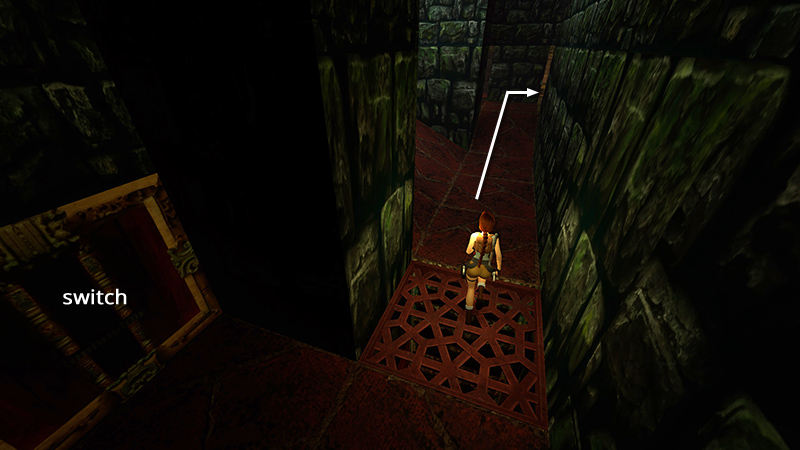
It's back the way you came, up the little ramp, on the right.
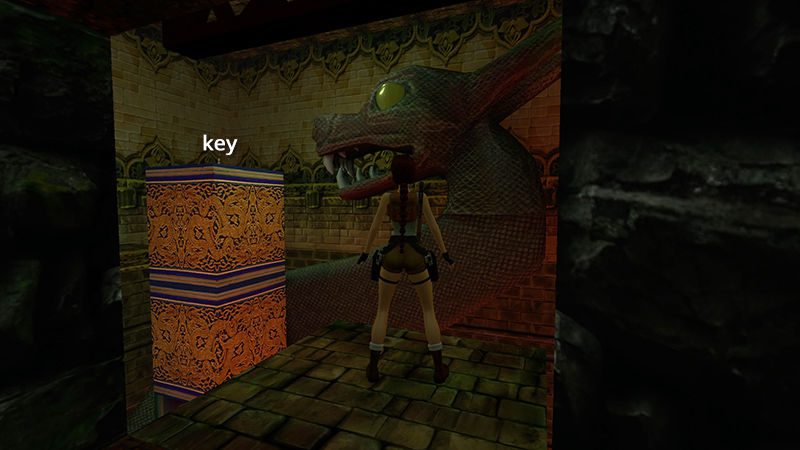
Step through onto a ledge overlooking the lava pool. Directly ahead is a giant dragon statue surrounding a tall, square column with a shiny key on top.
DARK MODE: I plan to add optional dark mode for these pages, but my current priority is updating the walkthroughs. Meanwhile, may I suggest a reputable dark mode browser extension, such as Dark Reader? (Download only from trusted sites, like darkreader.org or your browser's official add-on/extension site.)
Walkthrough text and diagrams copyright © Stellalune (email ). Feel free to copy or print this walkthrough for personal use. By all means, share it with friends, but please include this credit line so people can send me their feedback. No part of this walkthrough may be reproduced on another site without permission.