Temple of Xian - Pool with Side Tunnels and Levers
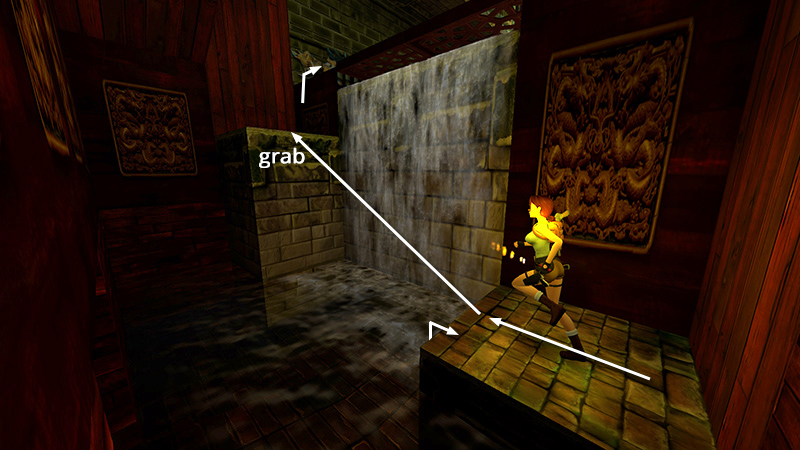
After escaping the ROOM WITH THE SPIKED CEILING AND MANY SWITCHES, as shown in the last section, you arrive in a small room with water cascading from a pool above. Climb onto the block on the right and take a running jump to grab the higher block. Pull up. Then climb onto the ledge above.
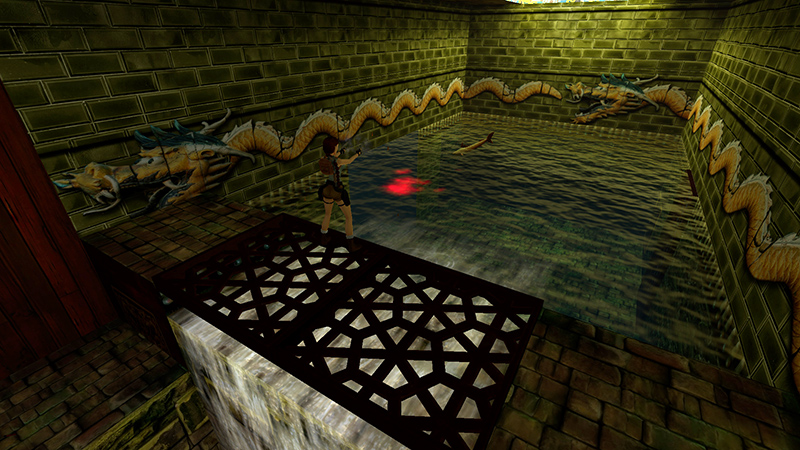 Kill the carp (17) in the pool before proceeding. (You may have to take a dip to draw it out.)
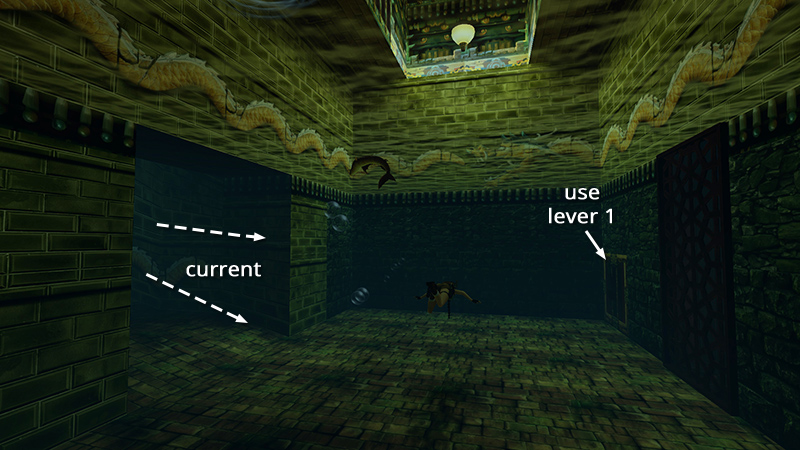
This next section has a complex series of underwater levers and gates. On the left side of the pool is a wide opening with a strong current keeping you out. On the right is a closed gate and the first of 5 levers in this area. Let's be original and call it lever #1. Swim down and pull it...
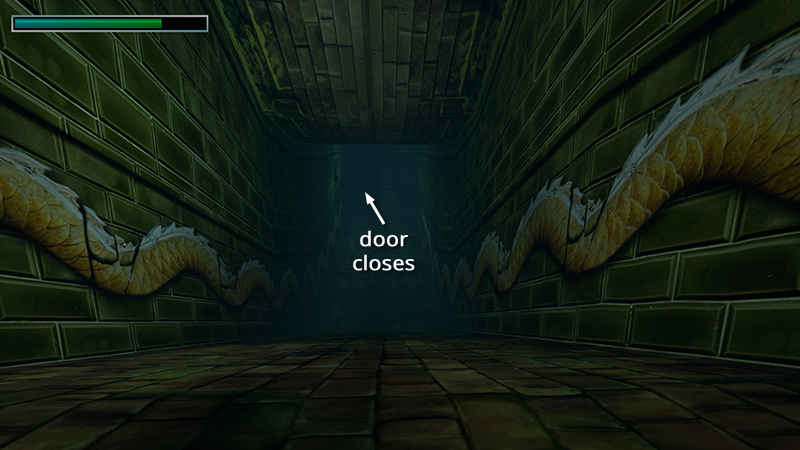
...to close a door at the end of the passage with the current, raising the water level in the pool and slowing the current.
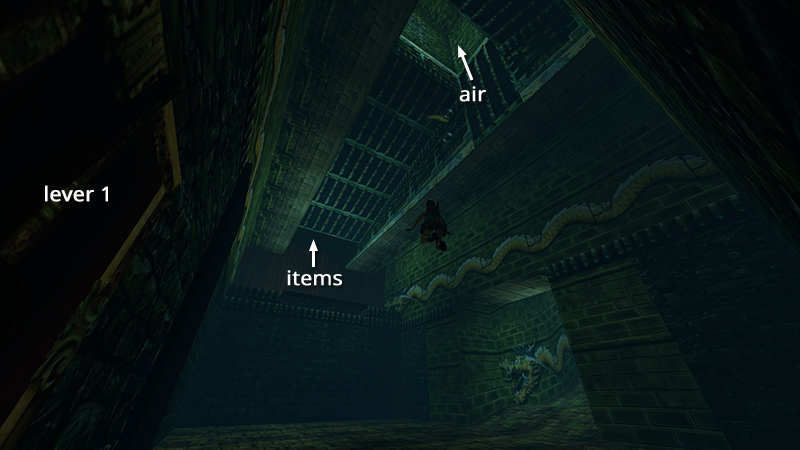
Swim up to the ceiling, where you'll find 2 air pockets. Use the one just above if you need it. Then swim to the second air pocket on the far side of the room (i.e., above the entrance).
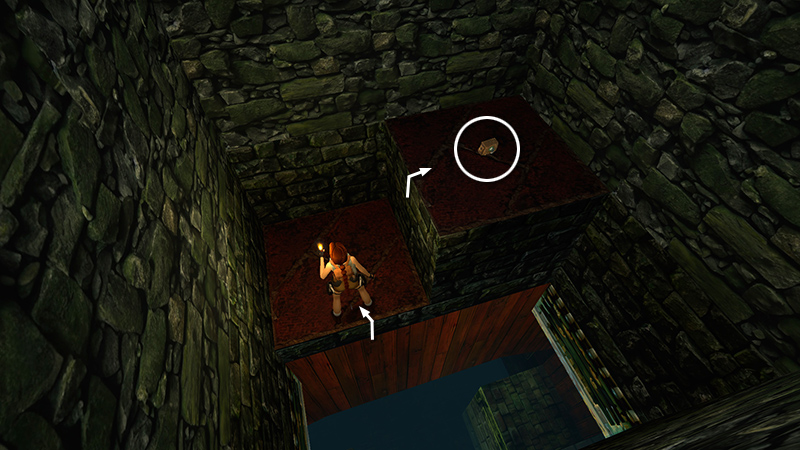
Climb out of the water and collect a large medi pack and grenades (23-24).
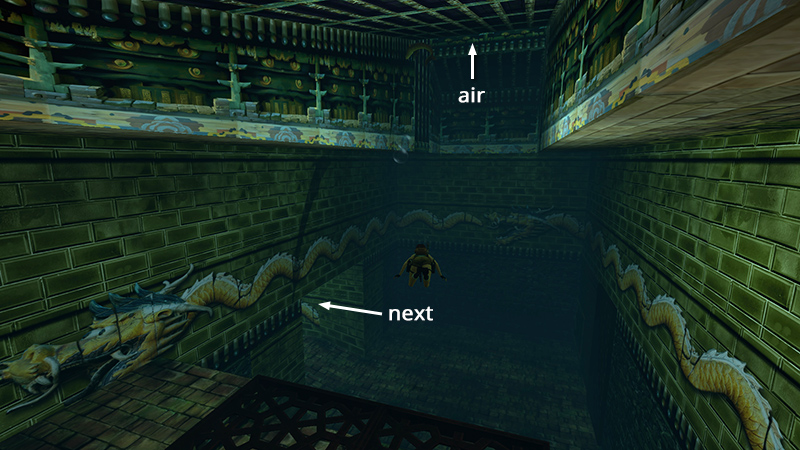
Now swim down into the wide tunnel previously blocked by the current. (If you like, you can get air at the other hole in the ceiling first.)
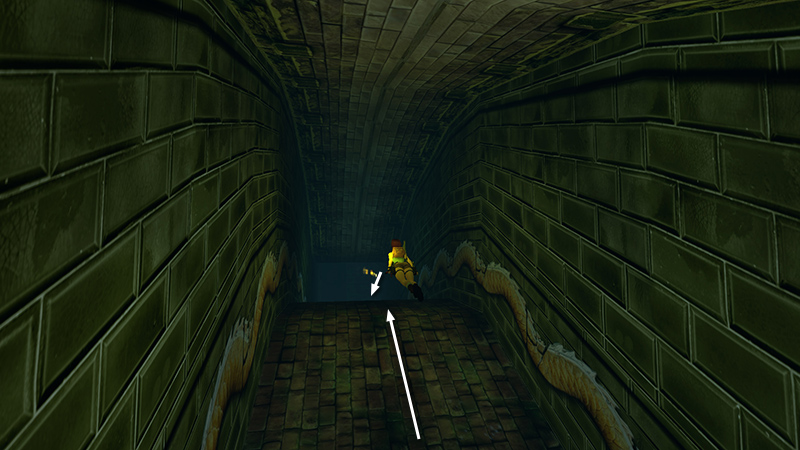
The tunnel slopes upward then down again.
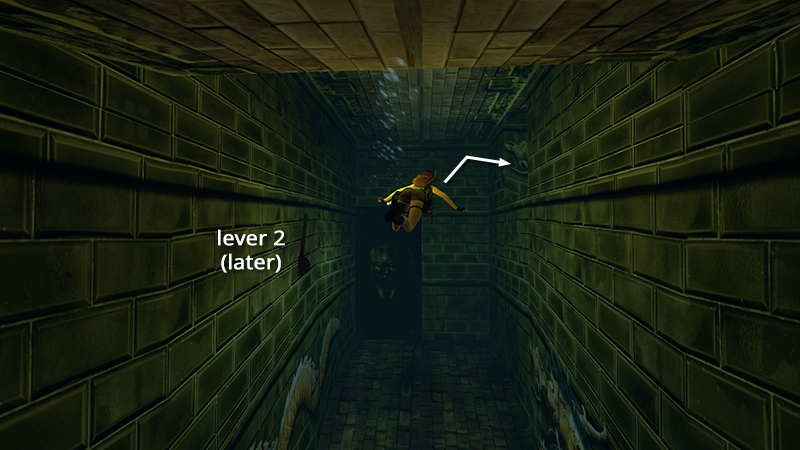
When you come to the door with the face, ignore lever #2 on the left for now. Instead swim through the little opening on the upper right, opposite the lever.
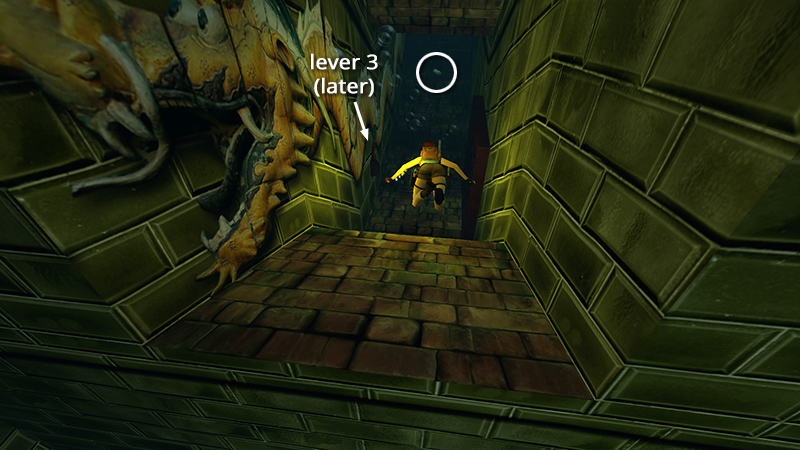
Swim forward past lever #3, pick up a small medi pack (25)...
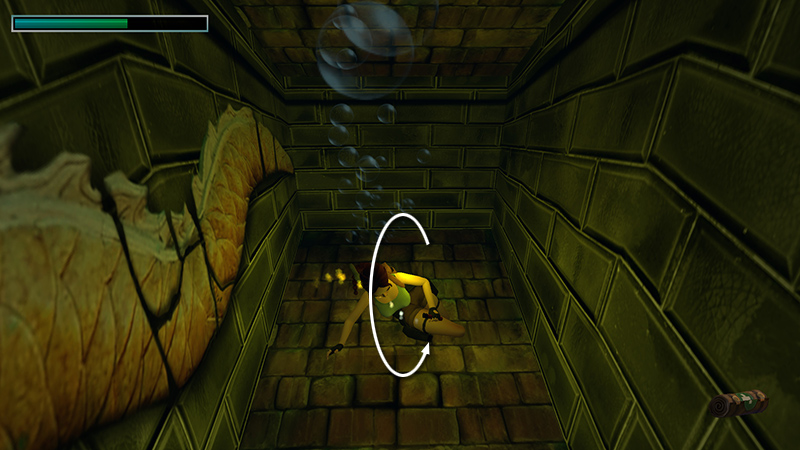
...and roll.
If your breath meter is at least half full, skip the next 3 screenshots and continue below.
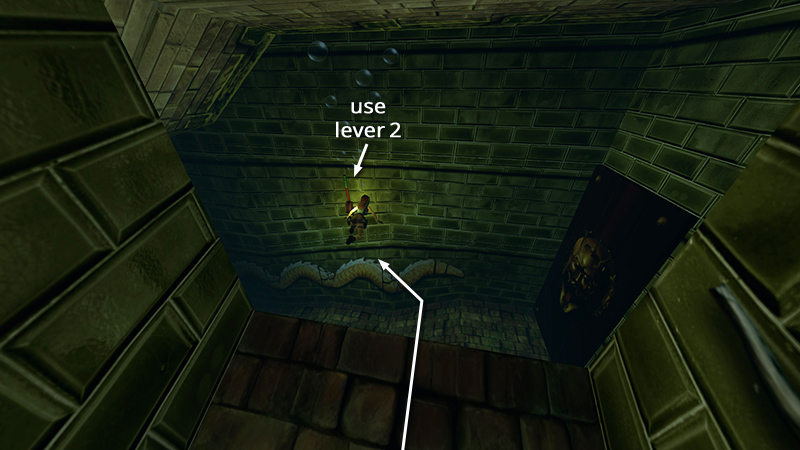
If your breath meter is less than half full, swim back out to the main tunnel and pull lever #2 (the one you passed a moment ago). It's on the far wall, just below and to the left.
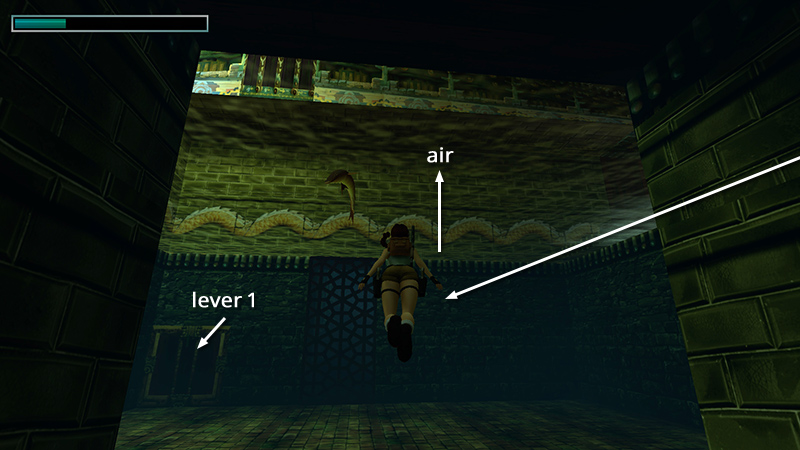
This restarts the flow, sweeping Lara back into the big pool and lowering the water level so she can breathe. Use lever #1 again to raise the water level, get air above if you like...
...then swim back to the narrow passageway where you found the medi pack.
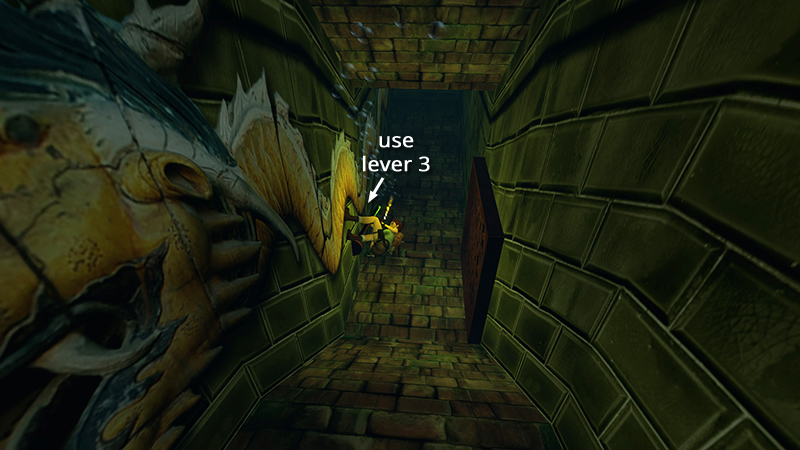
In the same narrow passage where you got the medi pack, pull lever #3 to open the gate directly opposite.
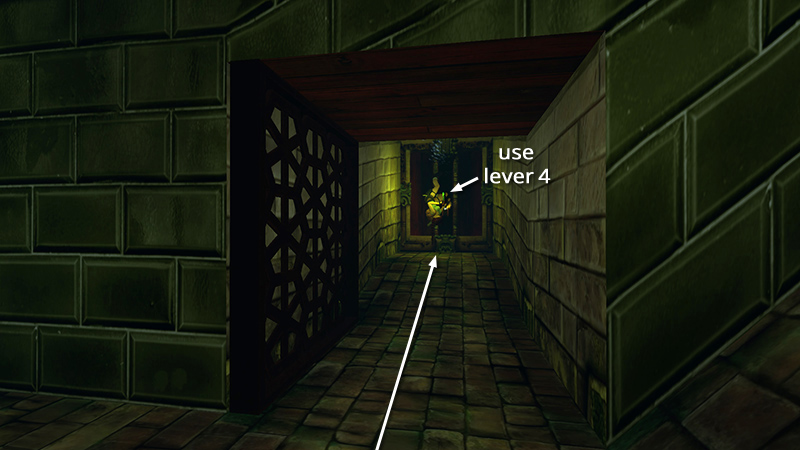
Roll, swim forward, and pull lever #4. This opens the gate out in the big pool.
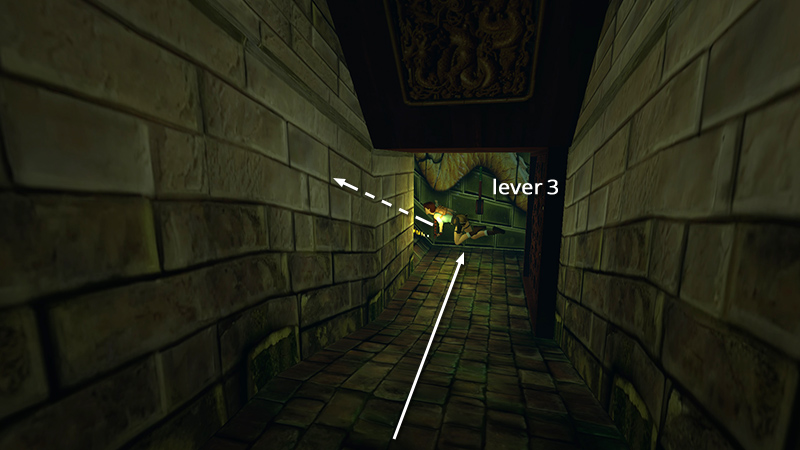
Roll, swim out of this tunnel, and turn left at lever #3.
When you come to the wide tunnel, swim across to the opposite wall and use lever #2 to open the door with the face once more.
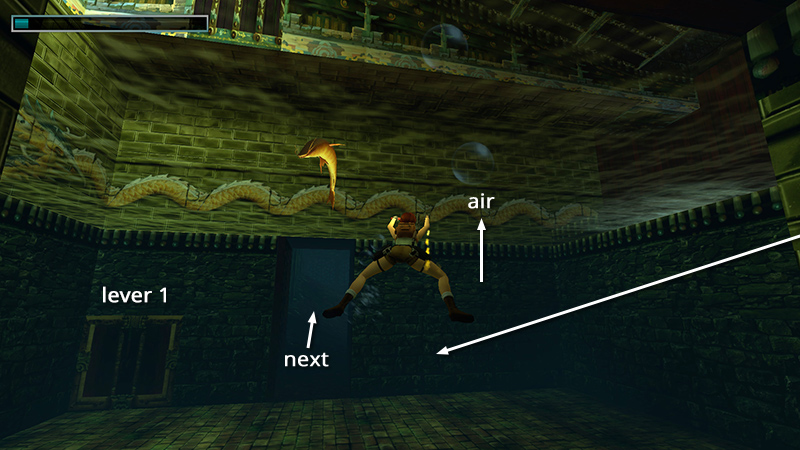
This restarts the flow, sweeping Lara back into the big pool and lowering the water level so she can breathe. The gate you just opened using lever #4 is on the other side of the pool, to the right of lever #1.
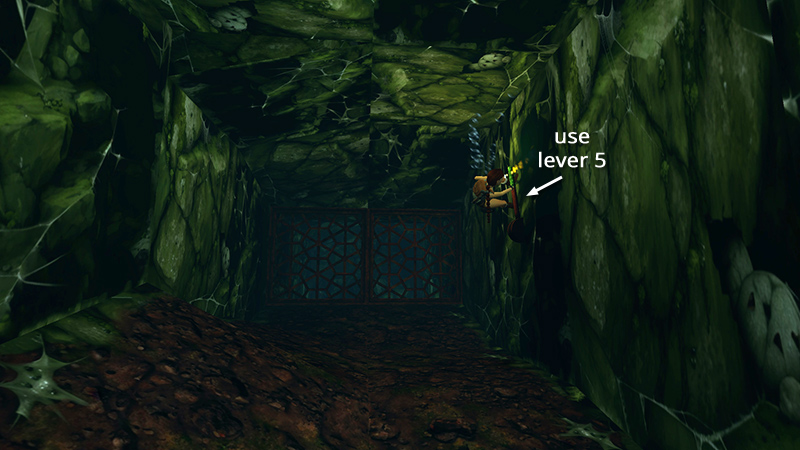
Swim through and locate lever #5 on the right wall of this dark room.
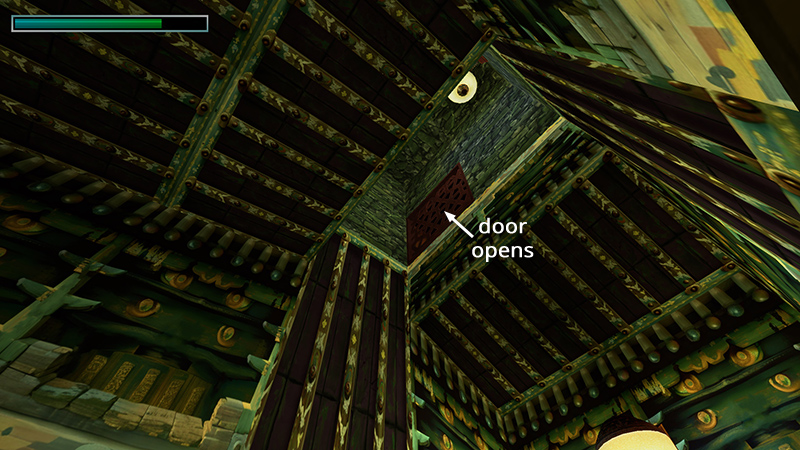
Pull it to open the exit, high in the ceiling of the pool room.
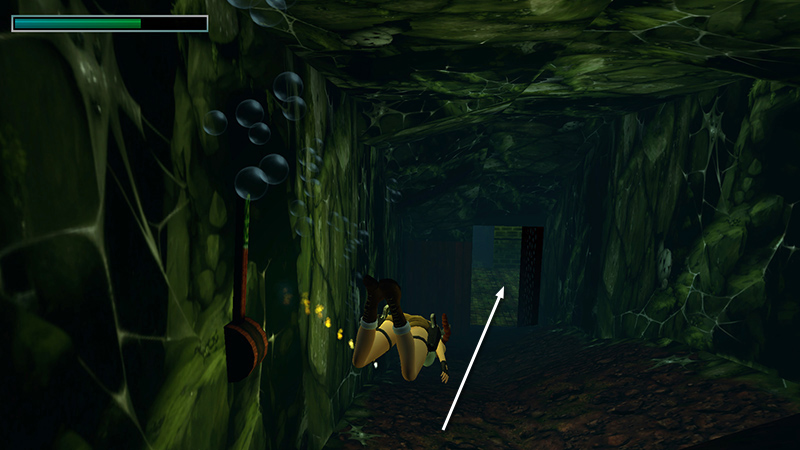
Swim back out to the pool.
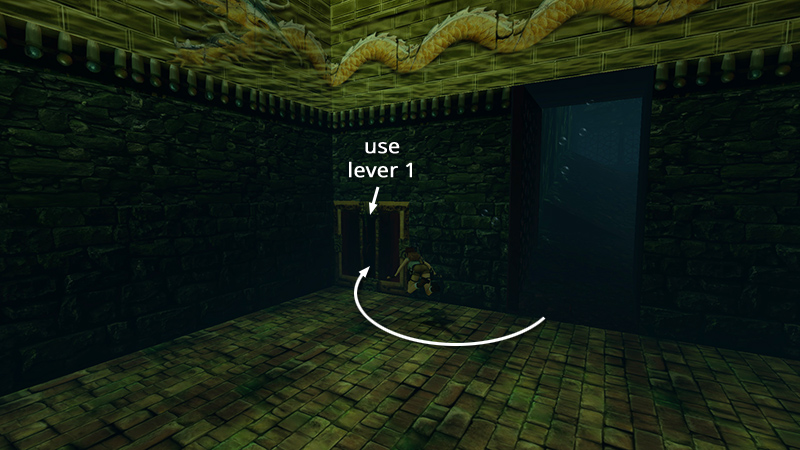
Use lever #1 once more to raise the water level.
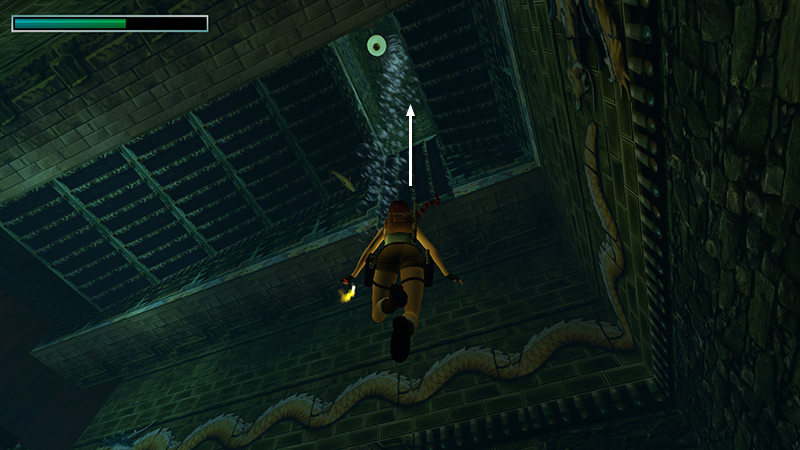
Roll, swim up to the air pocket in the ceiling, and climb out of the water at the gate you just opened.
DARK MODE: I plan to add optional dark mode for these pages, but my current priority is updating the walkthroughs. Meanwhile, may I suggest a reputable dark mode browser extension, such as Dark Reader? (Download only from trusted sites, like darkreader.org or your browser's official add-on/extension site.)
Walkthrough text and diagrams copyright © Stellalune (email ). Feel free to copy or print this walkthrough for personal use. By all means, share it with friends, but please include this credit line so people can send me their feedback. No part of this walkthrough may be reproduced on another site without permission.