Opera House - Breaking and Entering - "Fight Off the B's" Achievement/Trophy
CONSERVING FLARES: This level is DARK. Consequently, I use more flares in these screenshots than you'll probably need. For tips on conserving flares, see the note in the main walkthrough.
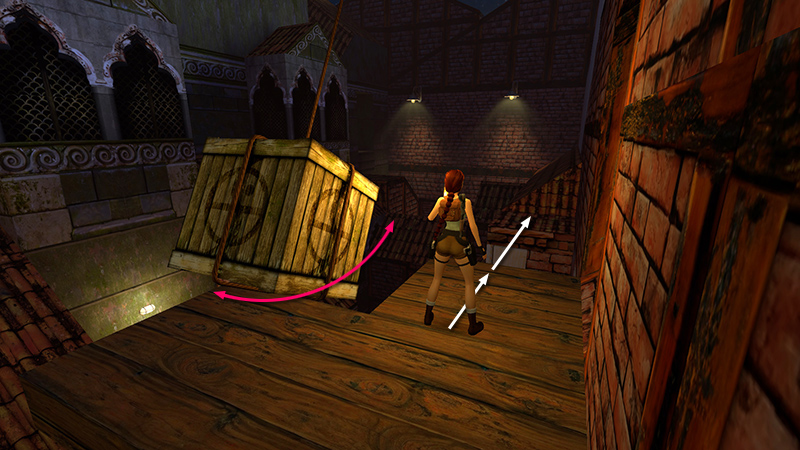
After obtaining the ORNATE KEY and climbing back up to the ledge with the perpetually swinging crate, as shown in the previous section, move to the far end of the ledge, so the crate is on Lara's left. Then take a running jump onto the small, flat area on the tiled roof ahead.
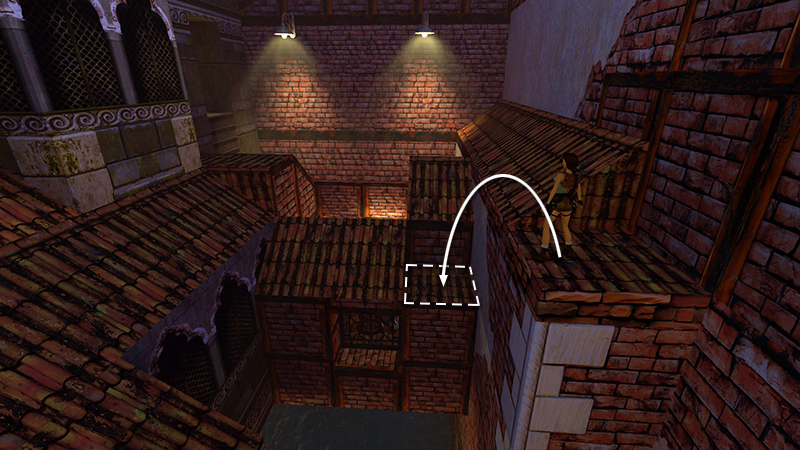
From there, take a standing jump down to the next flat ledge, ahead and a bit to the left.
- OR -
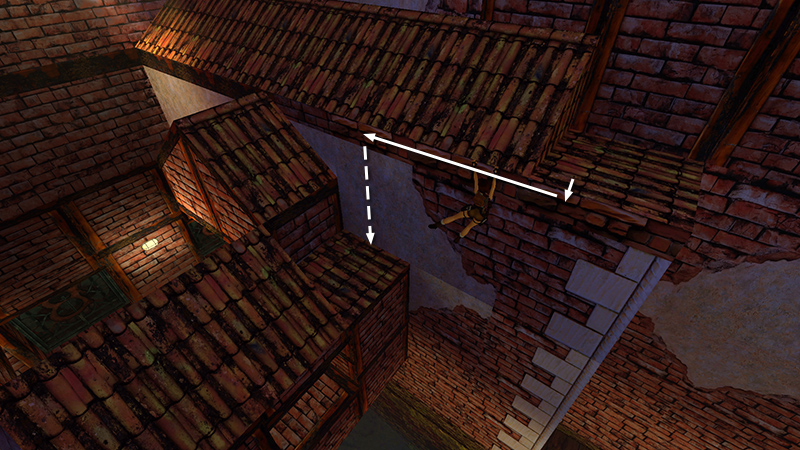
Alternatively, hang from the edge and traverse along the roof to the left. Then drop to the small ledge.
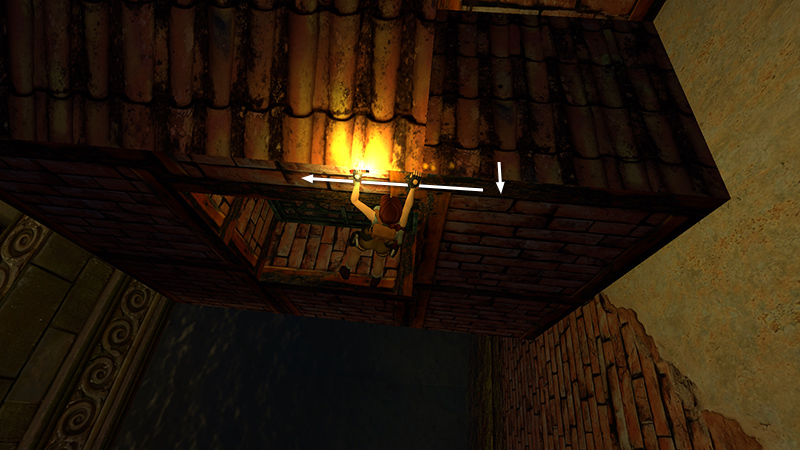
Hang from the edge and traverse to the left until Lara is dangling in front of the window.
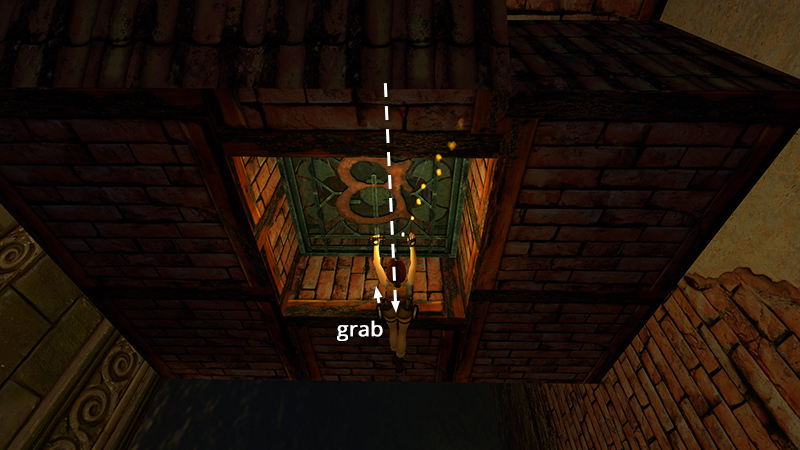
Release Action and quickly press it again to let go and grab the windowsill. Pull up.
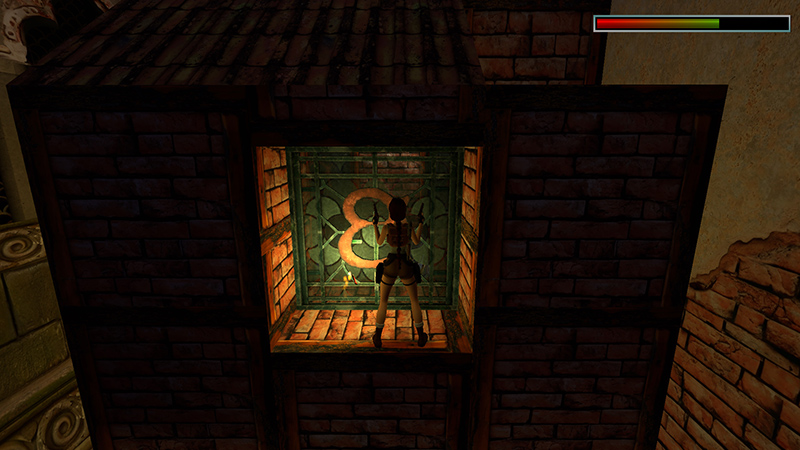
Shoot out the monogrammed window (1/9). This is the first of 9 windows you must shatter for the "Fight Off the B's" achievement/trophy. ("Break all the windows with your enemy's initial.")
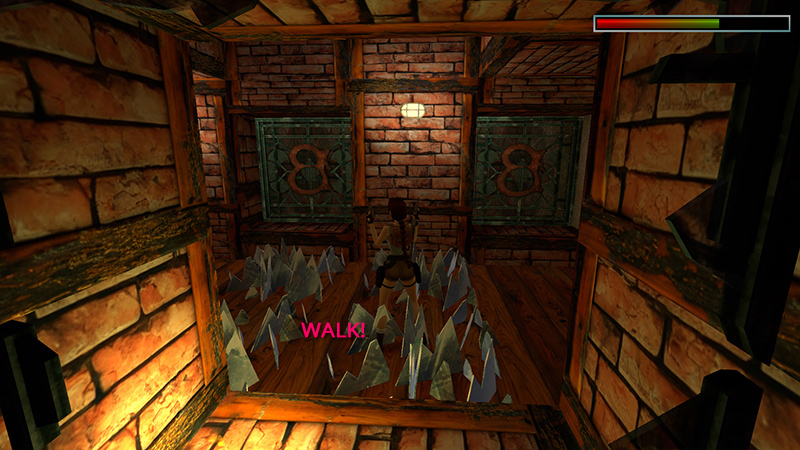
Now enter the room, carefully walking through the glass shards to avoid taking damage. There are 2 more windows (2-3/9) just ahead.
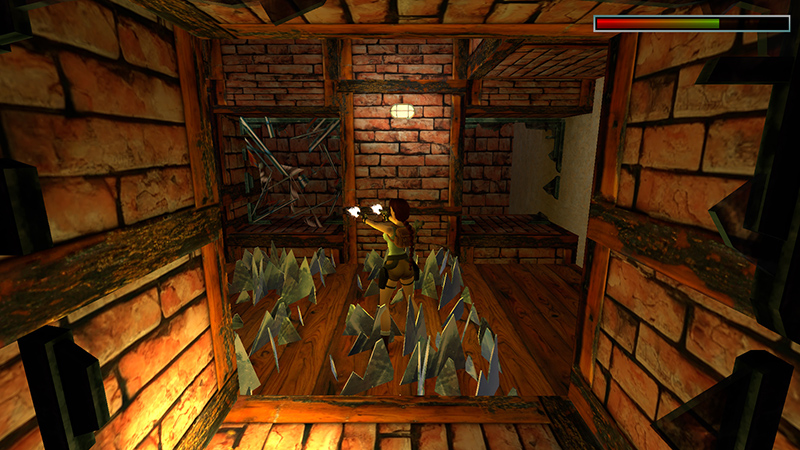
Shoot both.
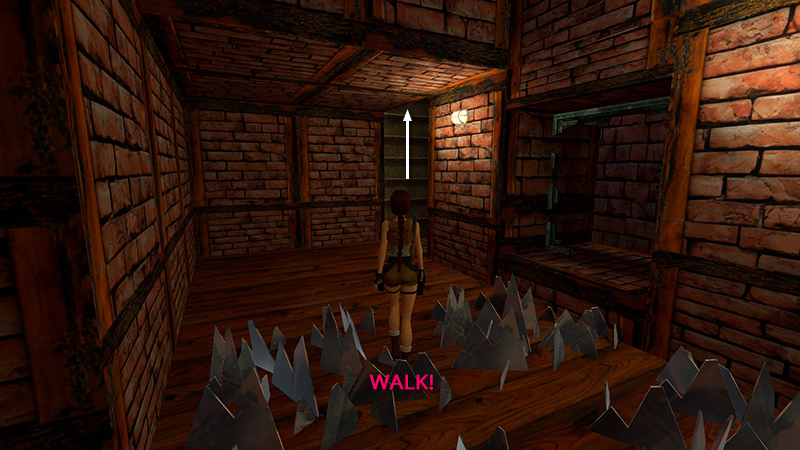
Then head for the ladder in the far left corner. (Be careful not to step off the edge here and fall into the water. If you do, you'll need to reload your last save or swim to the other end of the canal, retrace your steps to the starting ledge, and try the whole sequence again.)
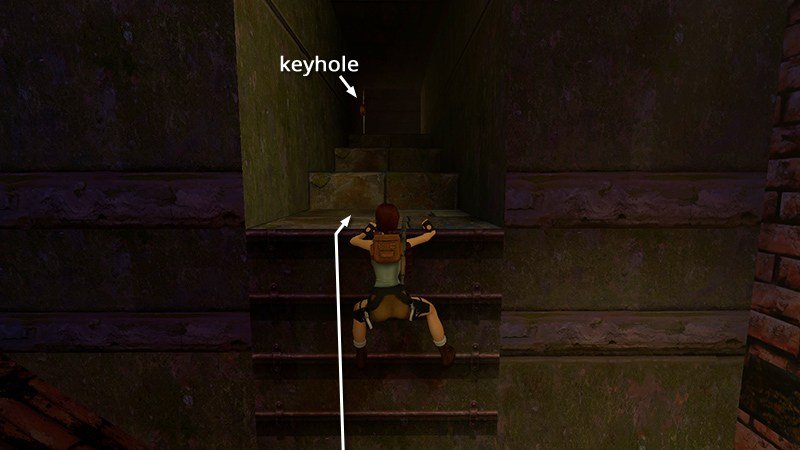
Climb the ladder and use the ORNATE KEY in the keyhole at the top of the steps to unlock the door.
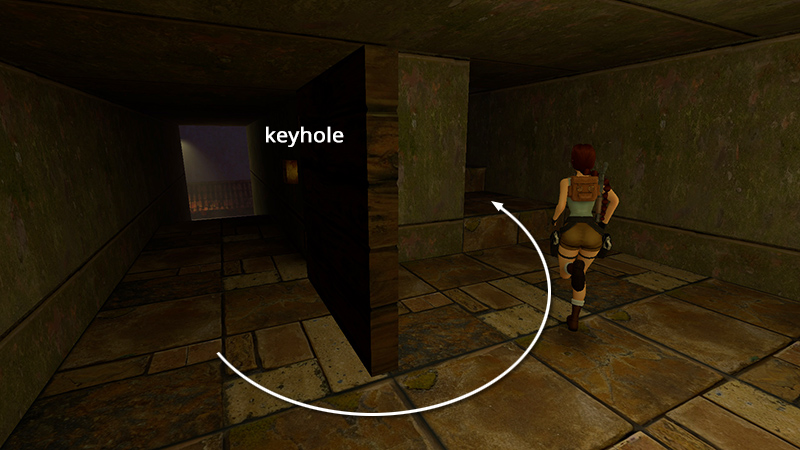
Follow the passage around to the left...
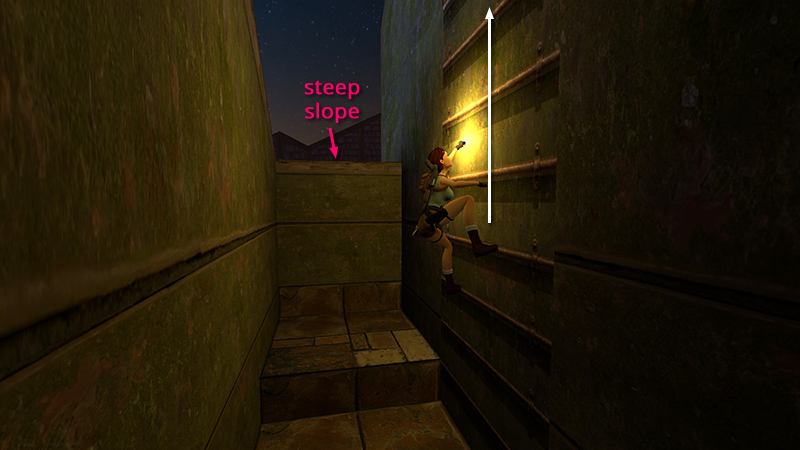
...and climb the next ladder to the roof. (Do not pull up onto the ledge next to this second ladder. There's a steep slope on the other side that will dump you into the canal.)
DARK MODE: I plan to add optional dark mode for these pages, but my current priority is updating the walkthroughs. Meanwhile, may I suggest a reputable dark mode browser extension, such as Dark Reader? (Download only from trusted sites, like darkreader.org or your browser's official add-on/extension site.)
Walkthrough text and diagrams copyright © Stellalune (email ). Feel free to copy or print this walkthrough for personal use. By all means, share it with friends, but please include this credit line so people can send me their feedback. No part of this walkthrough may be reproduced on another site without permission.