Opera House - The Lighting Booth - Raising the Curtain
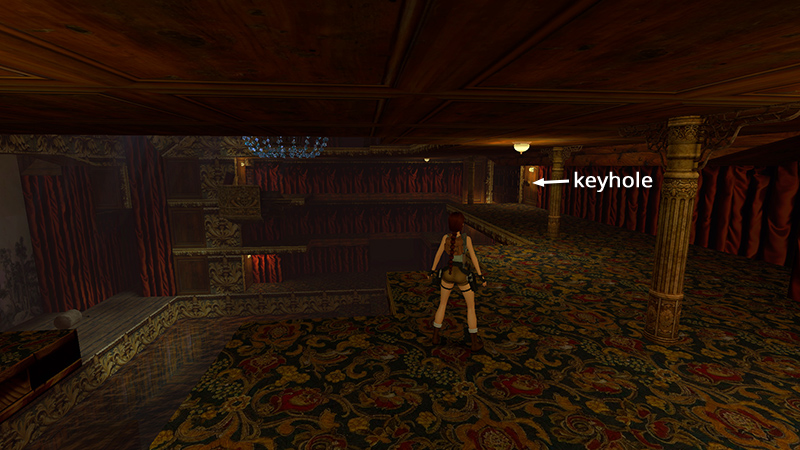
After retrieving the CIRCUIT BOARD in the flooded area below the elevator shaft, as shown in the last section, we re-entered the main auditorium on LEVEL 3. Go to the keyhole at the back of the room and use the ORNATE KEY to open the doors just to the left.
NOTE: In the unlikely event that you missed the ORNATE KEY, you can backtrack for it now. If you missed the Jade Dragon, it's in the same area. See the first visit to the VERTICAL SHAFT WITH STAGGERED LEDGES, DRESSING ROOM, and VENTILATION DUCTS, in the main walkthrough, for details.
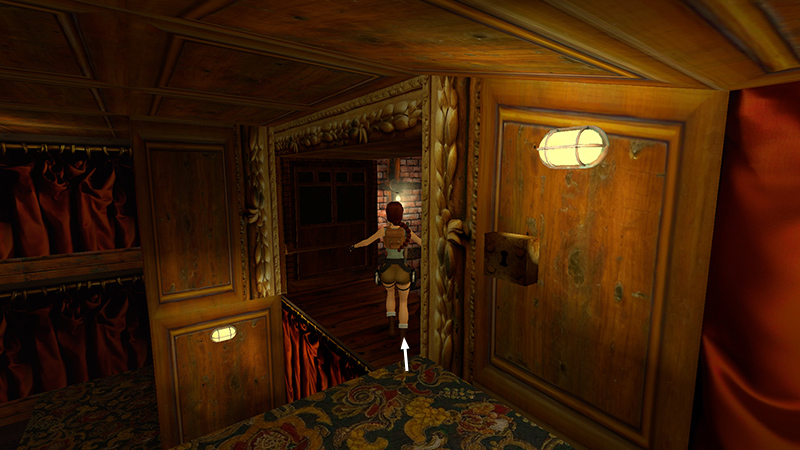
To get inside, either run across at the corner where the gap is smaller, or take a carefully angled standing jump with Action.
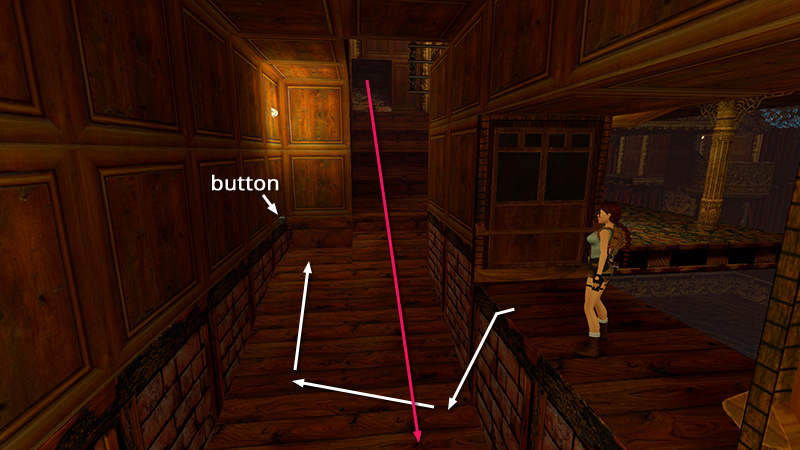
If this is your first time exploring here, beware; there's a boulder trap ahead. To avoid it, hop down off the ledge and run straight forward toward the long wall. Then make your way up the slope...
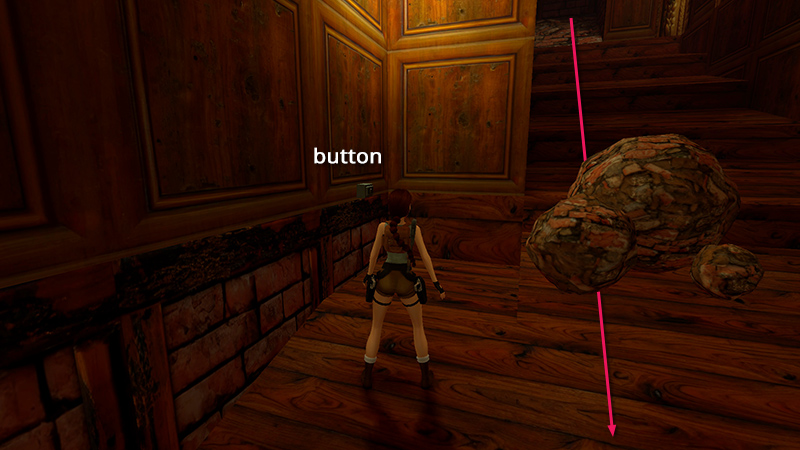
...as the boulders roll past on your right. Press the button in the corner...
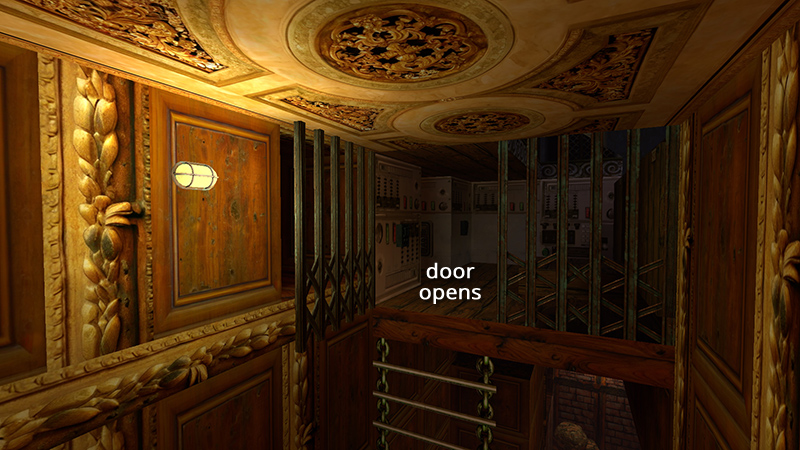
...to open a gate a little farther up the slope.
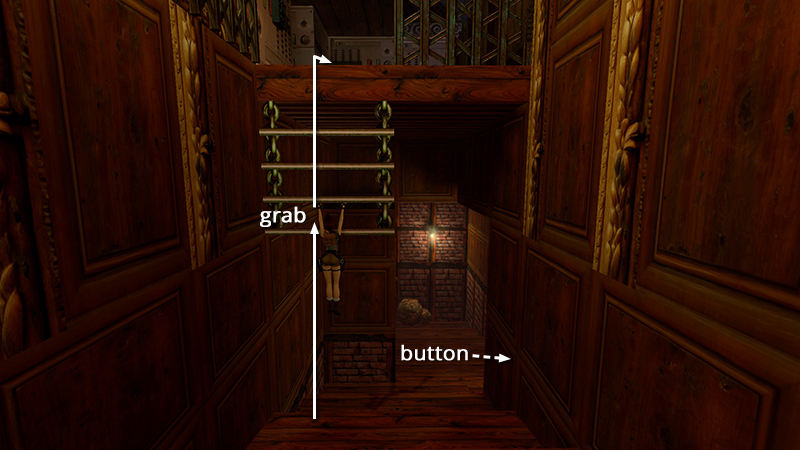
Stand on the low step below the ladder and jump straight up to grab it. Then climb into the LIGHTING BOOTH.
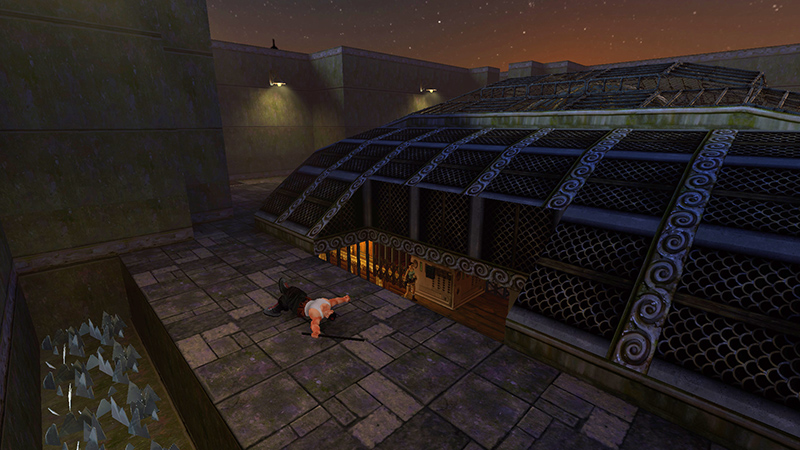
This is where you would have entered the opera house from the GLASS DOME ROOFTOP if you hadn't gone after the Gold Dragon secret first.
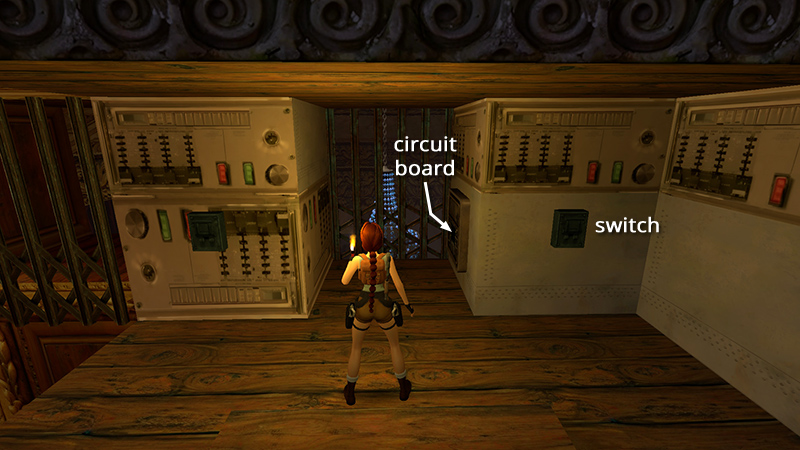
Place the CIRCUIT BOARD in its receptacle and use the switch on the right to raise the scrim on the stage...
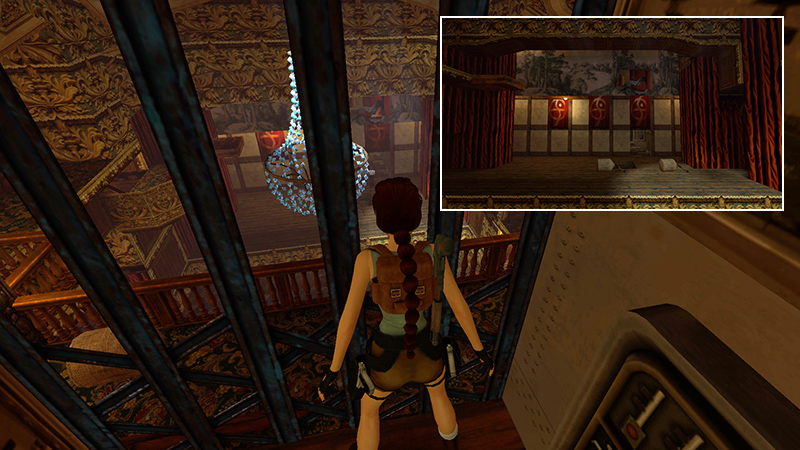
...exposing several red-and-gold Fiamma Nera banners.
NOTE: If you use the switch and nothing happens, you probably just need to try again. If you entered the lighting booth earlier and tested the switch, it didn't work yet because the CIRCUIT BOARD was missing. It should work now. If you're missing the circuit board, follow the main walkthrough, starting with the section "MAIN AUDITORIUM (again)."
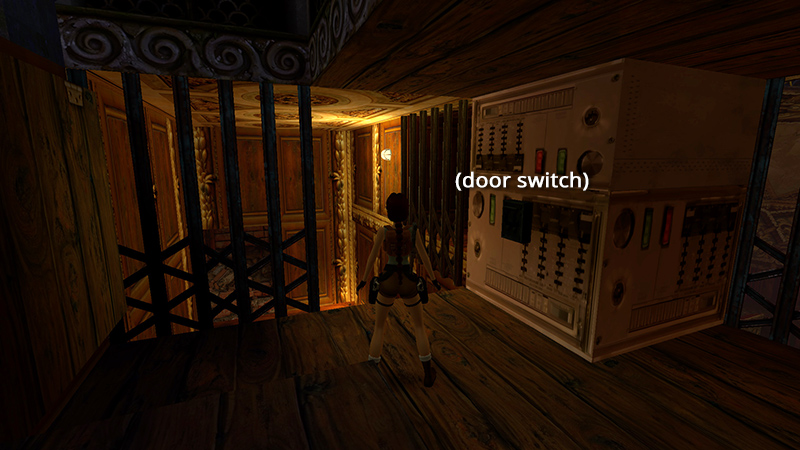
The left switch opens and closes the metal gate. If you used it, move it back to the up position to re-open the door.
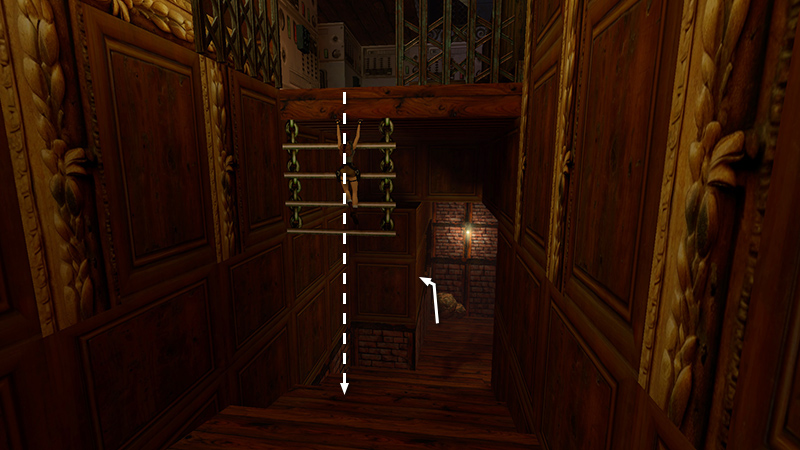
Drop back down into the boulder trap room, move down the slope, and climb into the doorway near the boulders.
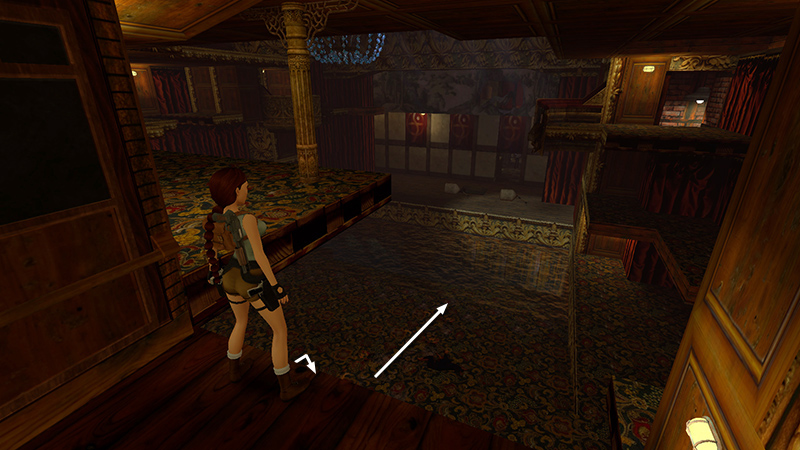
Drop into the main auditorium and approach the flooded orchestra pit.
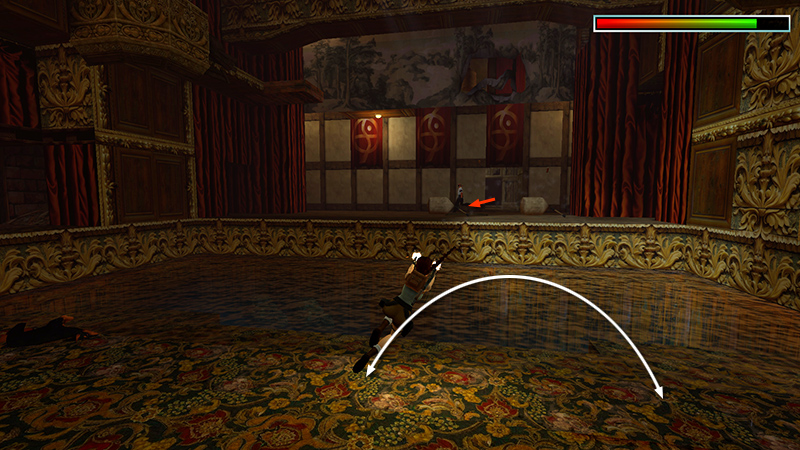
A thug with a gun (37) comes out onto the stage to see what's going on. You can probably take him out from this side of the pool.
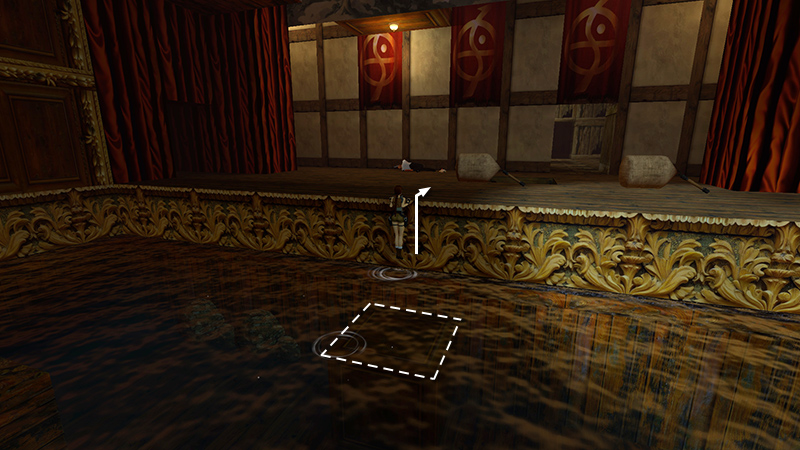
Next, swim back over to the stage, climb up...
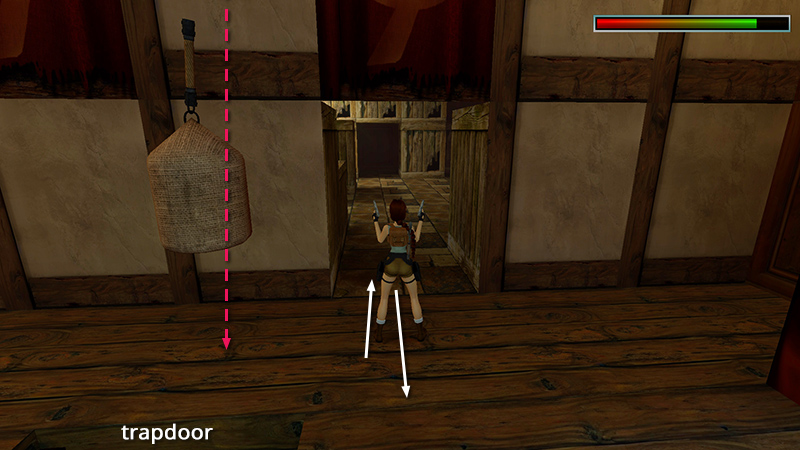
...and step into the square doorway beneath the Fiamma Nera banners. Watch out for another falling sandbag to the left of the doorway, and take care not to fall through the open trapdoor. (It's not dangerous, but it's a long trek back to this point.)
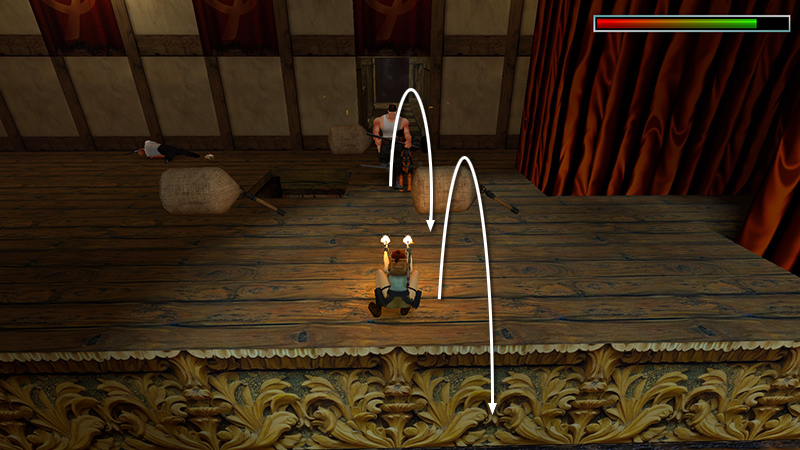
As soon as you cross the threshold, a dog and 2 goons with clubs (38-40) emerge from the room ahead. To conserve health and ammo, you can backflip into the water...
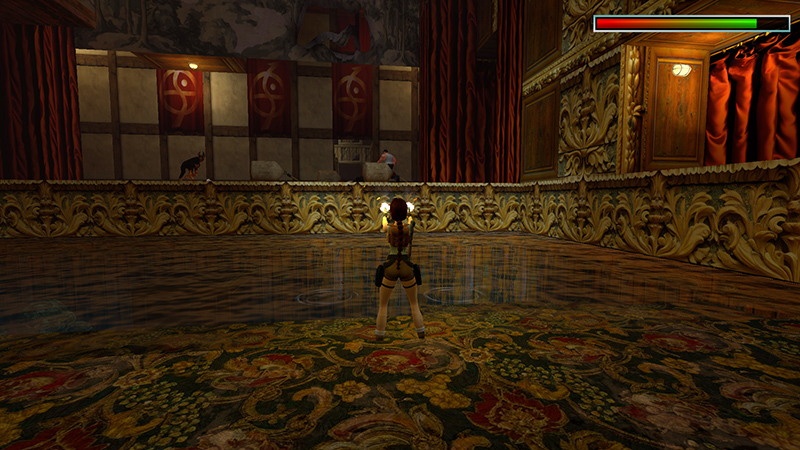
...swim to the other side, and shoot these enemies from there.
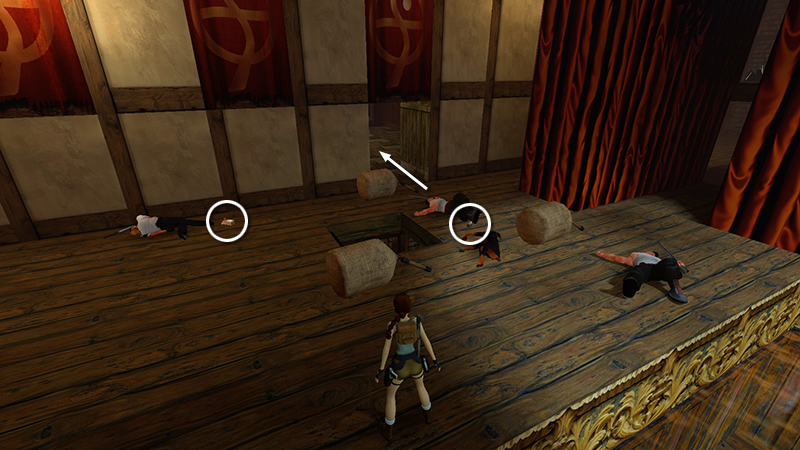
Then return to the stage, liberate some shotgun shells and a small medi pack (30-31) from their previous owners, and enter the room they came from.
DARK MODE: I plan to add optional dark mode for these pages, but my current priority is updating the walkthroughs. Meanwhile, may I suggest a reputable dark mode browser extension, such as Dark Reader? (Download only from trusted sites, like darkreader.org or your browser's official add-on/extension site.)
Walkthrough text and diagrams copyright © Stellalune (email ). Feel free to copy or print this walkthrough for personal use. By all means, share it with friends, but please include this credit line so people can send me their feedback. No part of this walkthrough may be reproduced on another site without permission.