Opera House - Elevator Repair
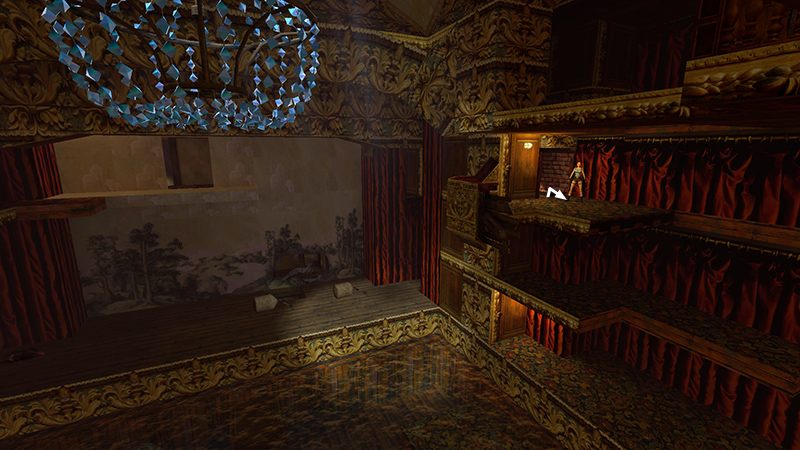
After exploring the FLOODED BASEMENT below the stage and retrieving the Silver Dragon secret and RELAY BOX, as shown in the previous section, you climbed a ladder to emerge back on LEVEL 3 of the main auditorium.
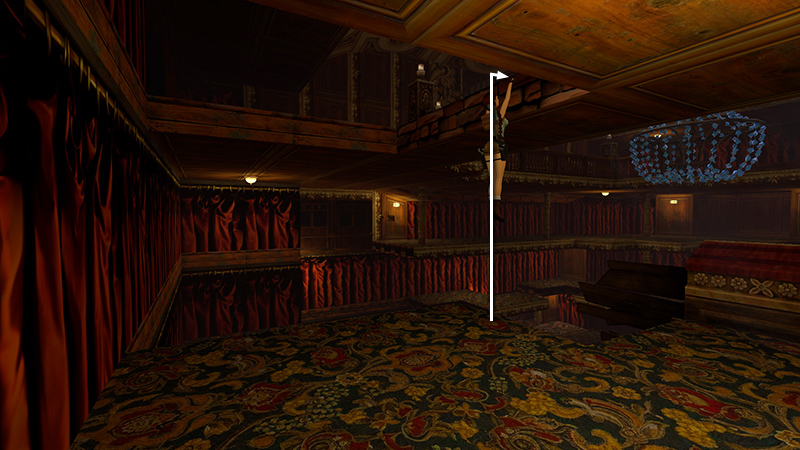
Climb up to LEVEL 4.
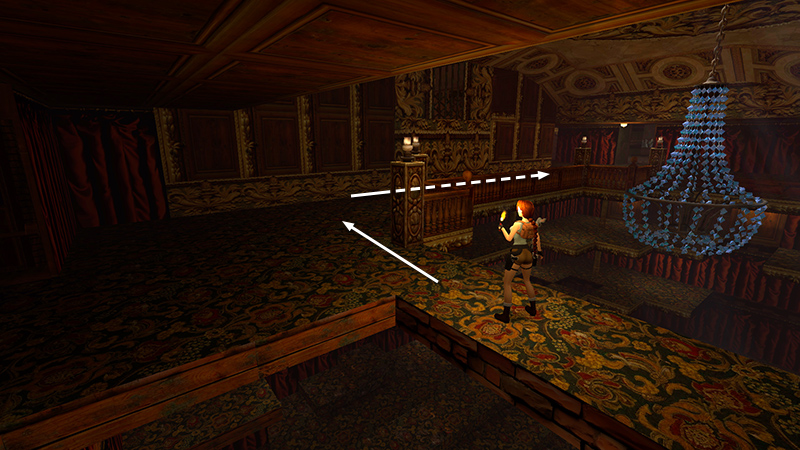
Then head for the far right corner (i.e., the back left corner if you're facing the stage).
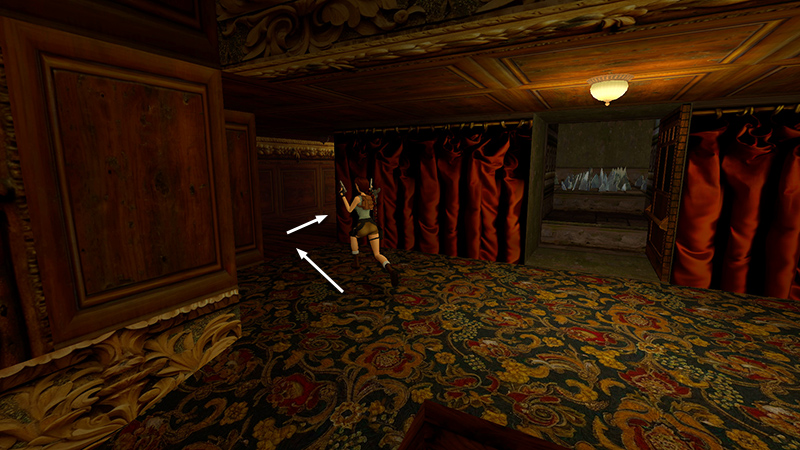
Enter the wood-paneled hallway in that corner.
NOTE: If you missed the room with the broken glass on the floor, shown in the screenshot above, don't worry. You'll be able to reach it from the other side momentarily.
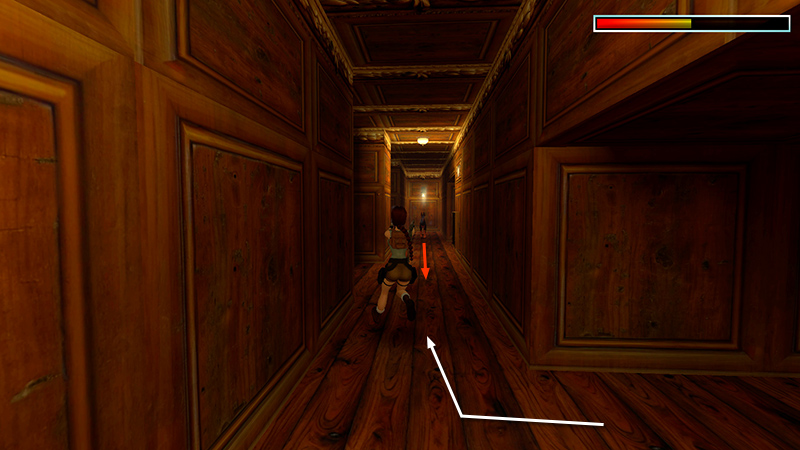
Round the next corner and kill 2 Dobermans (33-34) that charge at Lara from the far end of the hall.
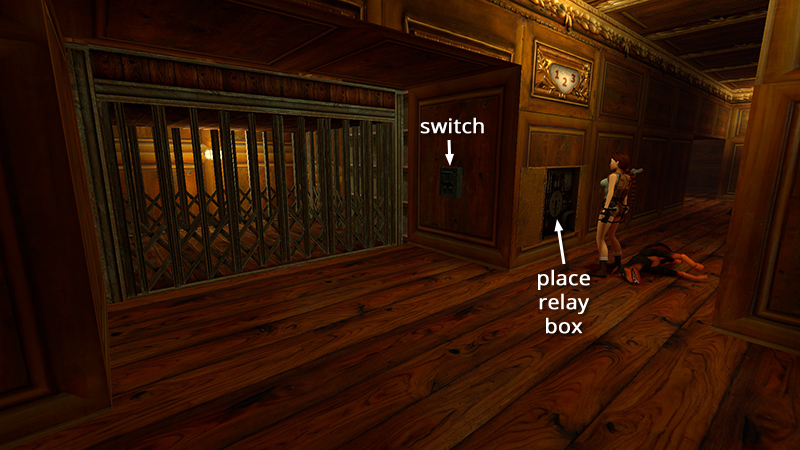
Place the RELAY BOX in the exposed circuitry on the wall to repair the ELEVATOR. Pull the switch to open the doors.
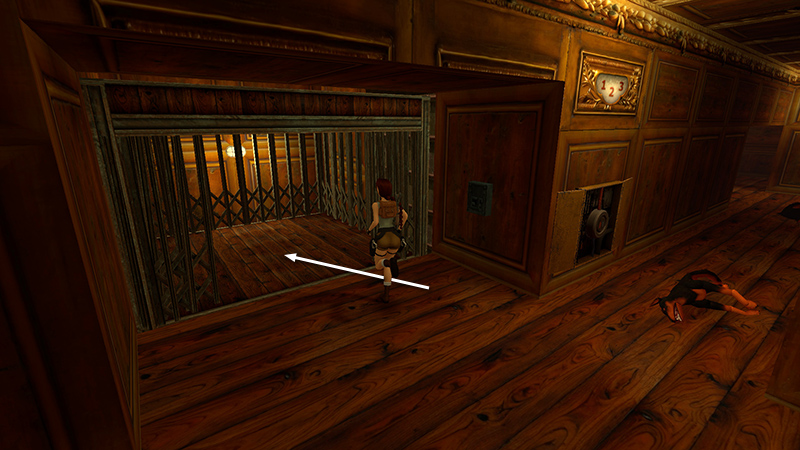
Quickly run inside and ride down. If you don't make it in before the doors close, just wait a minute, then use the switch again to call the elevator back and try again.
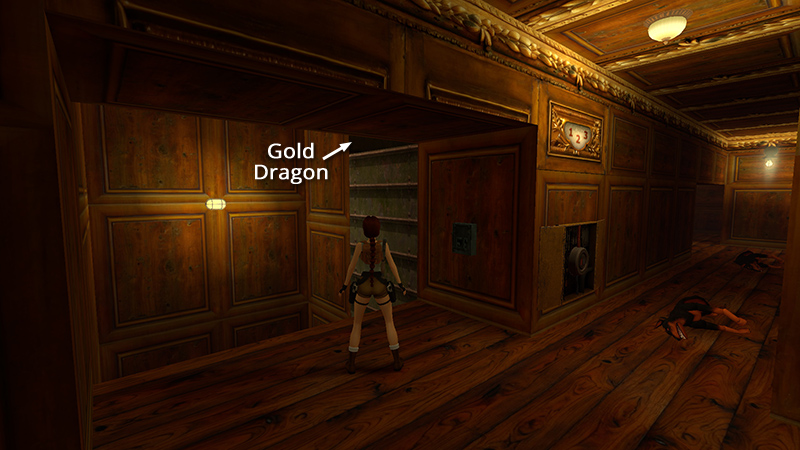
NOTE: The ladder inside the elevator shaft leads up to the room with the glass shards on the floor, where you found the Gold Dragon (earlier). If you missed the Gold Dragon secret, you can get it now, after repairing the elevator. The archived classic walkthrough has details.
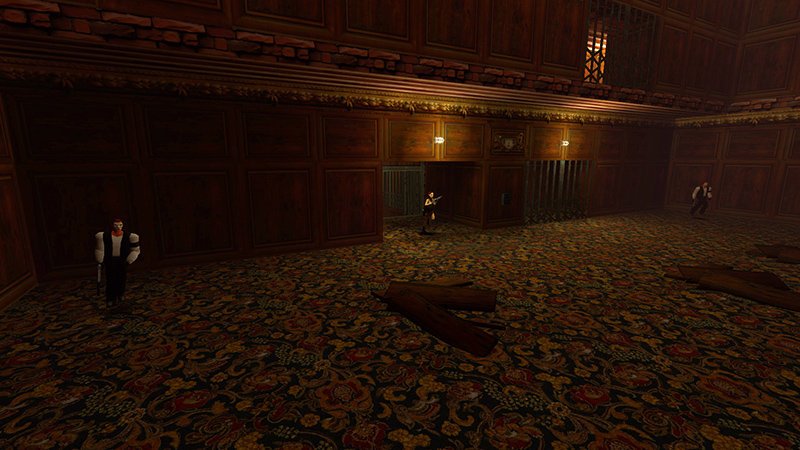
When the elevator stops on the ground floor, run out and deal with 2 armed thugs (35-36) waiting to ambush Lara—one on the left, one on the right. This is the big room below the ROOFTOP WITH BREAKAWAY TILES, where you entered the opera house. So there's plenty of room to jump and evade. Or, step out of the elevator, draw the shotgun...
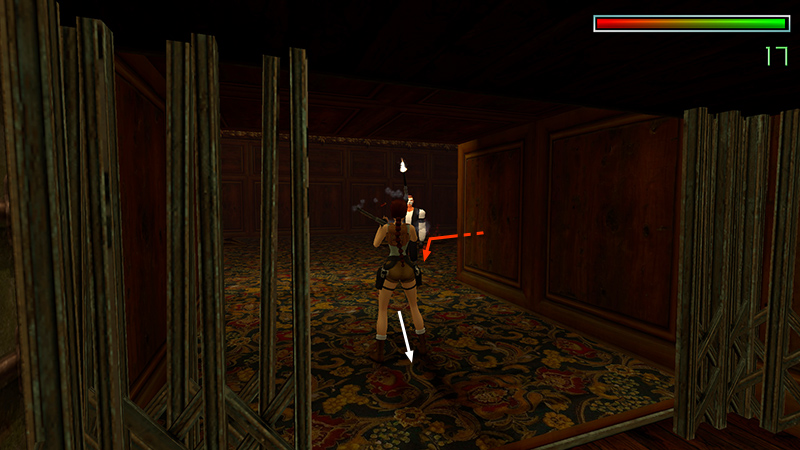
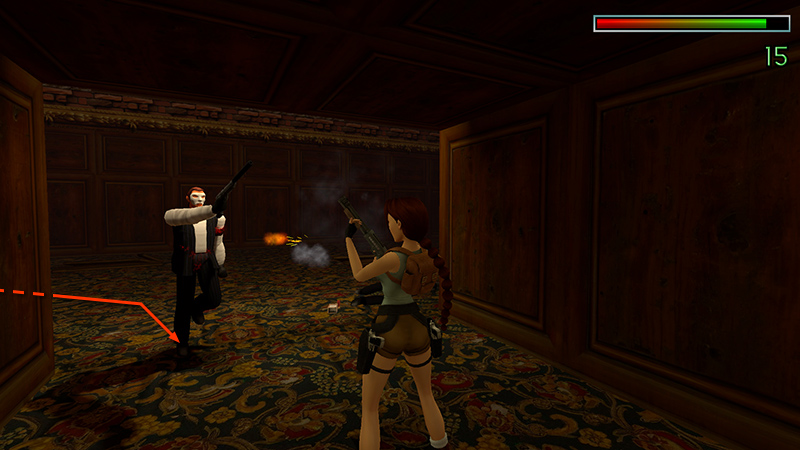
...hop back, and wait for them to come to you. Two shotgun blasts at close range will bring each of them down.
...
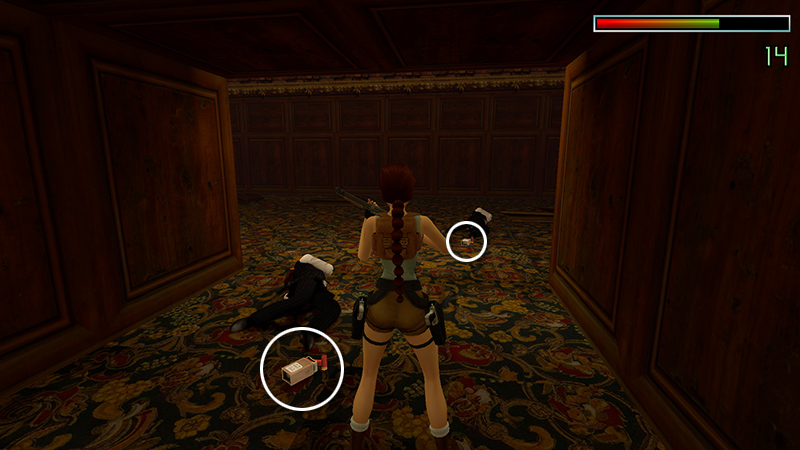
Afterward, you get 2 boxes of shotgun shells (27-28) to cover your losses.
DARK MODE: I plan to add optional dark mode for these pages, but my current priority is updating the walkthroughs. Meanwhile, may I suggest a reputable dark mode browser extension, such as Dark Reader? (Download only from trusted sites, like darkreader.org or your browser's official add-on/extension site.)
Walkthrough text and diagrams copyright © Stellalune (email ). Feel free to copy or print this walkthrough for personal use. By all means, share it with friends, but please include this credit line so people can send me their feedback. No part of this walkthrough may be reproduced on another site without permission.