Offshore Rig - Red Pass Card and Lock - Secret #2 (Silver Dragon)
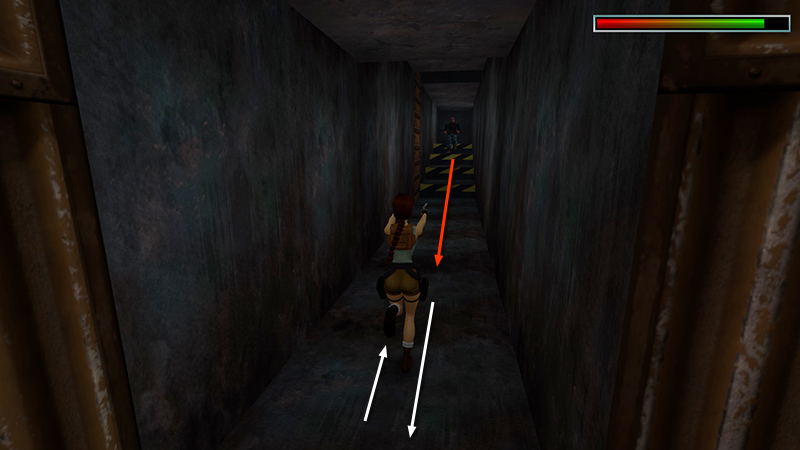
In the last section, we narrowly avoided being flame broiled while unlocking the "In a Rush" achievement/trophy. Now, follow the dark hallway. Kill another rig worker with a baton (6)...
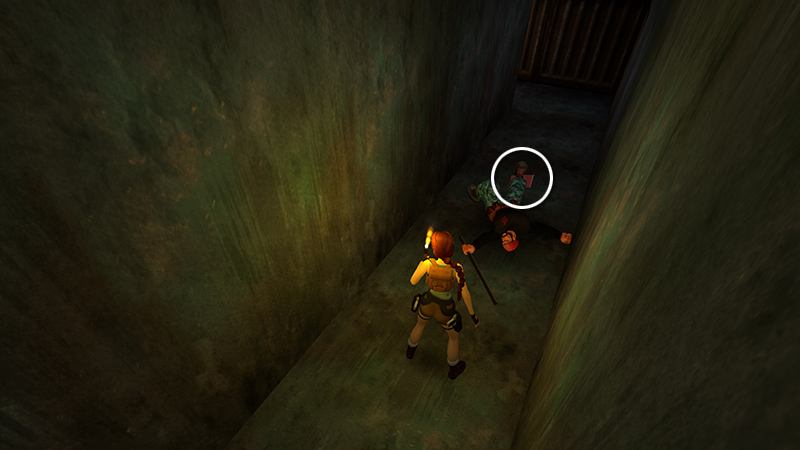
...and steal his RED PASS CARD (16).
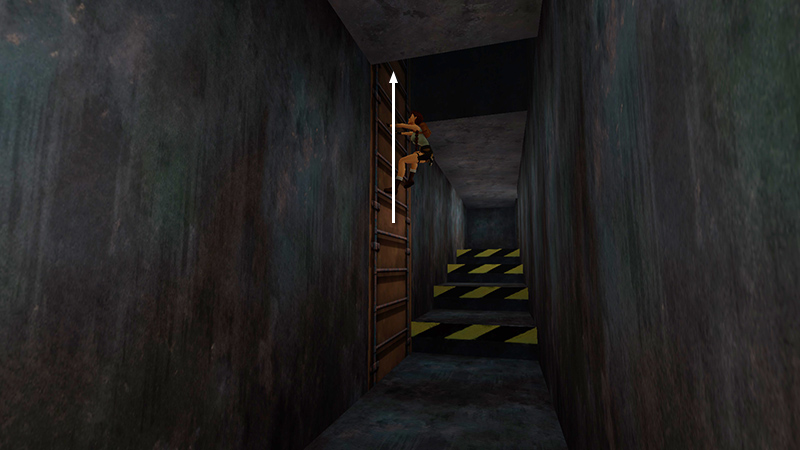
Before continuing up the stairs, climb the ladder on the left to reach the top of the oil rig tower.
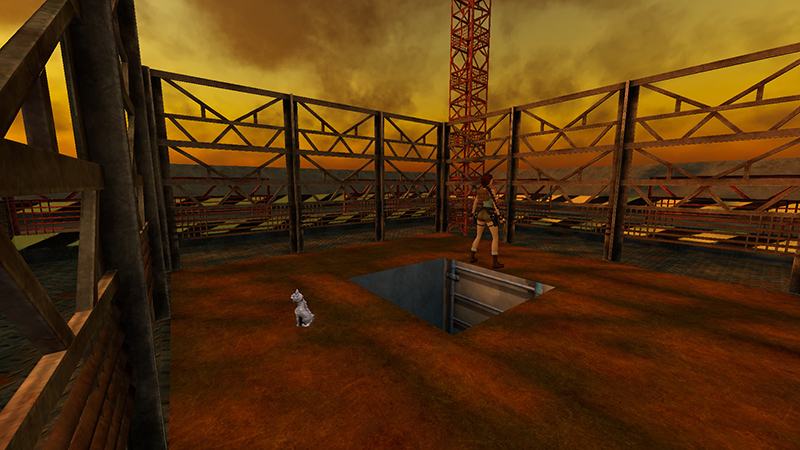
Here you'll find SECRET #2, the Silver Dragon (17).
NOTE: It's possible to get outside the fence into the area surrounding the tower using a modified version of the fence bug. Details are in the archived classic guide.
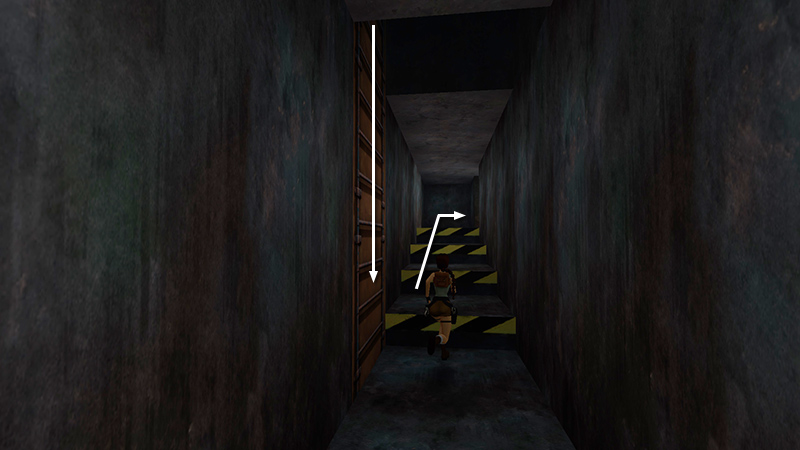
Climb back down the ladder and follow the dark hallway up the stairs.
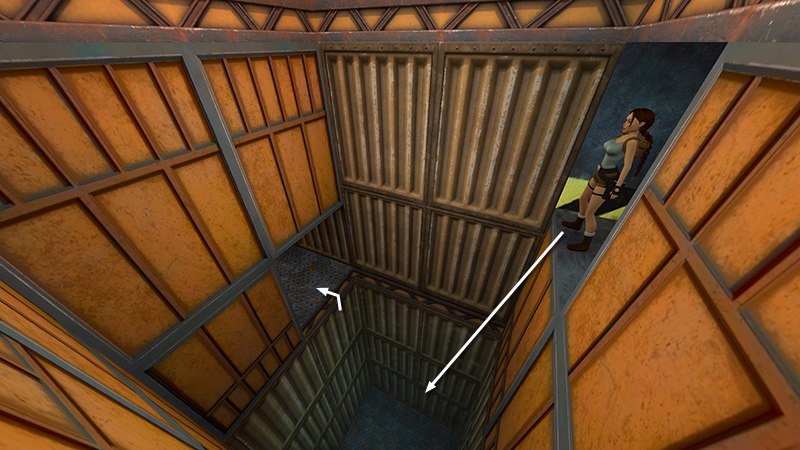
You'll end up in the doorway high above the tall room with the second lever, where you were earlier. Drop into the water and climb out in the doorway again.
NOTE: If you missed the Jade Dragon secret earlier, you can go after it now. See the main walkthrough.
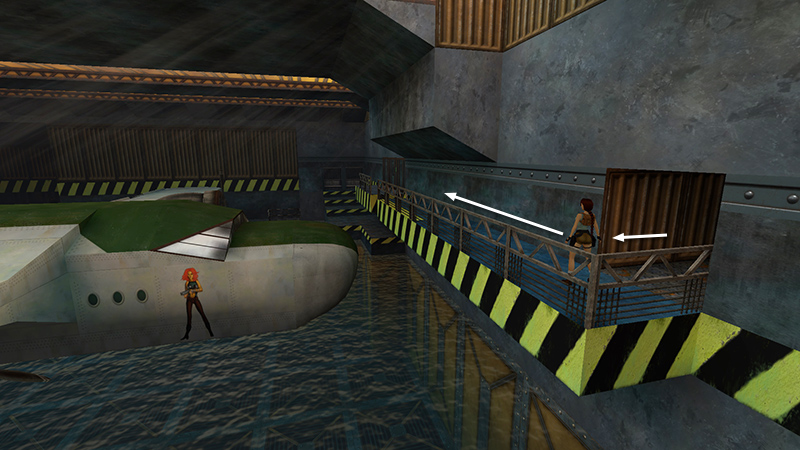
Follow the hall back to the walkway overlooking the pool and SEAPLANE. Continue along the walkway.
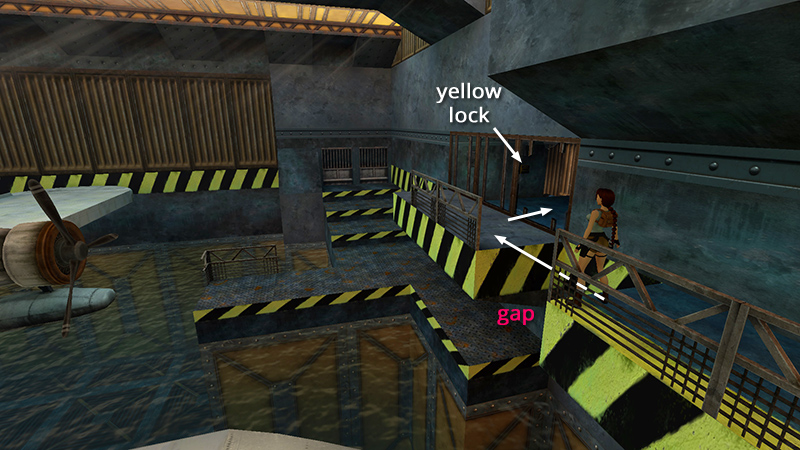
Jump across the small gap and return through the broken window to the room where you used the YELLOW PASS CARD.
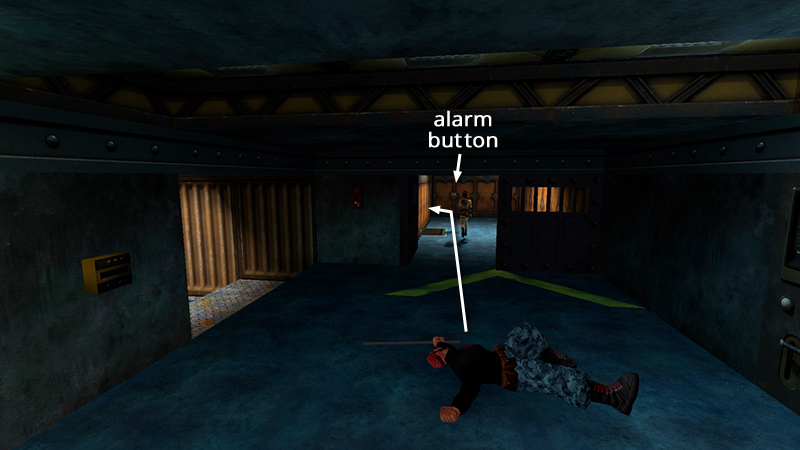
Go through the metal door into the corridor with the button you pressed earlier to turn off the alarm.
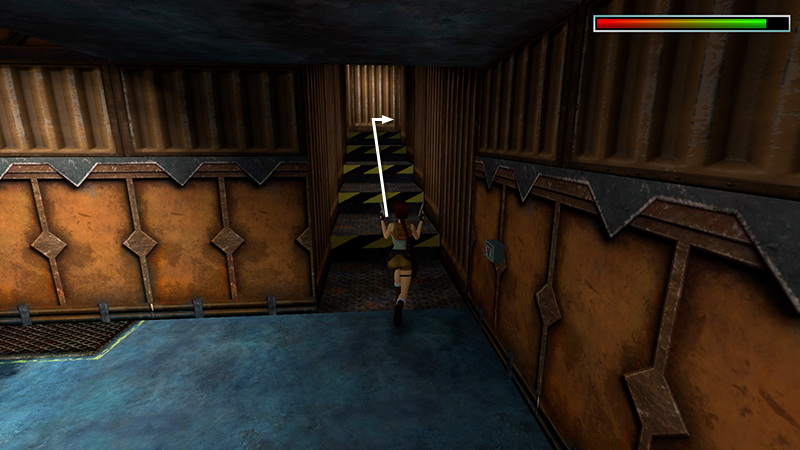
This time, go up the stairs on the left and follow the passageway...
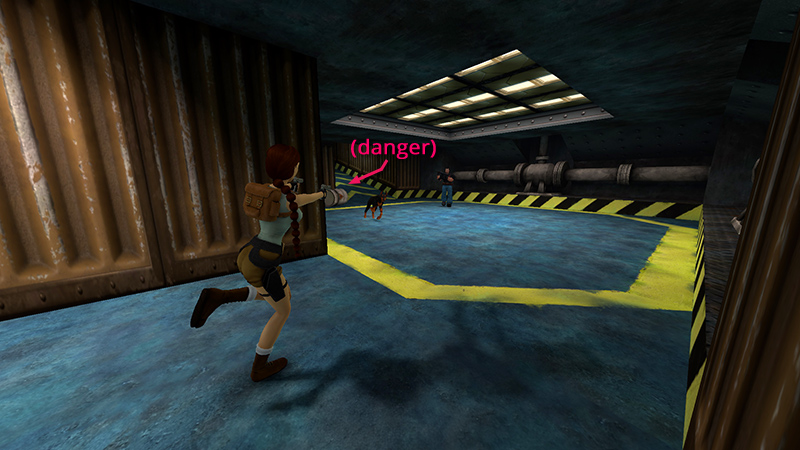
...to a room with big, metal pipes on the walls. Avoid the ramp ahead on the left as you fight another armed rig worker (7) and his unfriendly puppy (8).
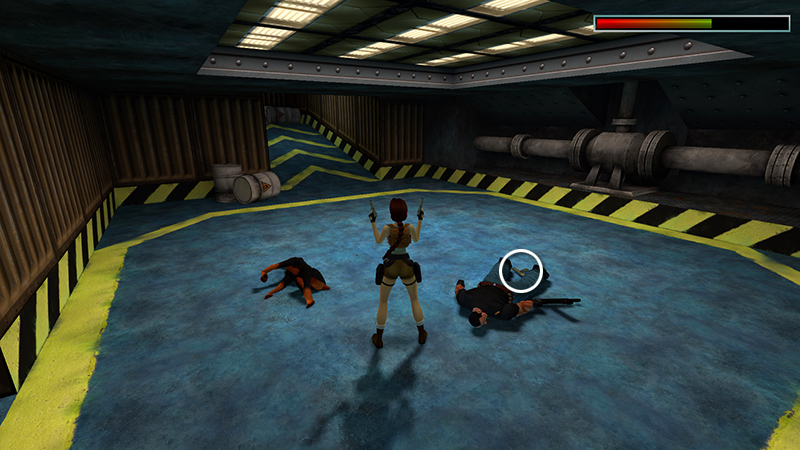
Steal the guy's Uzi clips (18).
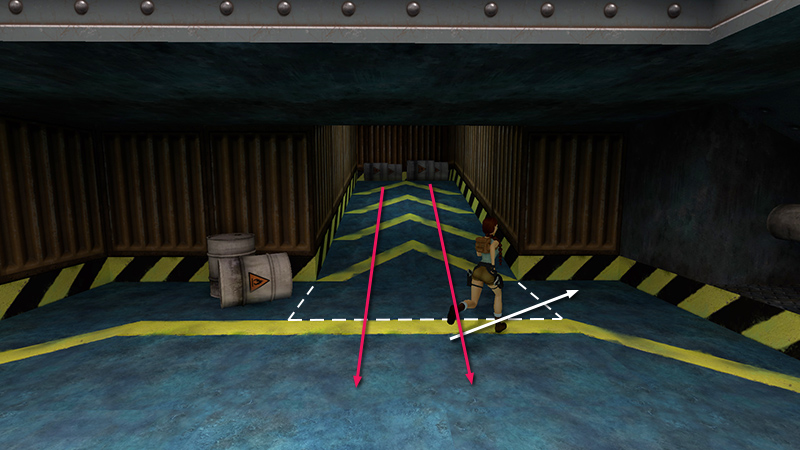
Then cautiously approach the ramp. Run past the base of the ramp from left to right to trip a rolling barrel trap.
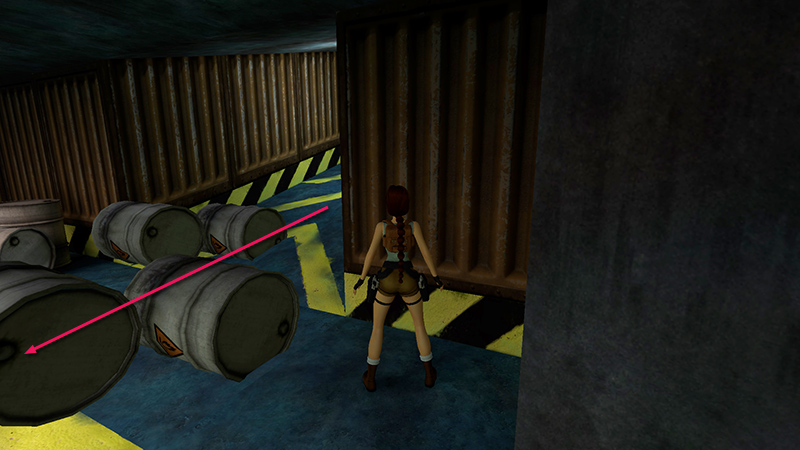
Wait in the corner to the right of the ramp as the barrels roll by.
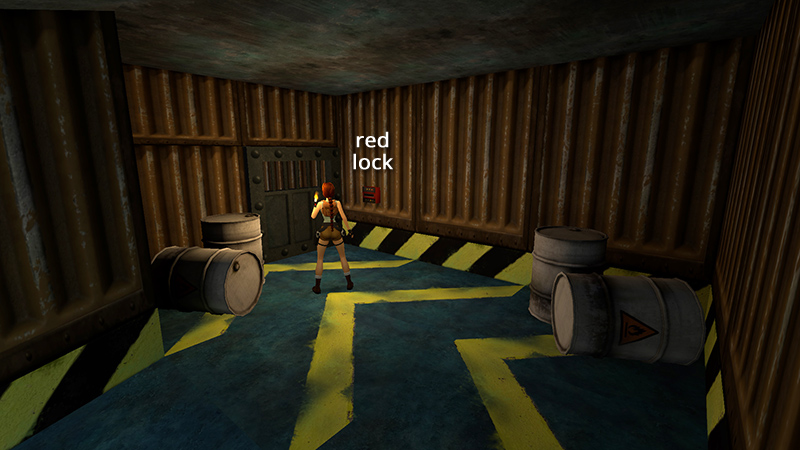
Then continue to the top and use the RED PASS CARD in the RED LOCK to open the door.
DARK MODE: I plan to add optional dark mode for these pages, but my current priority is updating the walkthroughs. Meanwhile, may I suggest a reputable dark mode browser extension, such as Dark Reader? (Download only from trusted sites, like darkreader.org or your browser's official add-on/extension site.)
Walkthrough text and diagrams copyright © Stellalune (email ). Feel free to copy or print this walkthrough for personal use. By all means, share it with friends, but please include this credit line so people can send me their feedback. No part of this walkthrough may be reproduced on another site without permission.