Offshore Rig - Huge Room with Pool and Catwalks - Green Pass Card
NOTES: Save frequently during this next sequence since it's easy to miss a jump or accidentally step off a ledge. If you fall into the pool and don't want to reload, there's a ladder in the far left corner (relative to the long chute where you came in). Swim over there, climb out of the water onto the concrete footing and jump to grab the ladder. (screenshot) Climb back up to the catwalks and continue. If you'd rather not do any backtracking, you can get the Gold Dragon first, climb the ladder, make your way to the GREEN PASS CARD, then proceed to the exit. However, various enemies will shoot at you as you go. The route described here is longer but safer.
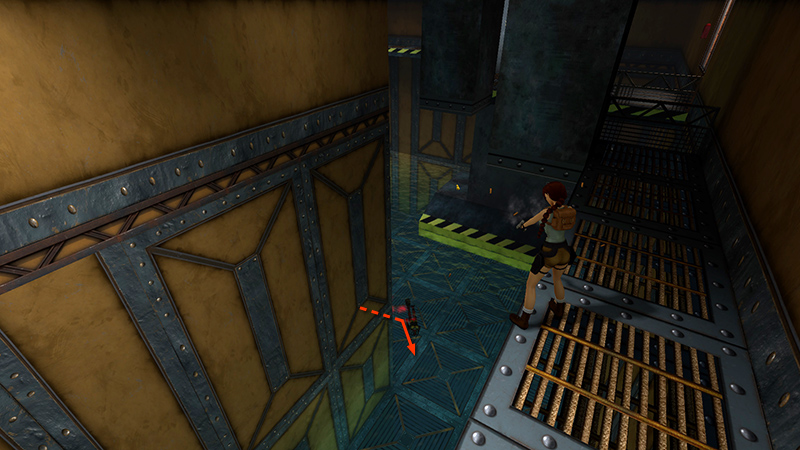
After dropping into the trapdoor near the GREEN LOCK and sliding down the chute, as shown the previous section, Lara finds herself on a catwalk in this large room. After sliding down the chute onto the catwalk, you can see the Gold Dragon below on the right. If you go after it now, Lara will be an easy target for enemies on the catwalks and in the water. So let's take them out first. Start with the 2 scuba divers (13-14) below, one on the right...
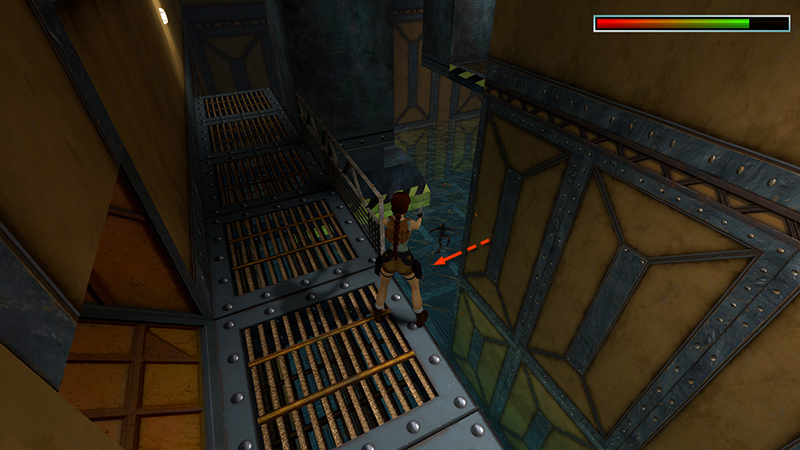
...one on the left. You may need to move from one end of the catwalk to the other to get clear shots at both of them. If it's taking too long, move on. You'll have other opportunities as you explore.
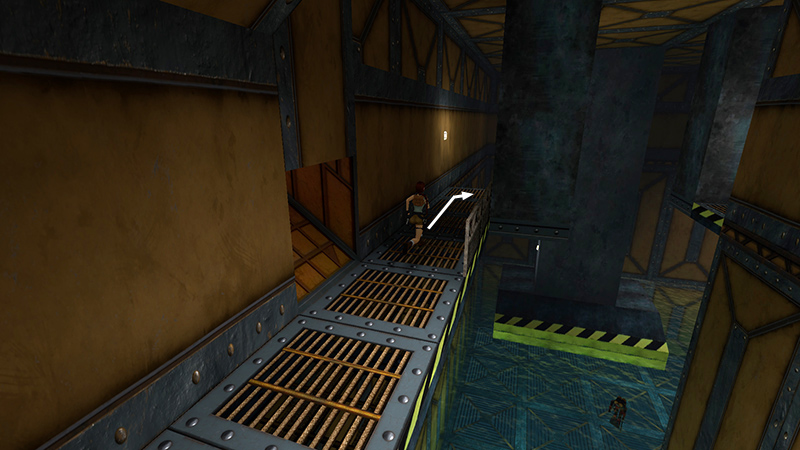
Now make your way more or less clockwise around the room via the various catwalks. Start by moving to the left end of the catwalk where you started. Turn right...
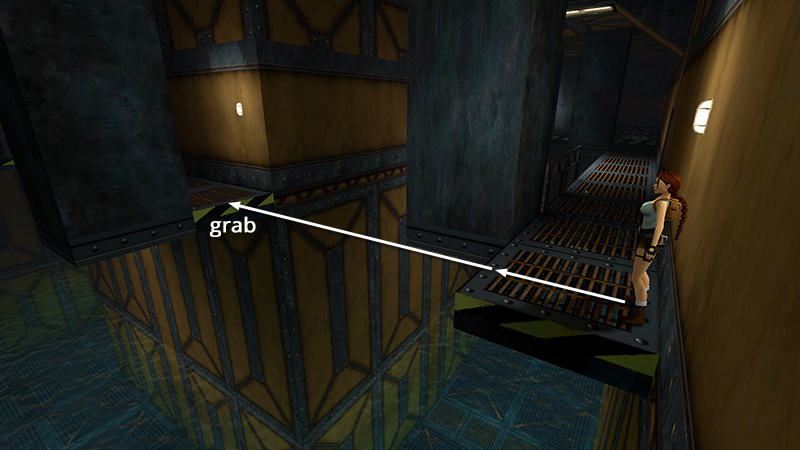
...then take a running jump to grab the edge of the next walkway; pull up.
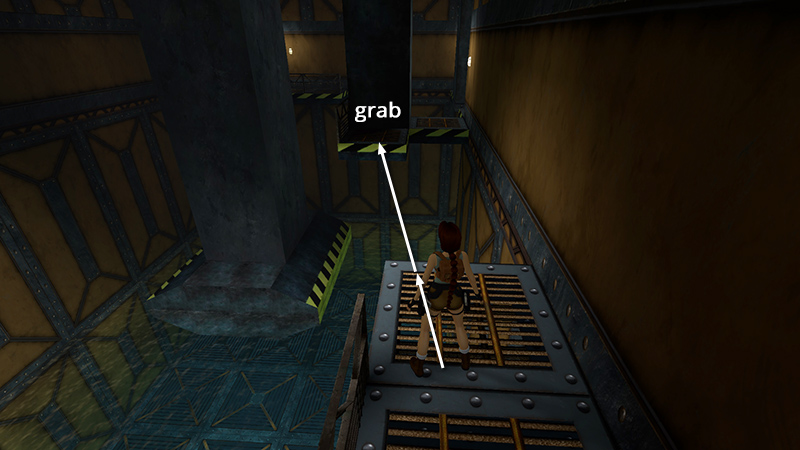
Go to the end of this walkway and take another running jump to grab the small platform ahead and a bit to the left; pull up.
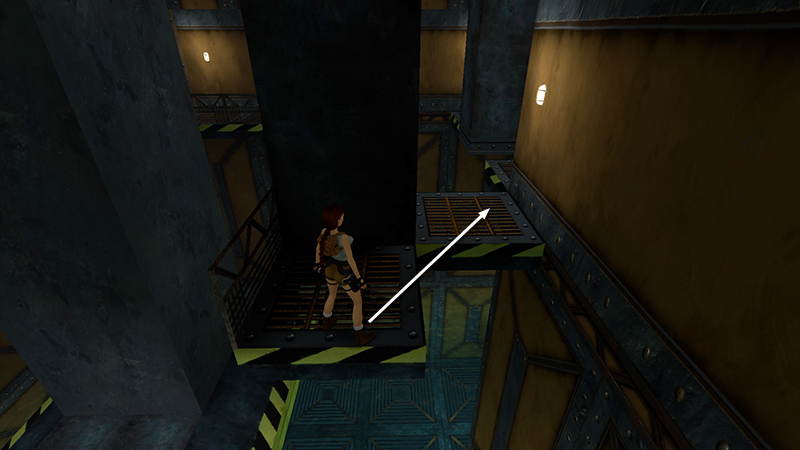
Step back and take a standing jump to the small platform between the column and the wall (or run carefully across at the corner where the gap is smallest).
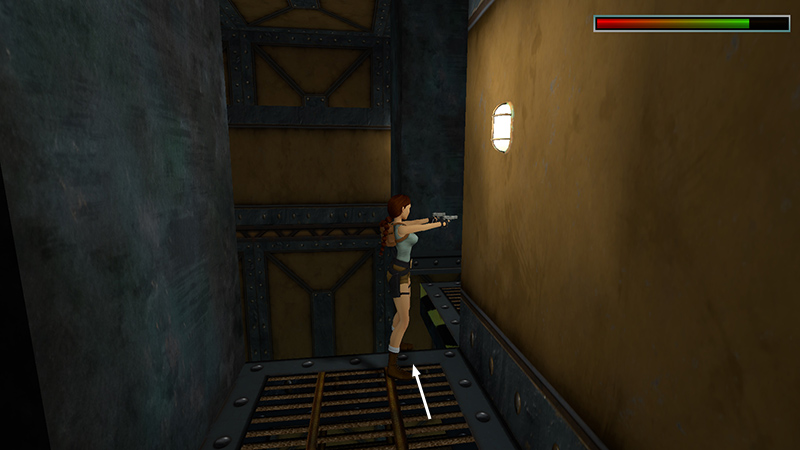
Now, face the wall, draw pistols, sidestep to the left...
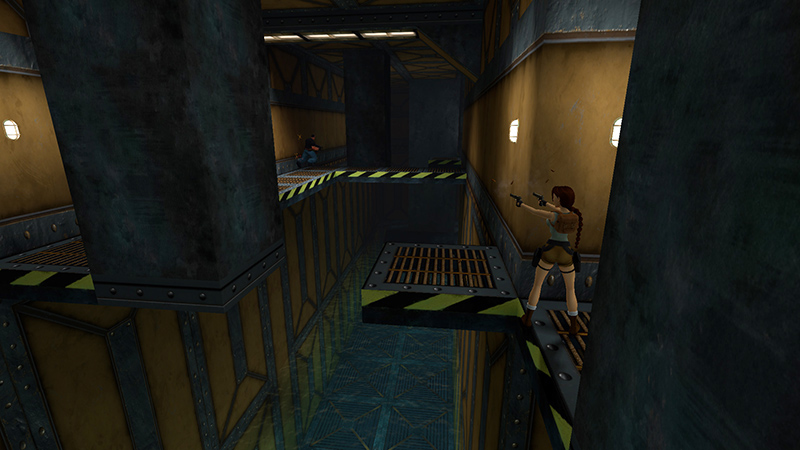
...and take out the guy with the gun (15) on the next catwalk.
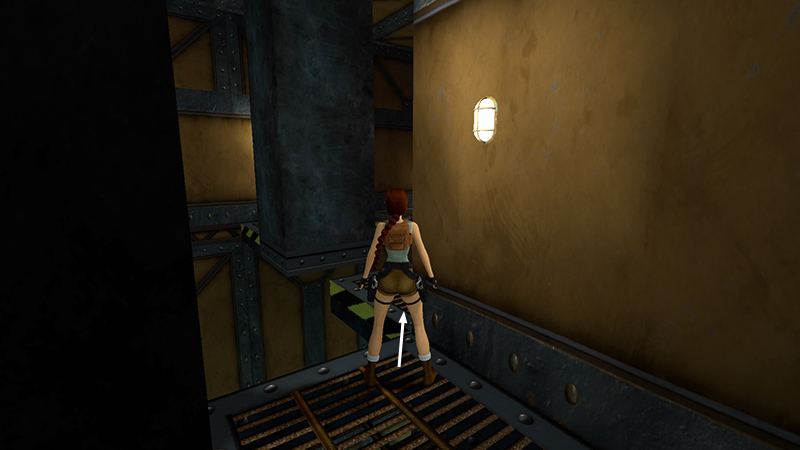
Carefully run onto the next ledge at the corner where the two ledges meet. (Or step back and use a standing jump with Action so Lara doesn't overshoot the ledge.)
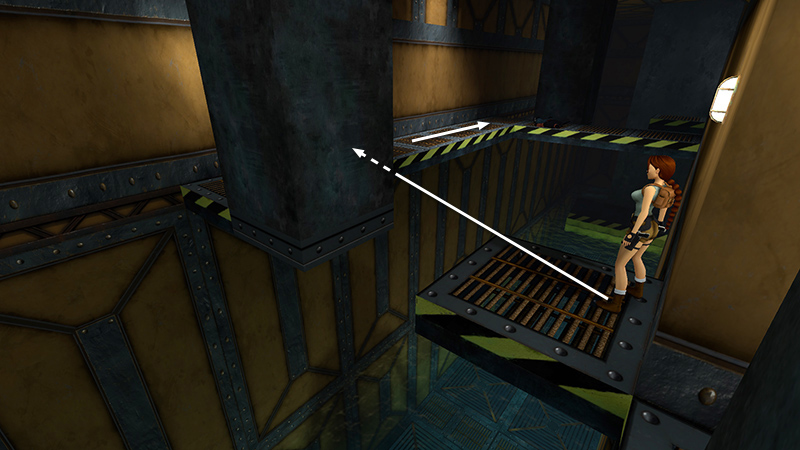
Take a running jump past the rectangular, metal pillar onto the catwalk against the far wall. Move to the right end of this L-shaped ledge with weapons drawn.
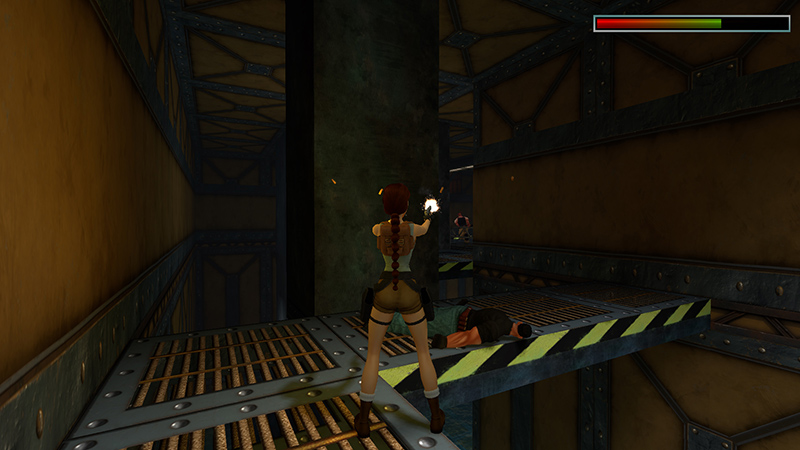
Lara should target the next burly bad guy (16), who's lurking behind a column a little farther along.
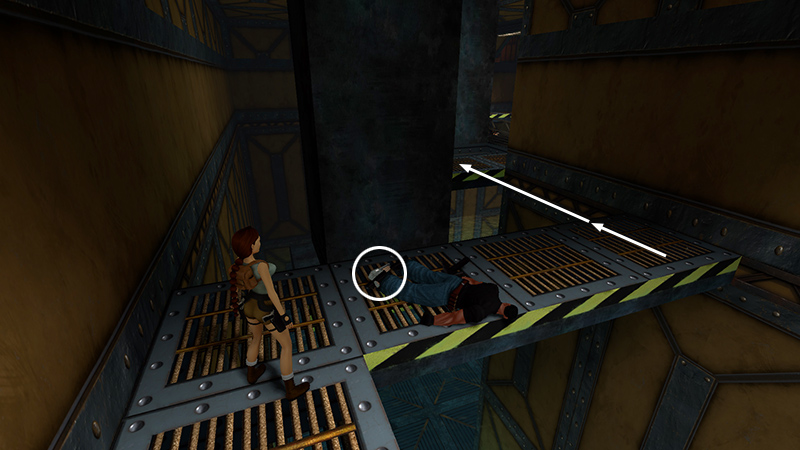
Steal the SHOTGUN (23) the nearest enemy dropped. Then take a running jump over to the ledge where the burly guy fell.
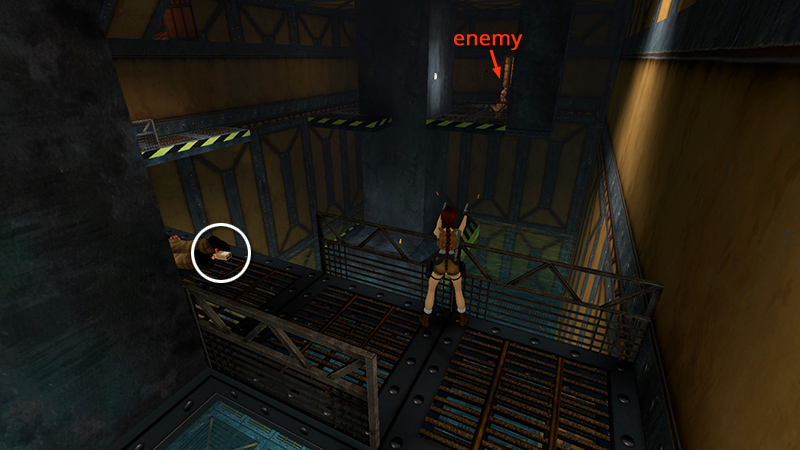
Take his shotgun shells (24). Then look for another enemy (17) on the next catwalk. You should be able to get him from here.
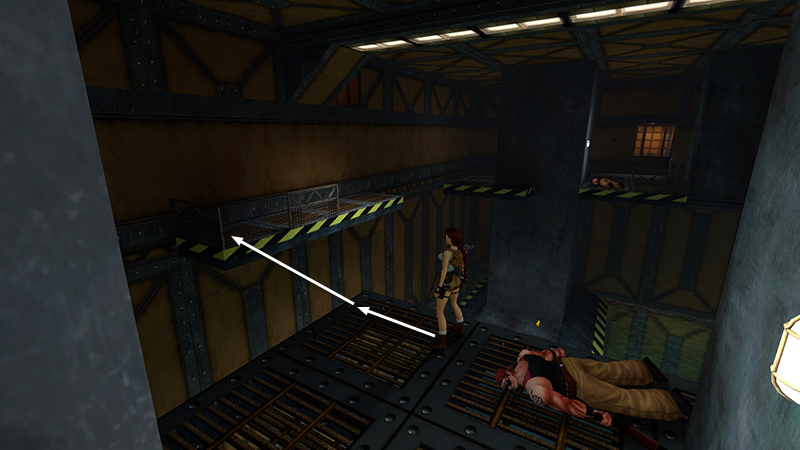
Turn so the walkway with that last enemy is on Lara's right. (The Gold Dragon is also below on the right. We'll get there soon.) Take a running jump to the catwalk against the wall.
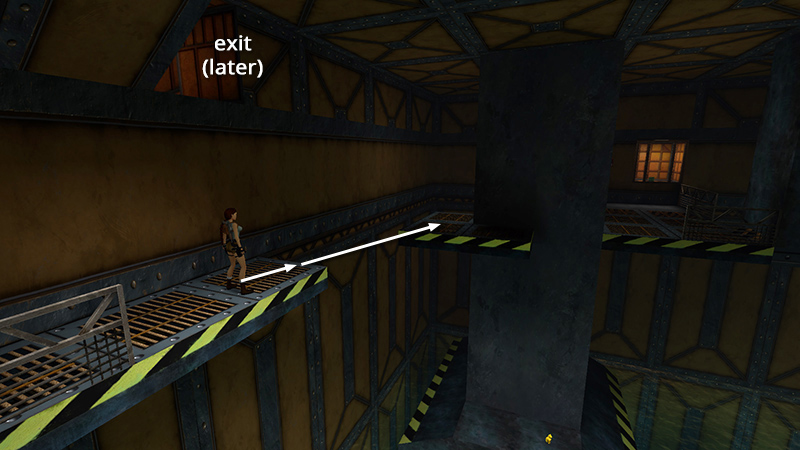
Note the opening above. You'll be exiting here later. Move to the other end of this walkway and take a running jump onto the ledge ahead.
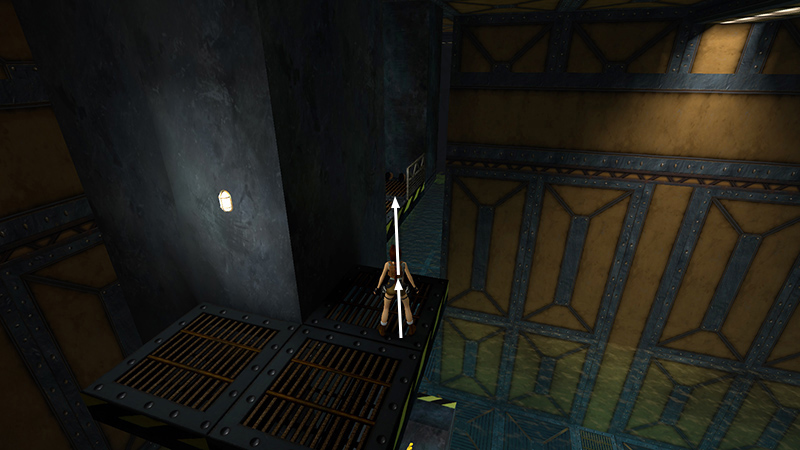
Carefully line up the next running jump to the catwalk where the last bad guy fell. (Aim for the gap in the railing.)
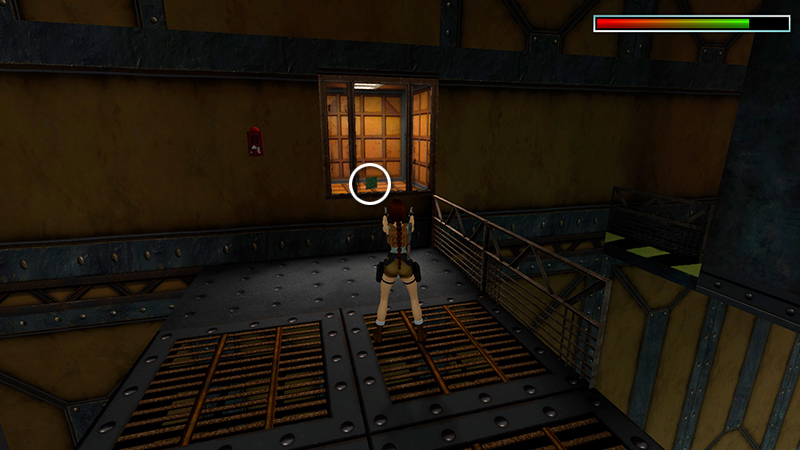
This enemy has no goodies, but you'll find the GREEN PASS CARD (25) in an alcove. Shoot out the glass and take it.
NOTE: When Lara shatters the glass, the alarm begins to sound once more. You can't shut it off, so just turn down the volume and go on.
DARK MODE: I plan to add optional dark mode for these pages, but my current priority is updating the walkthroughs. Meanwhile, may I suggest a reputable dark mode browser extension, such as Dark Reader? (Download only from trusted sites, like darkreader.org or your browser's official add-on/extension site.)
Walkthrough text and diagrams copyright © Stellalune (email ). Feel free to copy or print this walkthrough for personal use. By all means, share it with friends, but please include this credit line so people can send me their feedback. No part of this walkthrough may be reproduced on another site without permission.