Wreck of the Maria Doria - Movable Blocks
CONSERVING FLARES: This level is DARK. Consequently, I use more flares in these screenshots than you'll probably need. For tips on conserving flares, see the note in the main walkthrough.
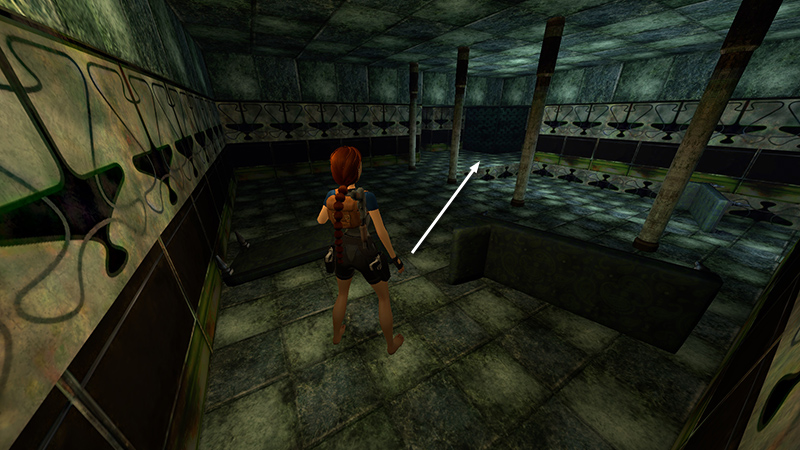
In the last section, we retrieved the Silver Dragon secret then dropped back down into the room where we started. In the opposite corner of the room are several movable blocks.
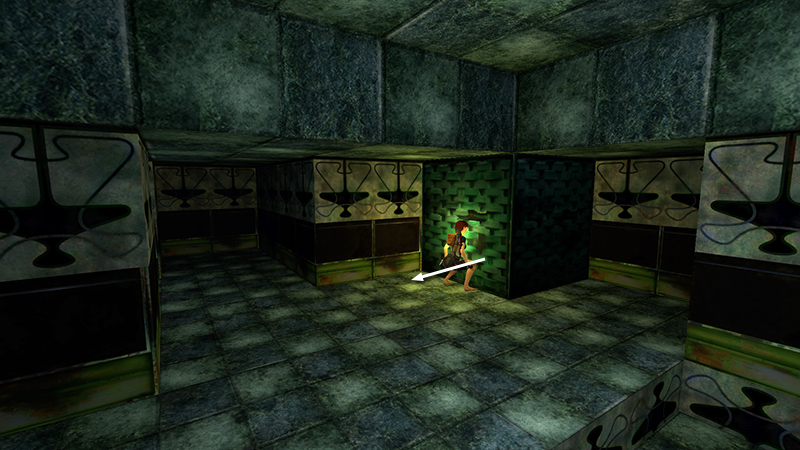
Pull the first block once to the left.
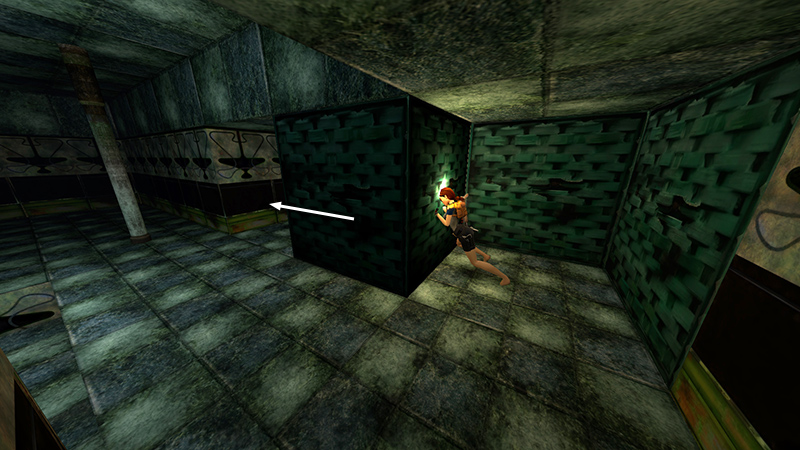
Go around to the opposite side, and push it once.
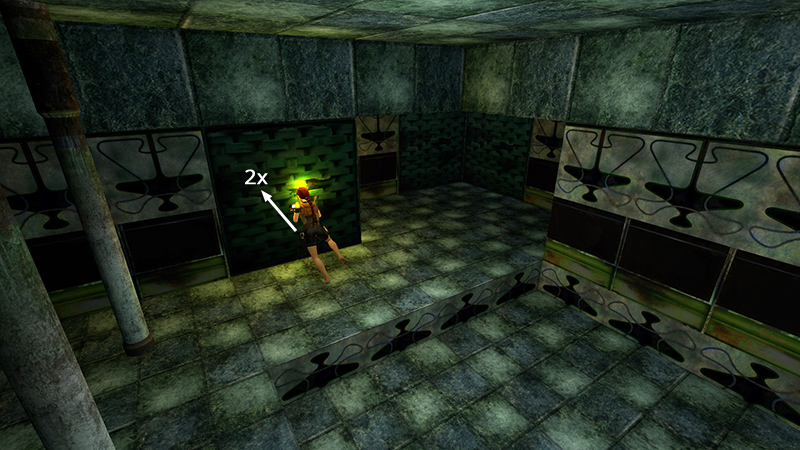
Move around to the side and push it twice into the alcove.
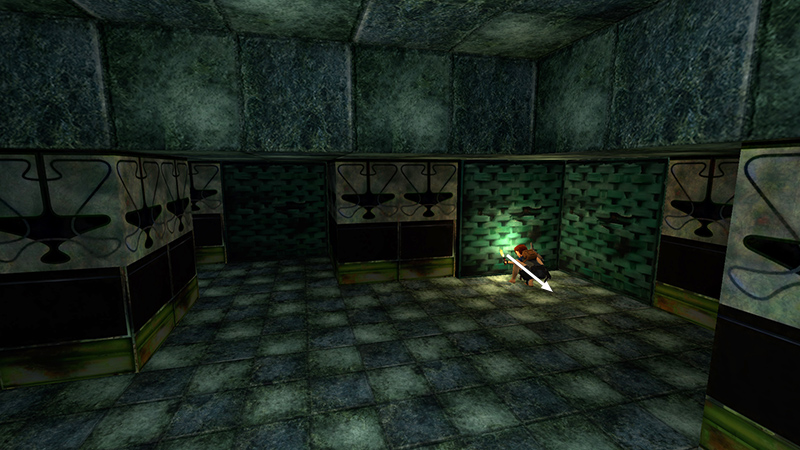
Go back to the corner and pull out the left block.
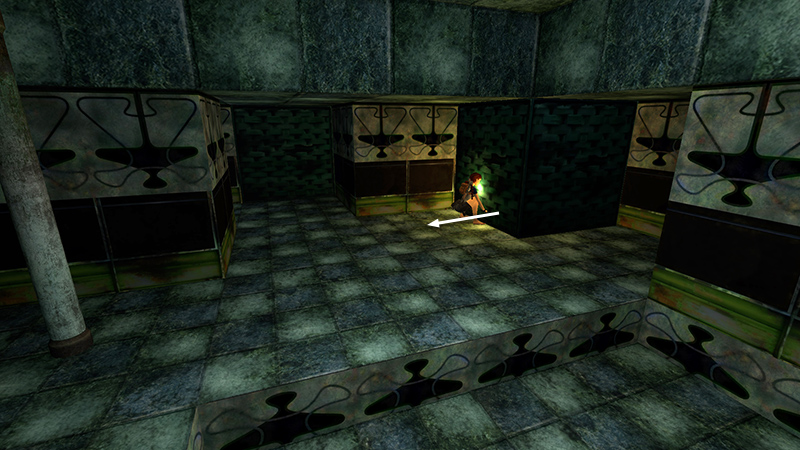
Pull it once to the left.
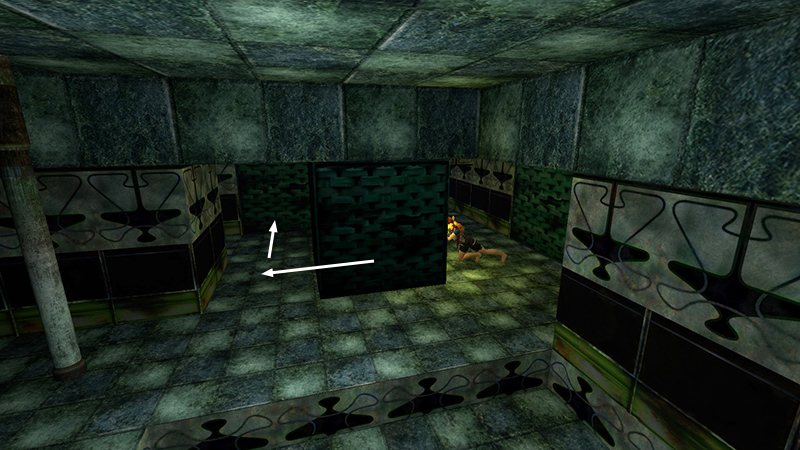
Go around to the opposite side and push it once. Then push it into the alcove against the first block.
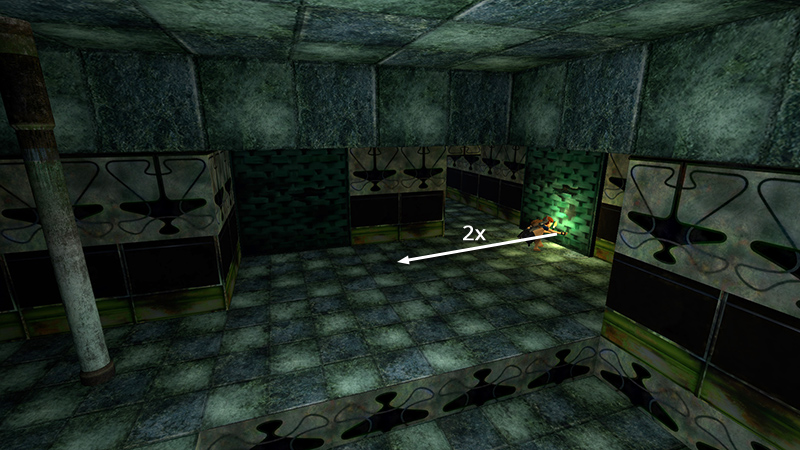
Now pull the third block twice.
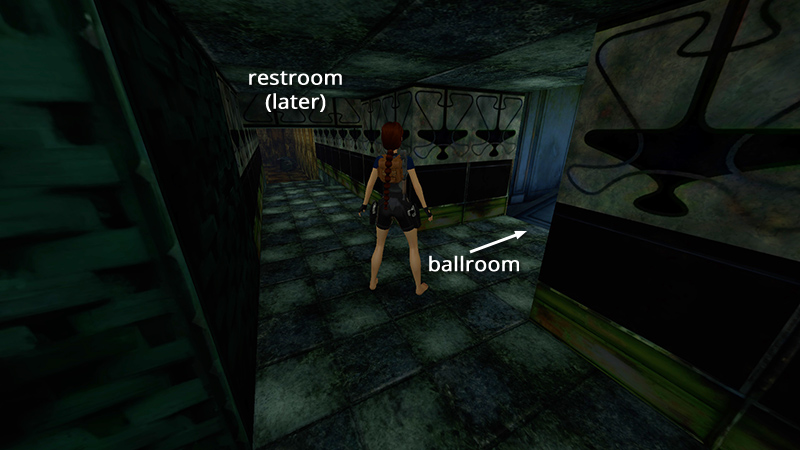
Moving all three blocks out of the corner reveals two hallways. The one on the left leads to the RESTROOM; the one on the right, with the blue paneling, leads to the BALLROOM. That's where we're headed next.
DARK MODE: I plan to add optional dark mode for these pages, but my current priority is updating the walkthroughs. Meanwhile, may I suggest a reputable dark mode browser extension, such as Dark Reader? (Download only from trusted sites, like darkreader.org or your browser's official add-on/extension site.)
Walkthrough text and diagrams copyright © Stellalune (email ). Feel free to copy or print this walkthrough for personal use. By all means, share it with friends, but please include this credit line so people can send me their feedback. No part of this walkthrough may be reproduced on another site without permission.