Wreck of the Maria Doria - Cabin Key and Shark Avoidance
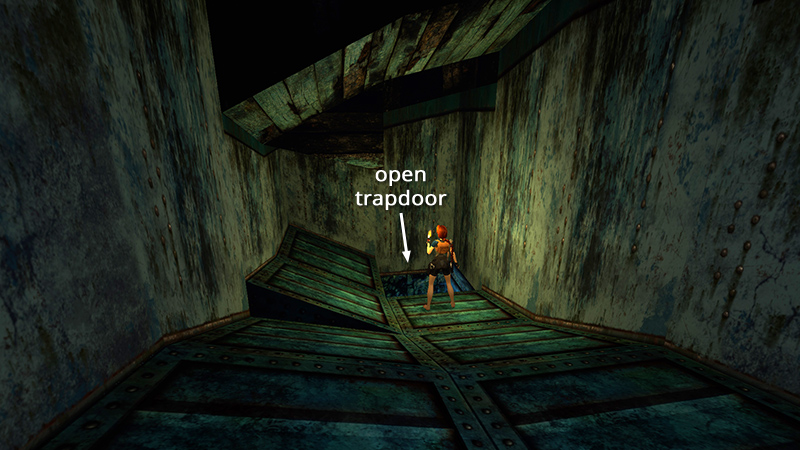
In the last section we ran back and forth across the SHIP'S BRIDGE in order to open a trapdoor that leads outside.
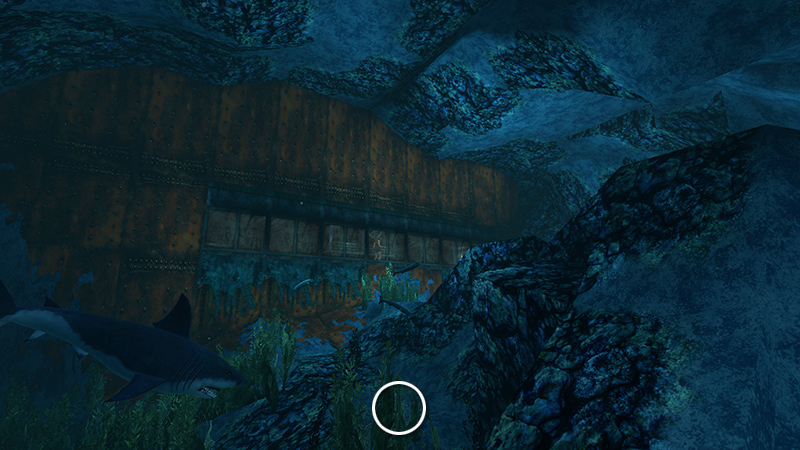
Remember how we caught a glimpse of a key on the seafloor earlier? That's where we're headed now.
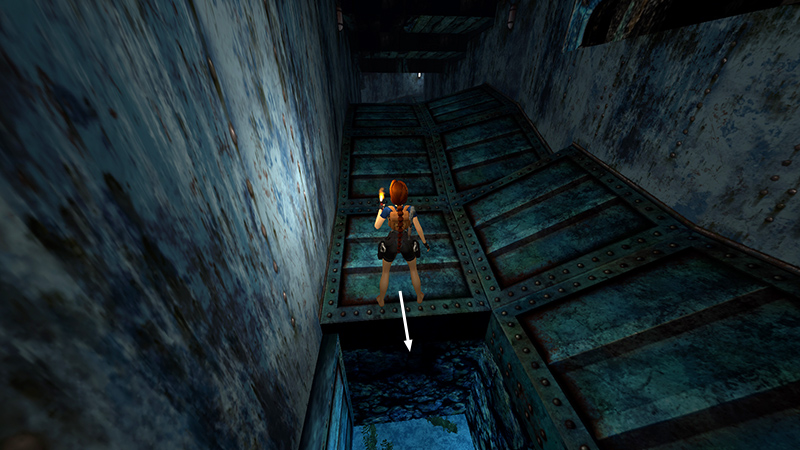
Stand at the edge of the trapdoor and turn around so Lara's back is toward the opening. Then, when you hop back into the water, Lara will already be facing the direction she needs to go.
There are 2 sharks (24-25) and 3 barracudas (26-28) between Lara and the key. You can harpoon them, lure them back to the opening and shoot them from above, or just out-swim them. I recommend avoidance if you want the "No Fish Soup Today" achievement/trophy (no damage to or from sharks).
NOTE: If the sharks happen to be lurking directly below the trapdoor, making it difficult to get past them, go stand by the wall of windows for a little while to lure them away. Then return to the trapdoor and try again.
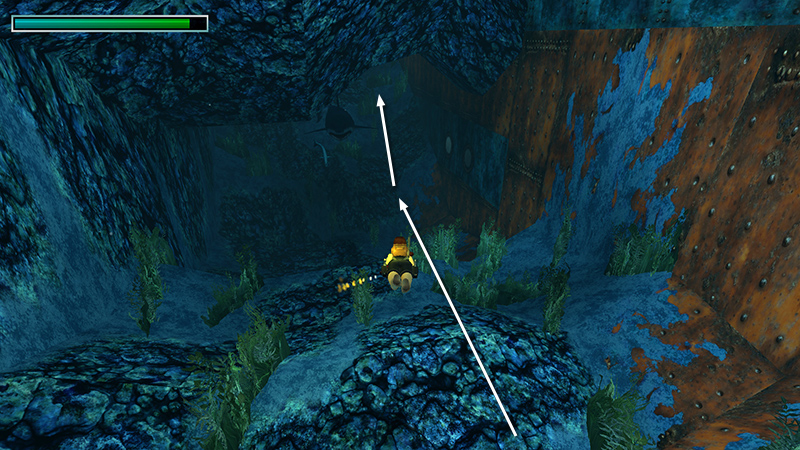 Once you've dropped into the water, swim down and forward, keeping the rusted hull on Lara's right.
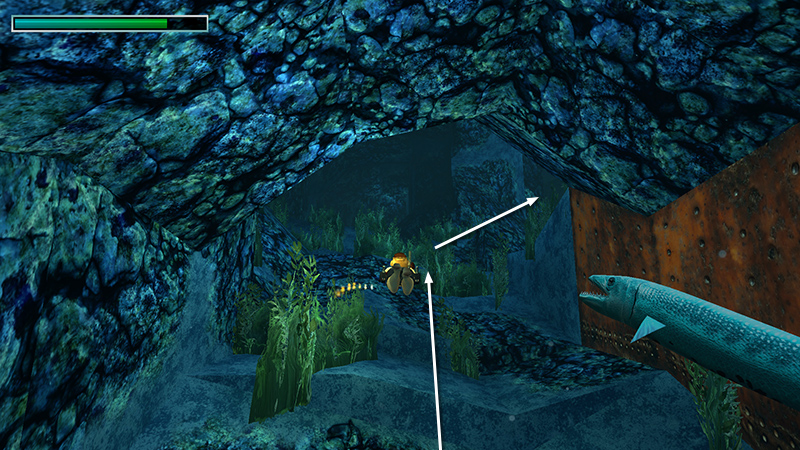
At the top of the slope, swim through the wide opening in the rocks and turn right.
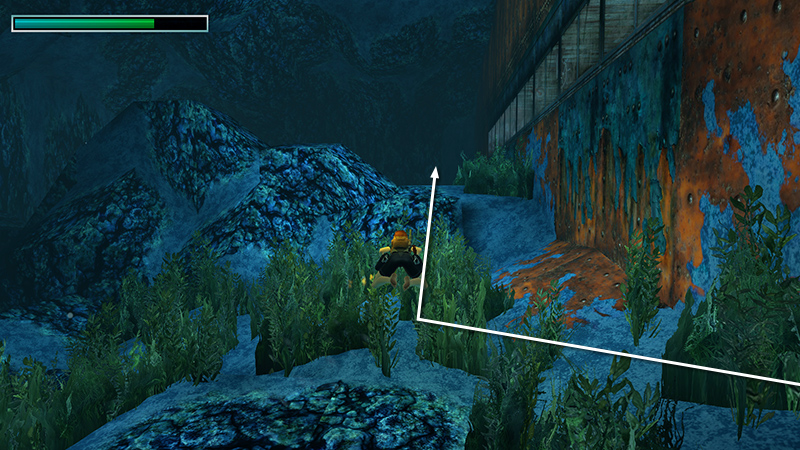
Continue forward with the wall of windows on Lara's right. Here the ground slopes upward...
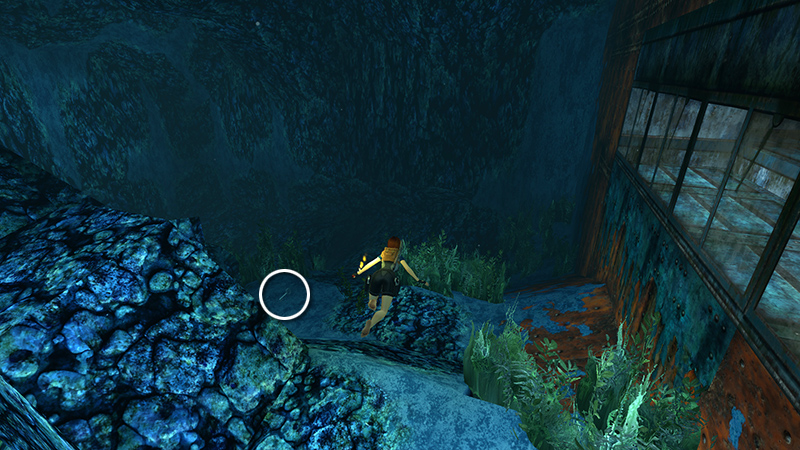
...then abruptly downward. As you crest this little hill, look to the left to find the CABIN KEY (32).
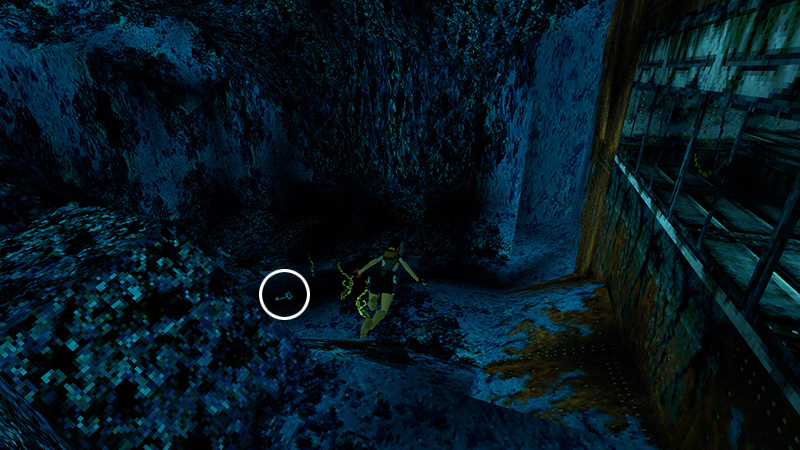
Again, it's easier to see with classic graphics.
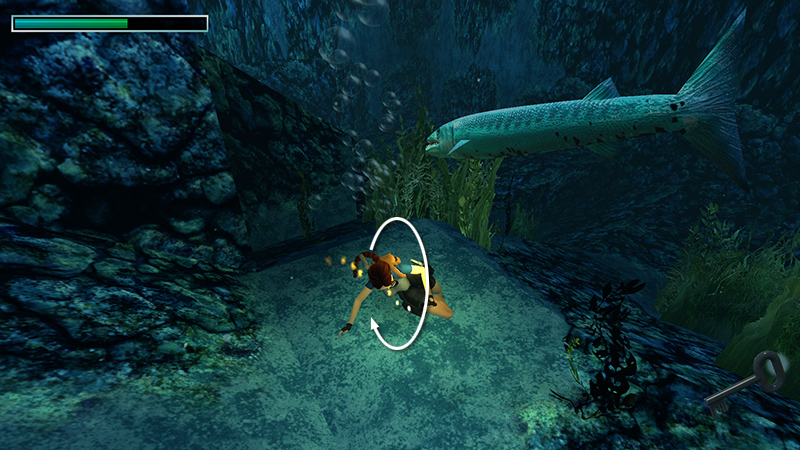
Grab it, roll, and return the way you came. (Some barracuda damage is par for the course. Just be sure to avoid the sharks.)
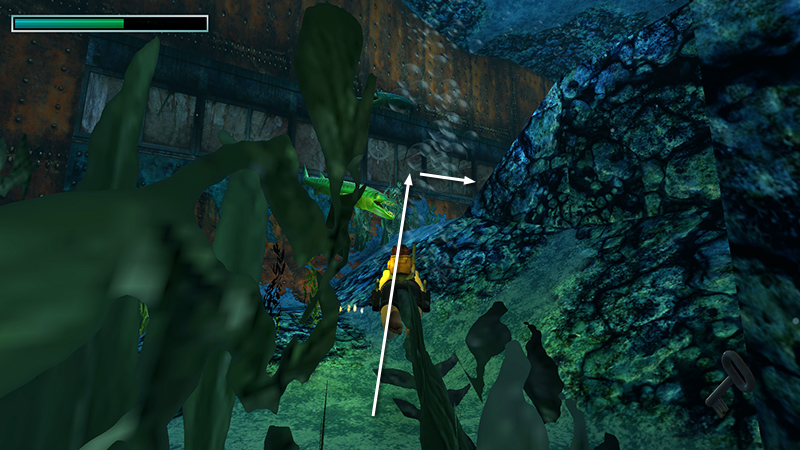
First upward toward the shipwreck, then right, over the little rise.
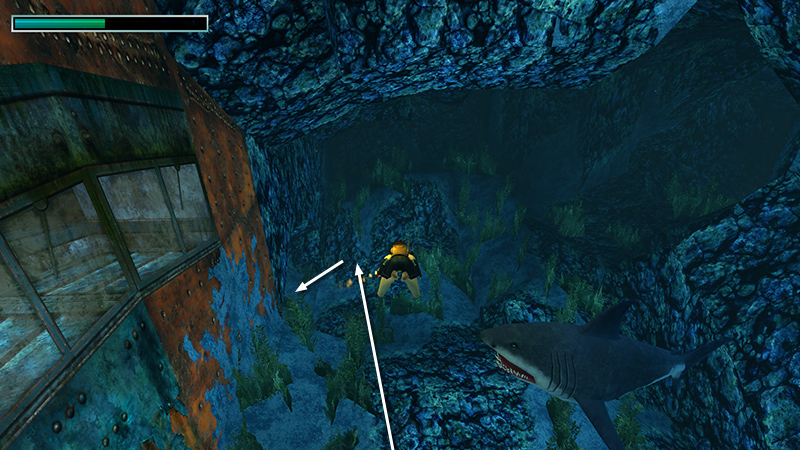
Past the wall of windows (now on Lara's left), and down through the opening in the rocks on the left.
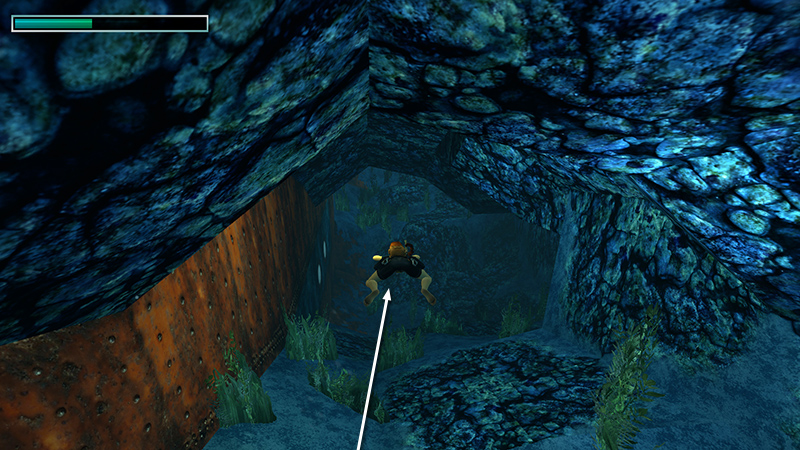
Forward and downward into the cave.
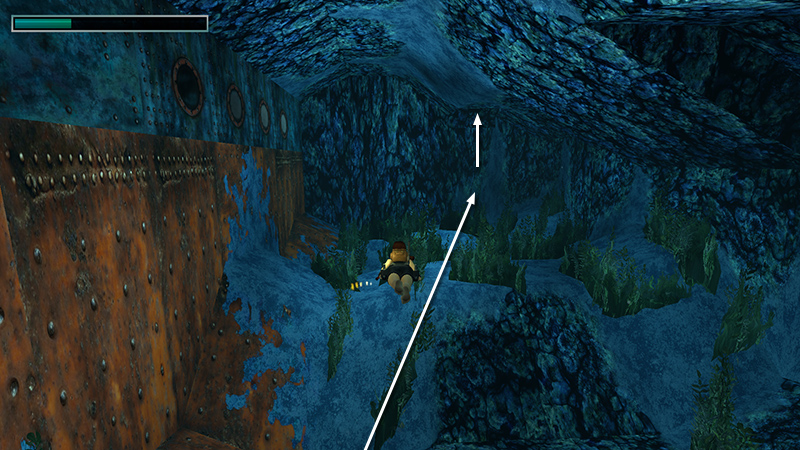
Then up to the hole in the ceiling on the far right.
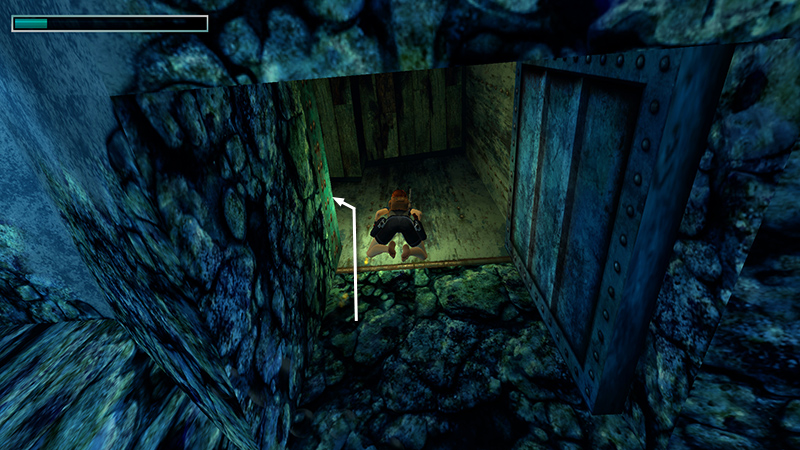
When you reach the trapdoor, climb out on the left. Whew! If you weren't bitten by sharks, you're good to go.
DARK MODE: I plan to add optional dark mode for these pages, but my current priority is updating the walkthroughs. Meanwhile, may I suggest a reputable dark mode browser extension, such as Dark Reader? (Download only from trusted sites, like darkreader.org or your browser's official add-on/extension site.)
Walkthrough text and diagrams copyright © Stellalune (email ). Feel free to copy or print this walkthrough for personal use. By all means, share it with friends, but please include this credit line so people can send me their feedback. No part of this walkthrough may be reproduced on another site without permission.