Wreck of the Maria Doria - Ship's Bridge - Timed Door
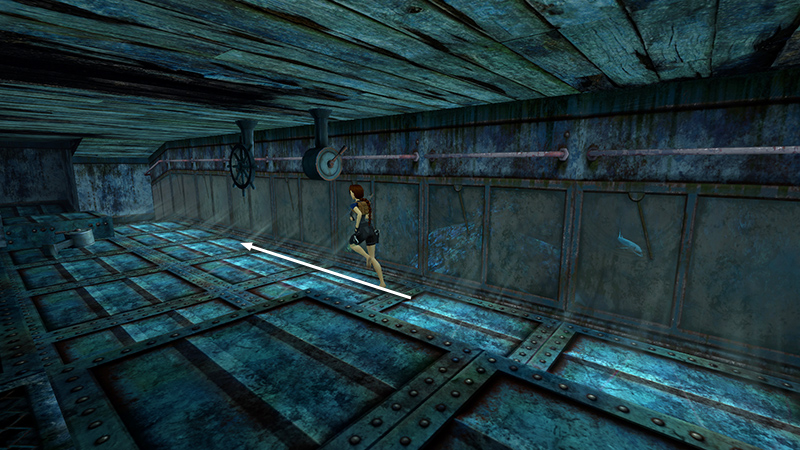
After dropping down a long shaft and swimming through a flooded passageway, as shown in the last section, you're now on the SHIP'S BRIDGE. If you walk past the wall of windows...
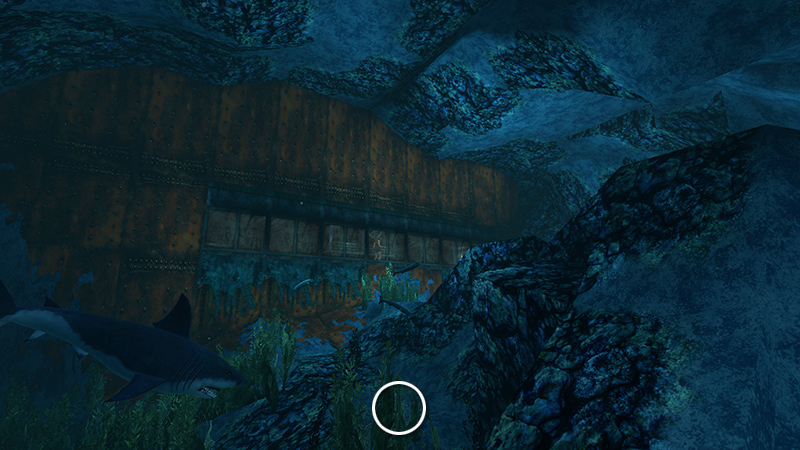
...the camera shifts to show a key on the sea bottom.
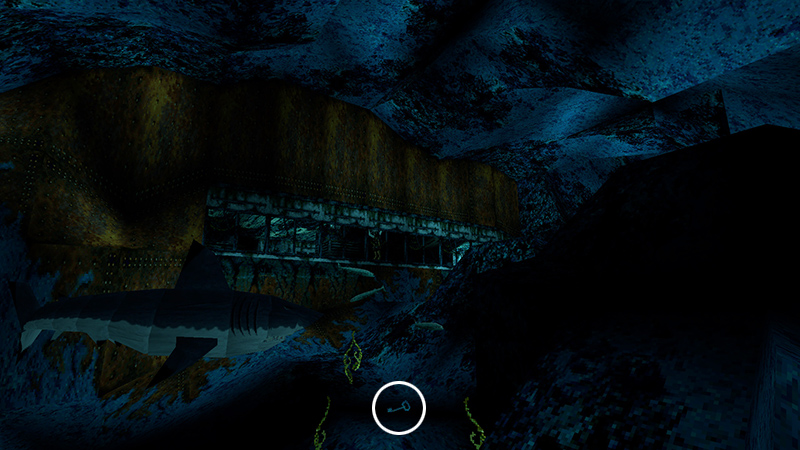
It's much easier to see using classic graphics (F1 on keyboard, Options button on PS4/5, Menu button on Xbox, Plus [+] on Switch). We'll retrieve it shortly.
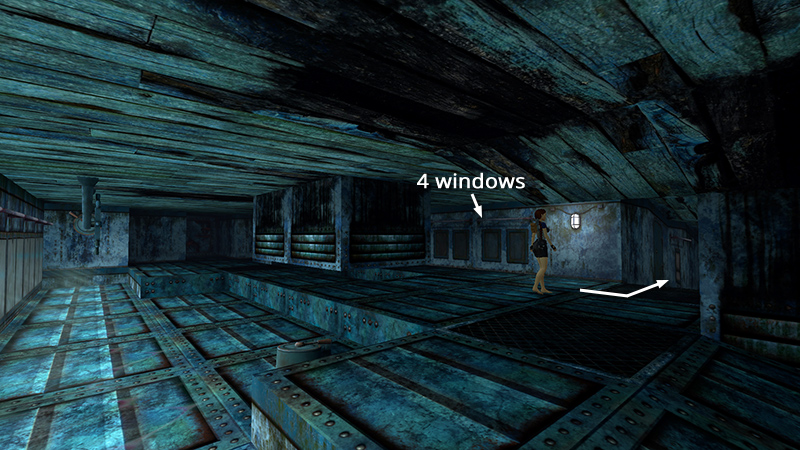
For now, locate the interior room with four small windows opposite the wall of windows. This is the CABIN. In the passageway to the right of the cabin...
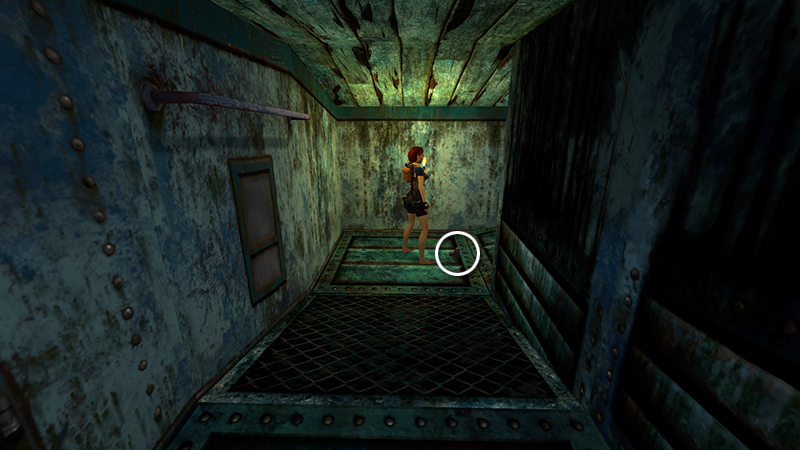
...you'll find 2 sets of automatic pistol clips (29-30).
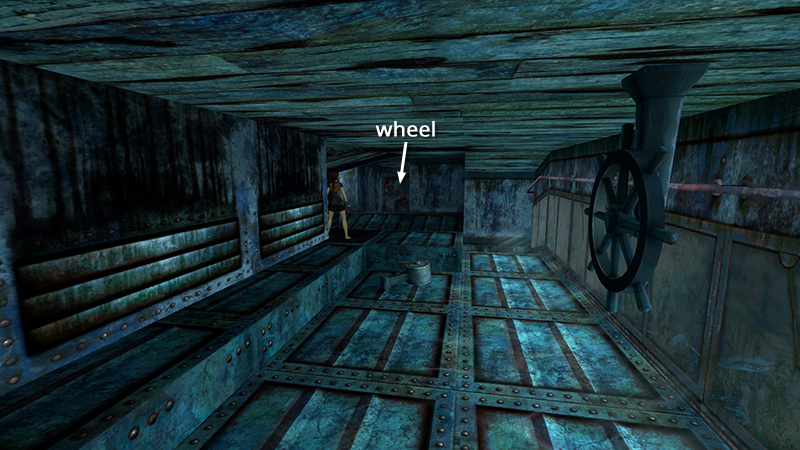
Open the wheeled hatch at one end of the BRIDGE. (I'ts straight ahead when standing with the wall of windows on Lara's right.)
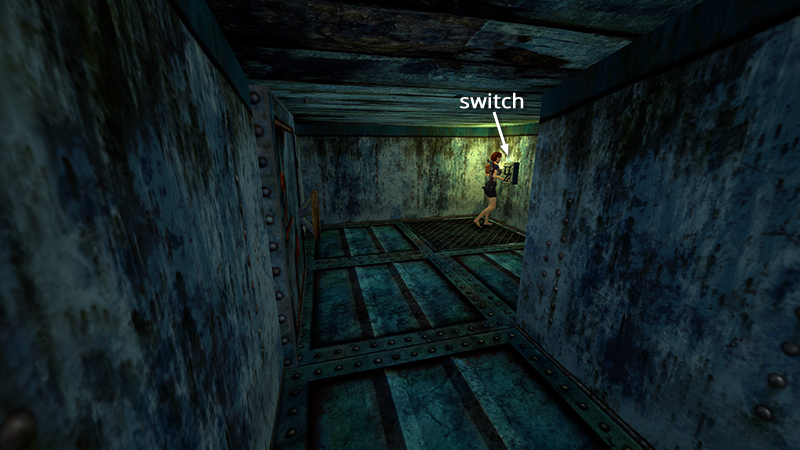
Use the switch inside...
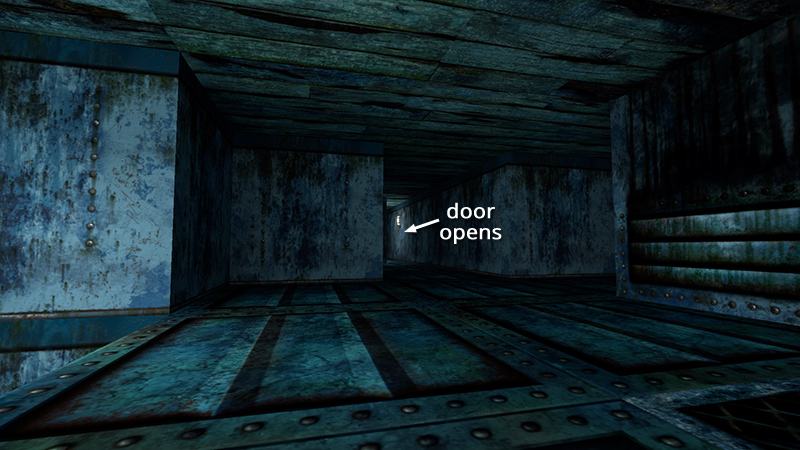
...to open another door at the opposite end of the BRIDGE. This door is timed, but it's not particularly fast (about 20 seconds).
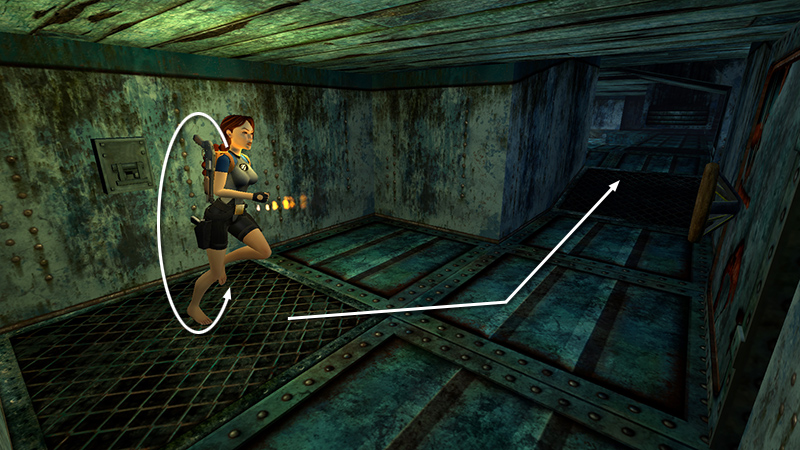
So roll, run out of the room...
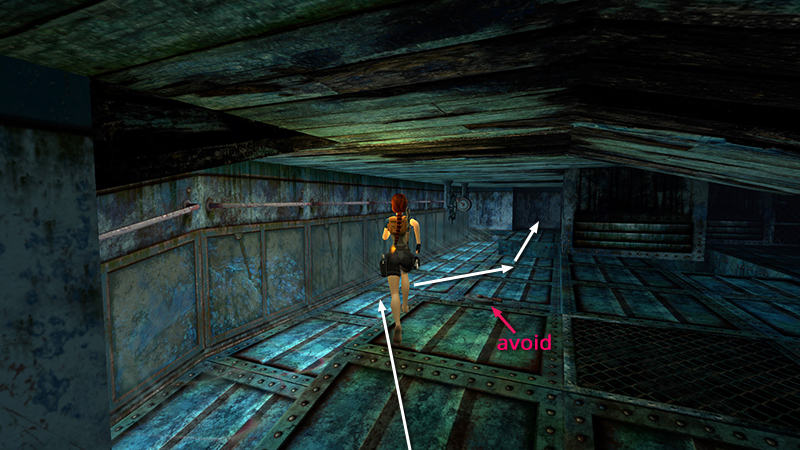
...and veer left toward the wall of windows, so Lara doesn't trip on the equipment scattered on the floor. Continue forward past the windows...
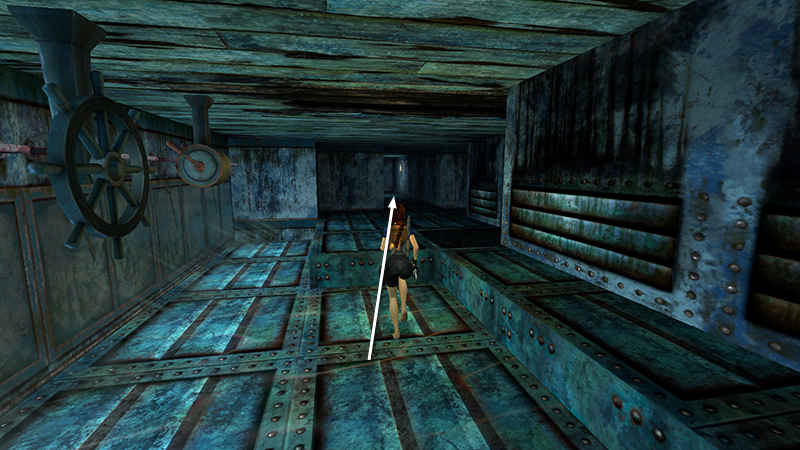 ...and through the door before it closes.
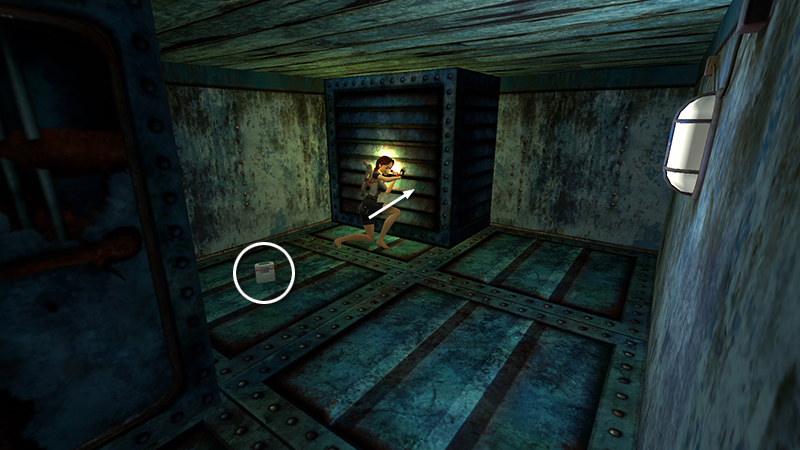
Once you make it inside, the door stays open. Pick up some flares (31) and push the movable block into the wall...
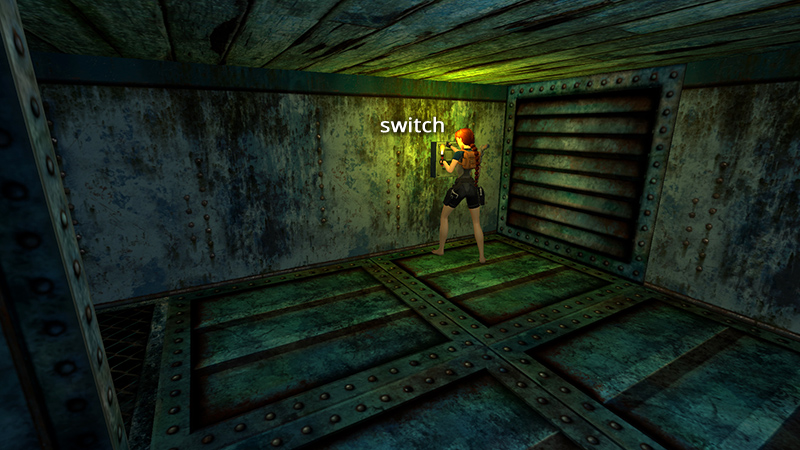
...to reveal another switch.
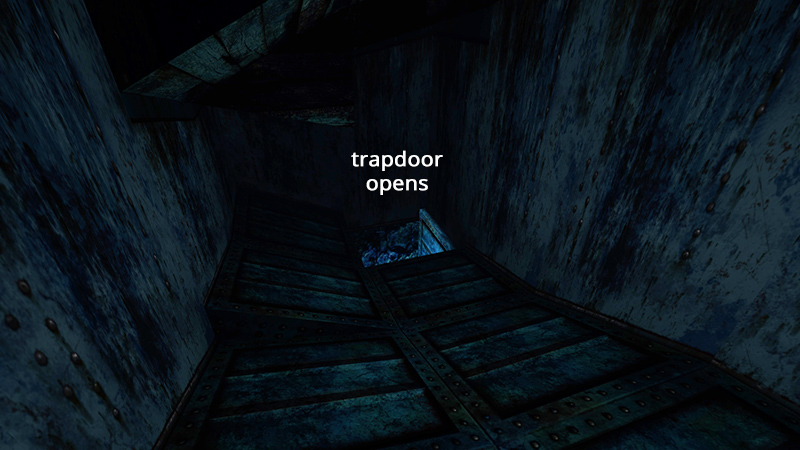
Use it to open a trapdoor on the far side of this area.
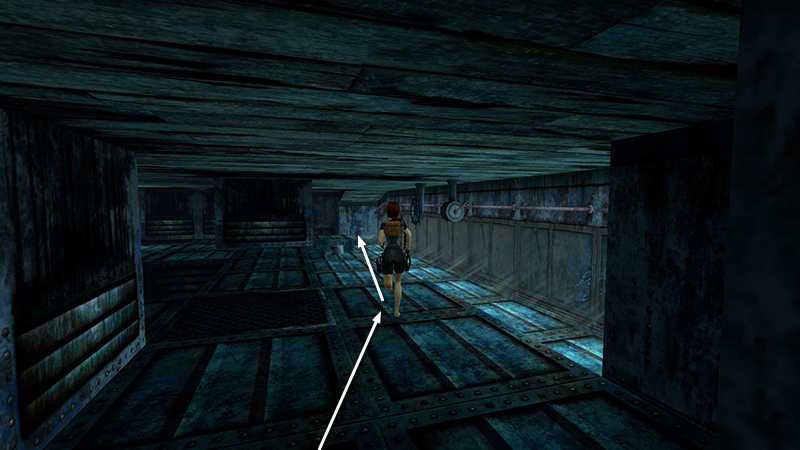
To get there, exit the room and follow the wall of windows to the other end of the BRIDGE.
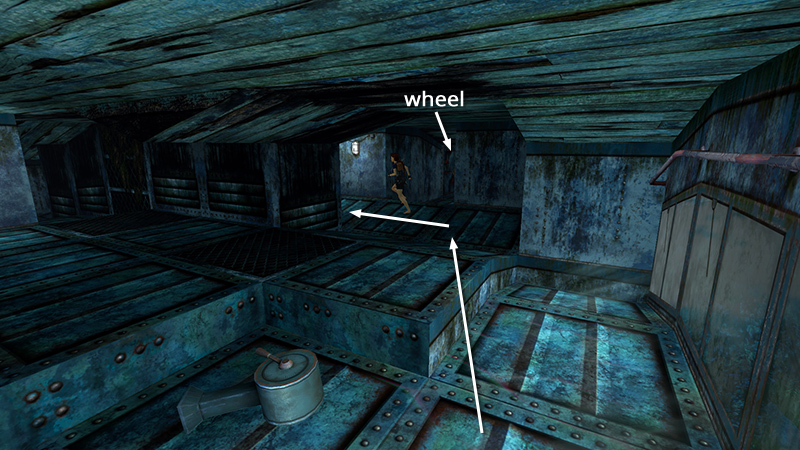
Turn left just before the hatch with the wheel...
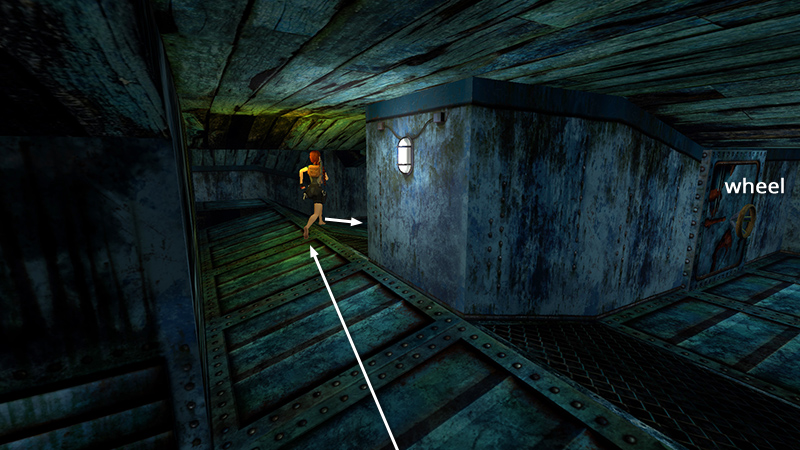
...then right, into a room with an uneven, sloping floor.
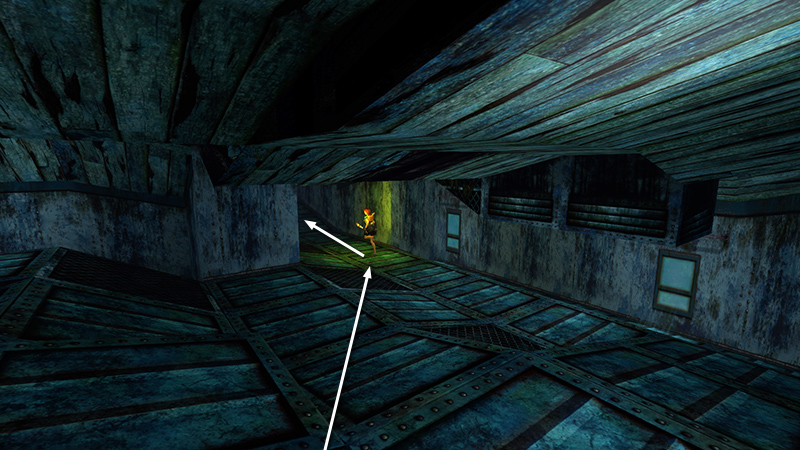
Head for the far end of this room...
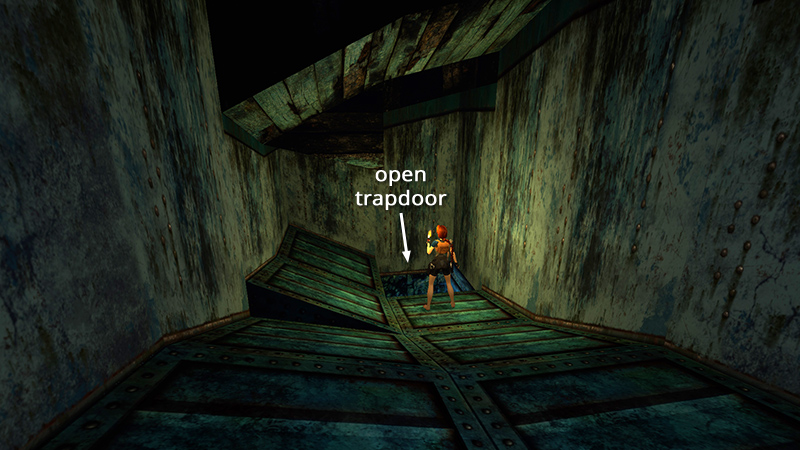
...to find the trapdoor.
DARK MODE: I plan to add optional dark mode for these pages, but my current priority is updating the walkthroughs. Meanwhile, may I suggest a reputable dark mode browser extension, such as Dark Reader? (Download only from trusted sites, like darkreader.org or your browser's official add-on/extension site.)
Walkthrough text and diagrams copyright © Stellalune (email ). Feel free to copy or print this walkthrough for personal use. By all means, share it with friends, but please include this credit line so people can send me their feedback. No part of this walkthrough may be reproduced on another site without permission.