Living Quarters - Engine Room - Second Pass Across Pistons
After moving the blocks and pulling the switch to rearrange the pistons a second time, return to the doorway overlooking the ENGINE ROOM, as described in part 1.
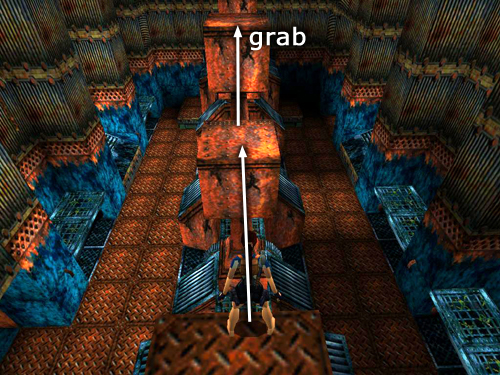
Jump across the pistons again to the other side: Begin by take a standing jump from the edge of the doorsill to land on the first piston. Walk to the opposite edge and take another standing jump to grab the edge of the second piston; pull up.
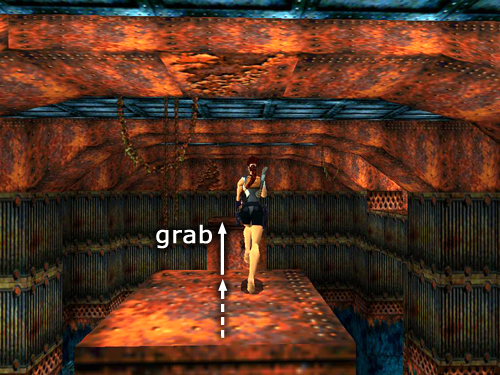
Then take a running jump over the third piston to grab the edge of the fourth and pull up.
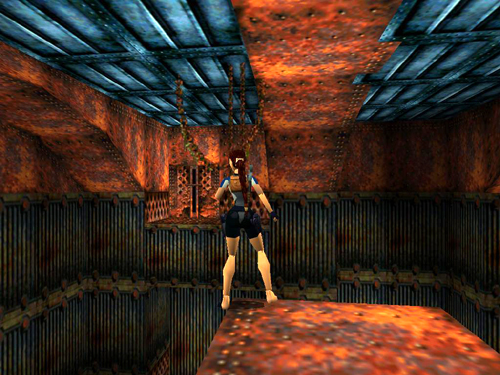
Turn right to face the alcove with the switch. Save the game and set up the next running jump carefully, since it's easy to miss: Walk to the outer left corner of the piston and aim Lara directly at the right side of the alcove.
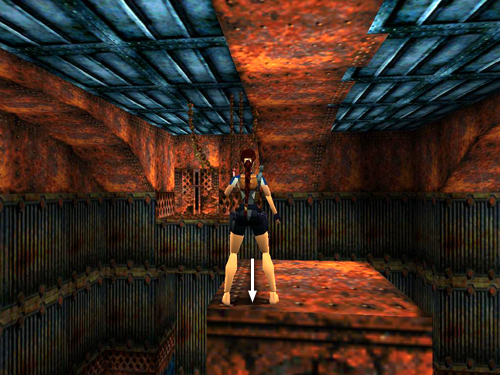
Hop back once.
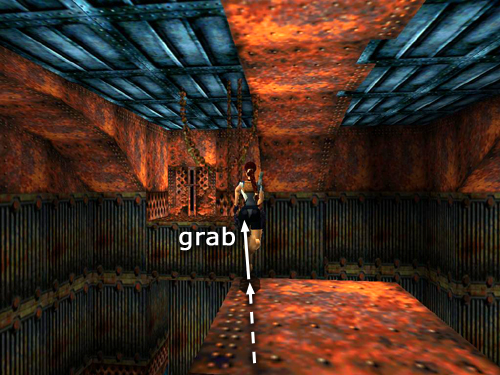
Then take the running jump to grab the edge of the alcove. Pull up and throw the switch.
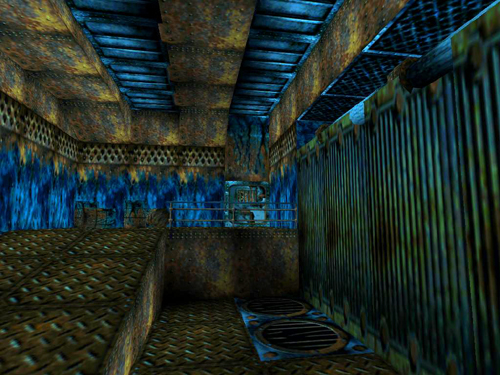
Doing so floods the BURNER ROOM and rearranges the pistons once more.
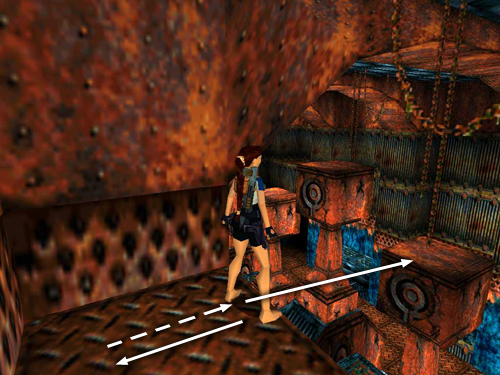
Lara can safety drop to the floor from this ledge but only if she has full health. To get down without injury, take a running jump to the fourth piston, which is now lower than it was before.
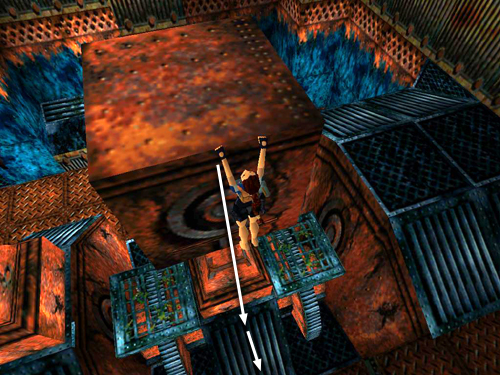
Then safety drop to the angled surface below and slide down to the floor.
Copyright © 1998- - Stellalune (). Feel free to copy or print this walkthrough for personal use. By all means, share it with friends, but please include this credit line so people can send me their feedback. No part of this walkthrough may be reproduced on another site without permission. Follow this link for details about this site's advertising and privacy policy.
Stella's Tomb Raider Site: tombraiders.net.