Living Quarters - Movable Blocks in Hall Above Piston Switch
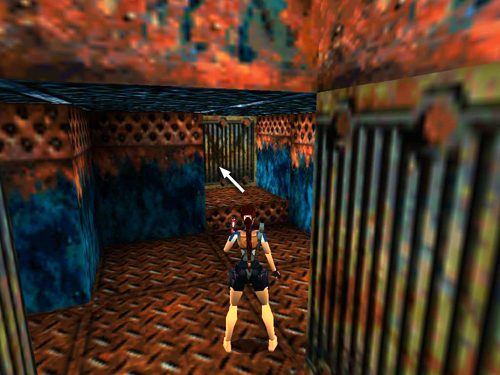
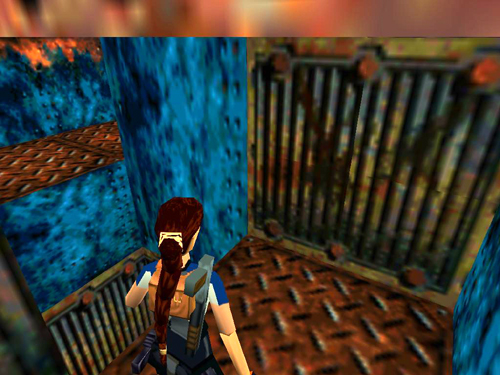
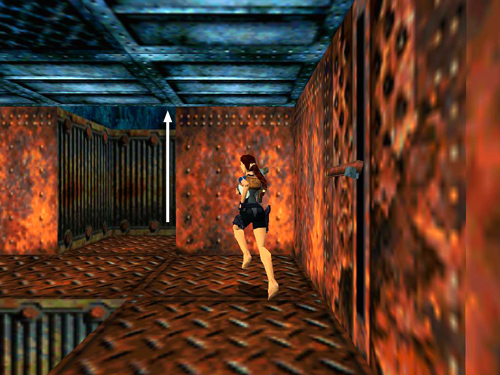
After climbing across the pistons, follow the passageway until you come to a dead end with a movable block.
Push the block as far as it goes (three times).
You'll reveal a hole in the floor on the left leading down into the room below and a second opening, also on the left, a little farther on. Enter the second opening. . .
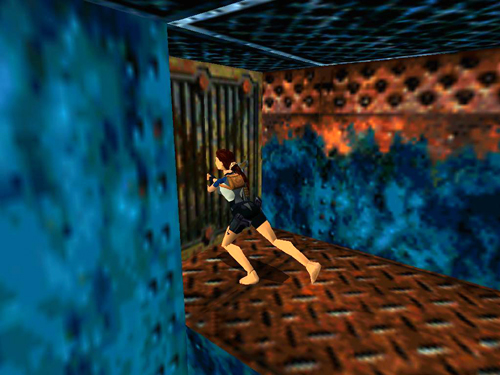
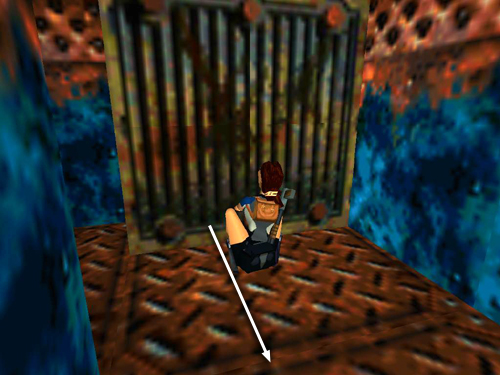
. . and go around the corner to find another movable block. Push this block once.
Now you can see across the hole in the floor into the hallway where you started.
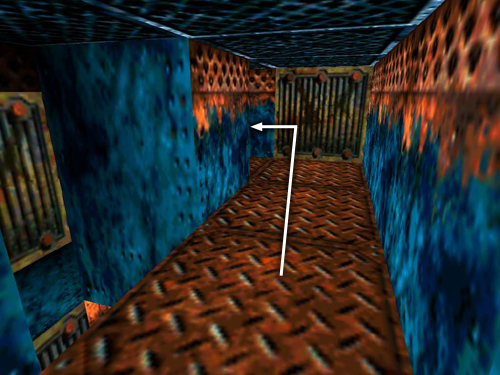
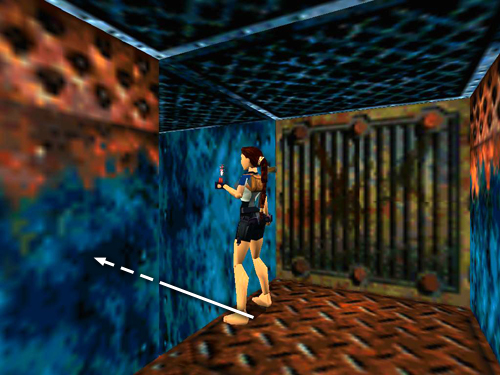
Return around the corner to the first block.
Pull it back out twice.
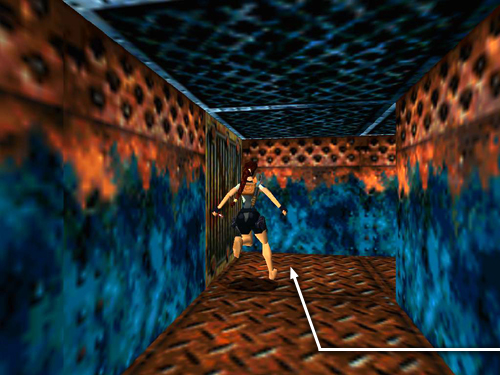
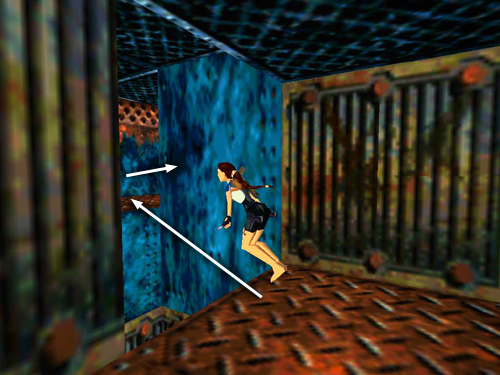
Jump across the hole in the floor into the hallway near the second block. . .
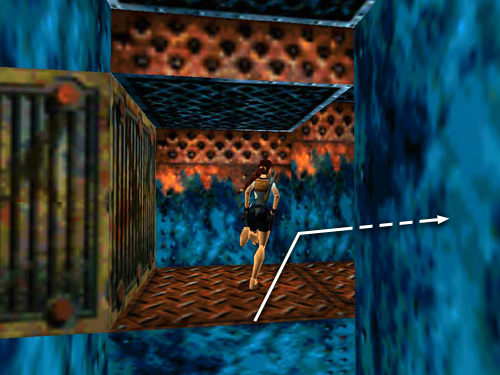
. . . and go to the right.
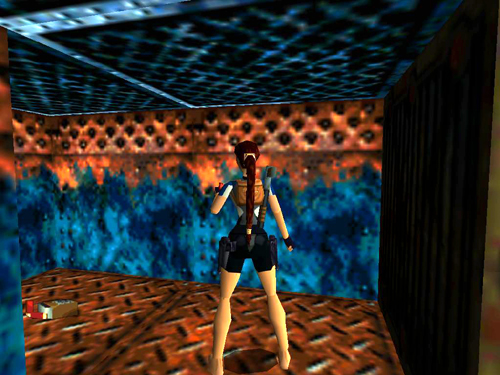
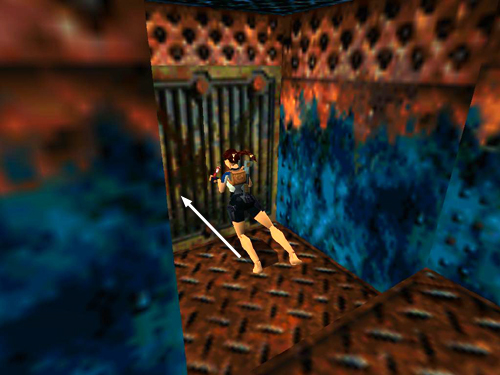
In the area behind the first block you'll find 2 boxes of shotgun shells. (Or the SHOTGUN itself if you didn't get it before.)
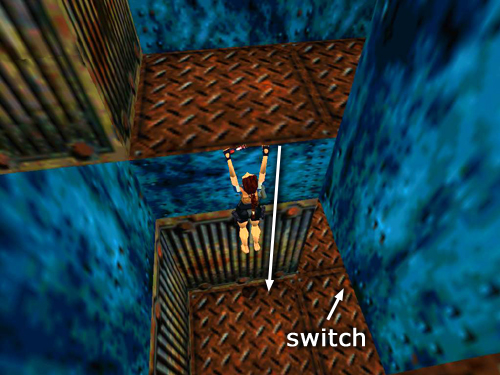
Now drop down to the room below.
Flip the switch again so it's now in the up position. This moves the pistons back to their original configuration. (Do not drop down through the hole in the floor. If you do, you'll need to return through the BURNER ROOM, and climb up through the switch room to reach the hallway with the movable blocks again.)
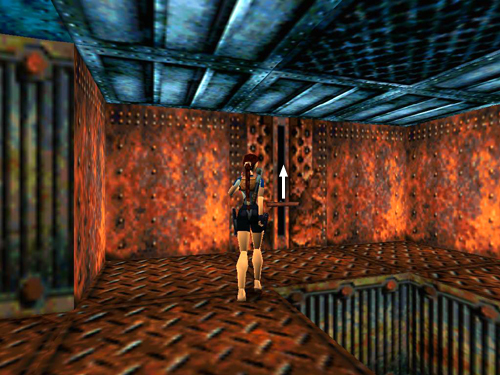
Instead climb back up into the hallway where you moved the blocks.
Turn around, jump across the hole in the floor and follow the hallway back to the doorway above the ENGINE ROOM.
Copyright © 1998- - Stellalune (). Feel free to copy or print this walkthrough for personal use. By all means, share it with friends, but please include this credit line so people can send me their feedback. No part of this walkthrough may be reproduced on another site without permission. Follow this link for details about this site's advertising and privacy policy.
Stella's Tomb Raider Site: tombraiders.net.