The Great Wall - Gauntlet of Traps and Secret #2 (Jade Dragon)
Beyond the room with the flying blades, shown in the last section, is a fiendish series of hazards. It's possible to navigate the entire sequence non-stop, but we'll pause and save along the way. This video walkthrough shows both the non-stop and cautious strats. It was made in the classic game but still works in the remaster. Again, all this assumes you're using the classic tank controls. Be sure to save the game before starting out.
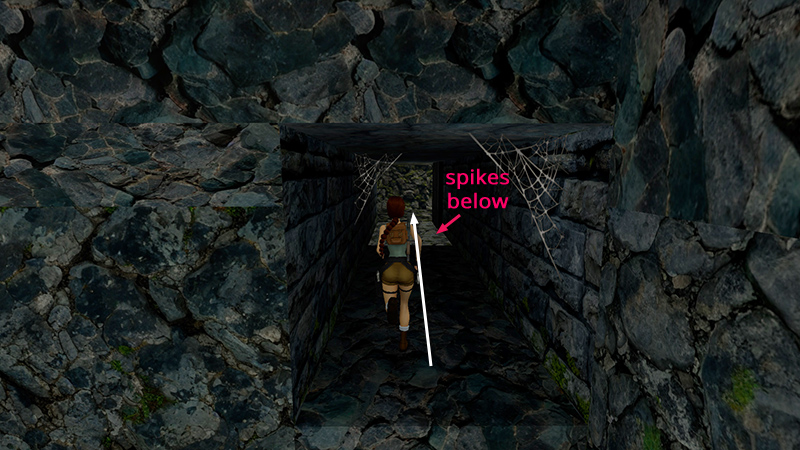
First comes a series of cracked floor tiles with deadly spikes below. Run over them without pausing.
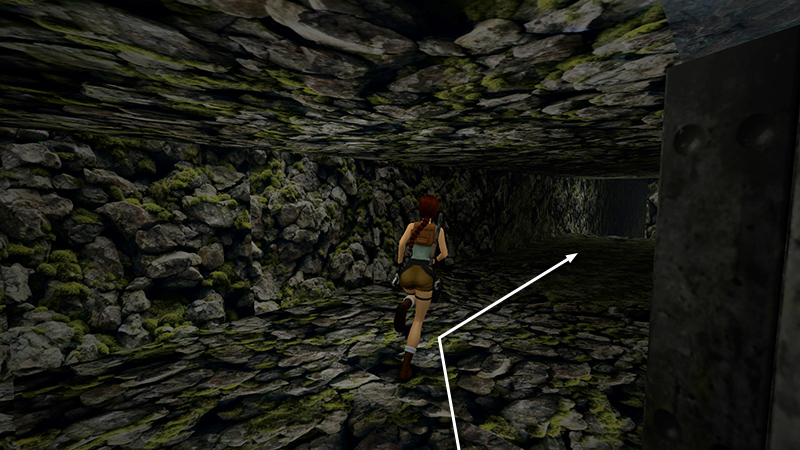
Keep running forward and to the right as you enter the wide tunnel ahead.
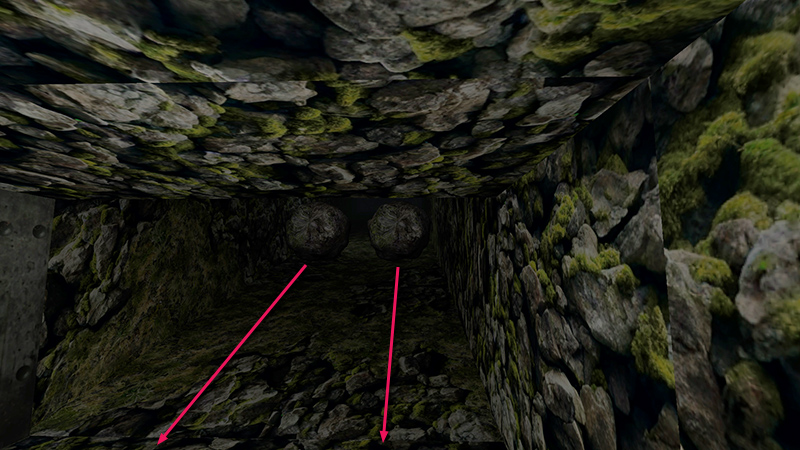
The door to the previous area closes, and a pair of rolling boulders rumbles down behind you. Press the Look button to cancel the cutscene and get Lara's perspective back.
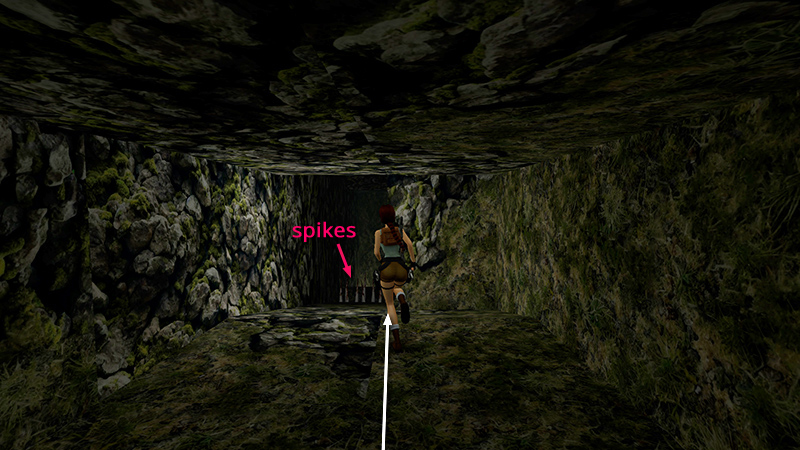
Continue running, staying in the middle of the tunnel. You're aiming for the seam between the doorway with the floor spikes on the left and the solid wall on the right.
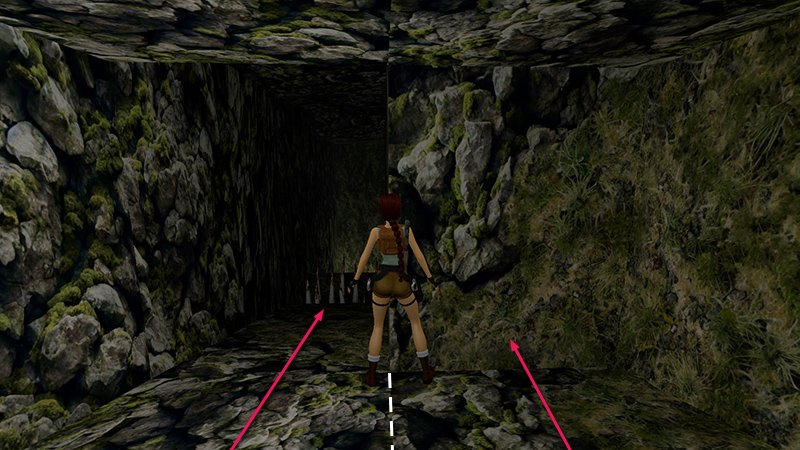
If Lara stands exactly on the seam between the left and right floor textures, with her chest against the corner, she should be safe. (You can pivot 90 degrees in either direction, so both feet are on the seam, if you want to be extra careful, but this isn't necessary.)
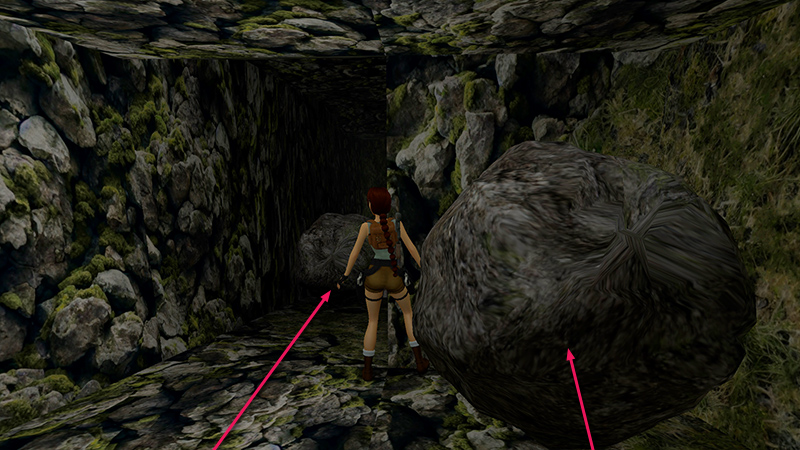
Once both boulders settle, save the game.
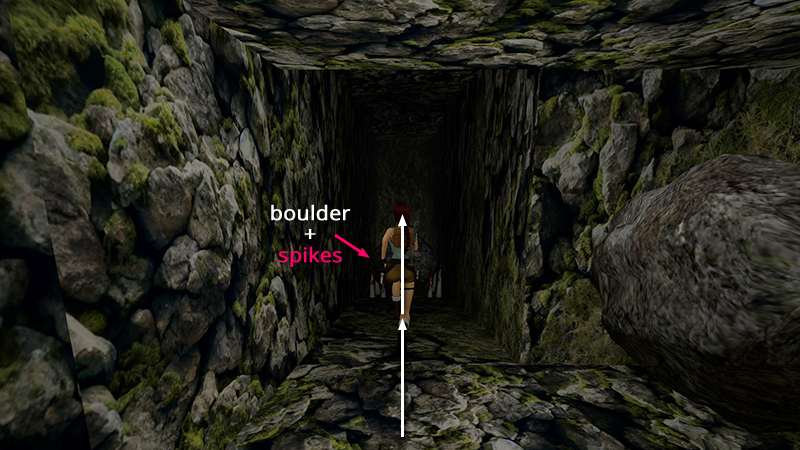
Face the left boulder and spikes. Then take a running jump over the middle of the boulder to land on the slope beyond. (Make sure Lara doesn't overshoot the slope and fall through the opening.)
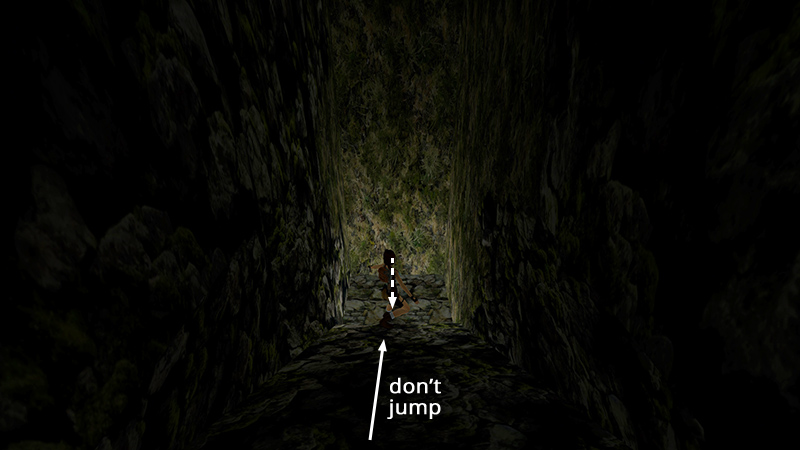
Let Lara slide (without pressing Jump or Action). She'll bang her face on the wall then drop into a room with spiked walls encroaching.
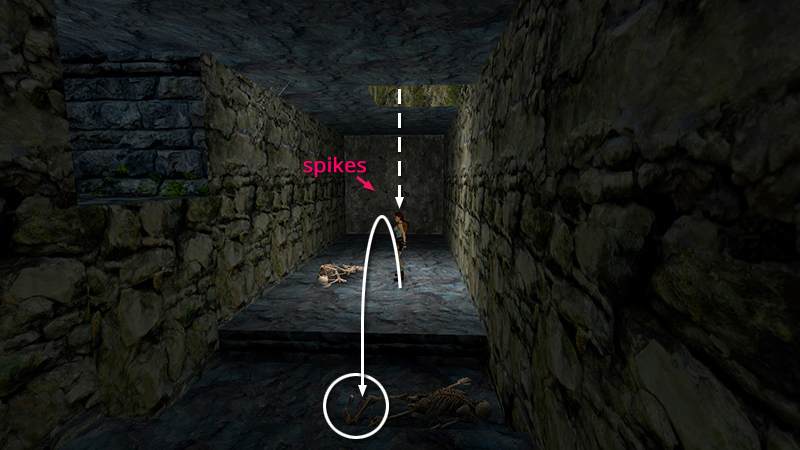
There's a set of automatic pistol clips (6) on the floor near the skeleton off to Lara's left. If you slid down the middle of the slope and dropped into the room, as described above, Lara should land in the spot shown above. As soon as she touches the floor and stands up, side flip (Jump + Left) to land directly on the ammo.
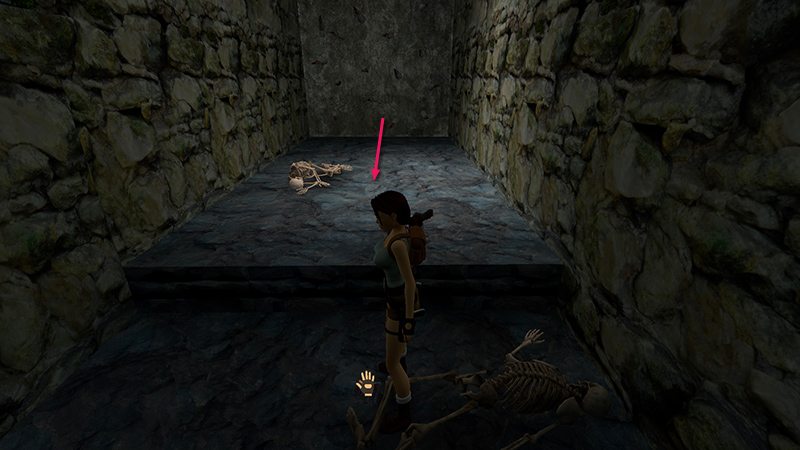 If you hold Action (and release the other controls) immediately after you flip...
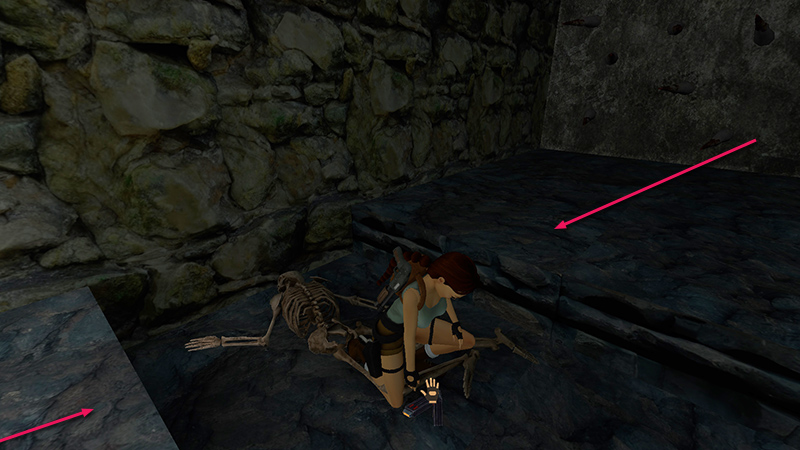
...Lara will start to make the pickup as soon as she lands. While she's crouching to grab the ammo...
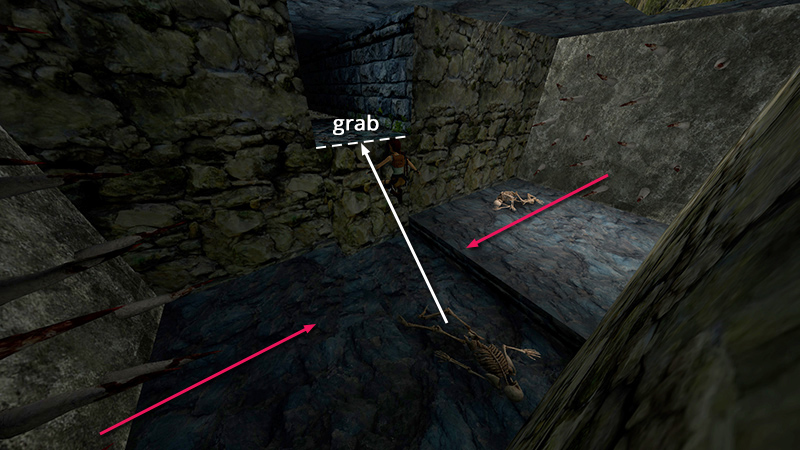
...press and hold Forward + Action + Jump. Then, as soon as she's made the pickup, she'll jump forward and grab the edge of the doorway.
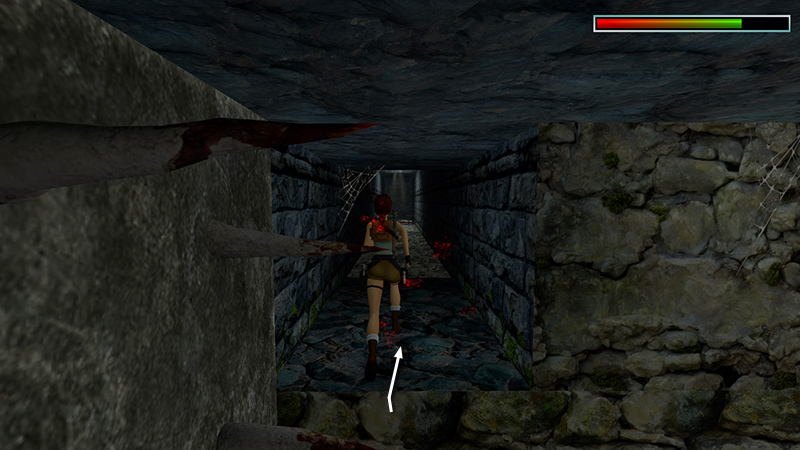
Keep holding Forward + Action, and she'll immediately pull up and step forward. The spikes may graze Lara as you pull up, but if you step forward immediately, the damage should be minimal. Save the game again here.
NOTE: If you're not fast enough or just don't care about getting all pickups, skip the ammo, and just fall into the room, flip to the left, run forward, and climb into the doorway.
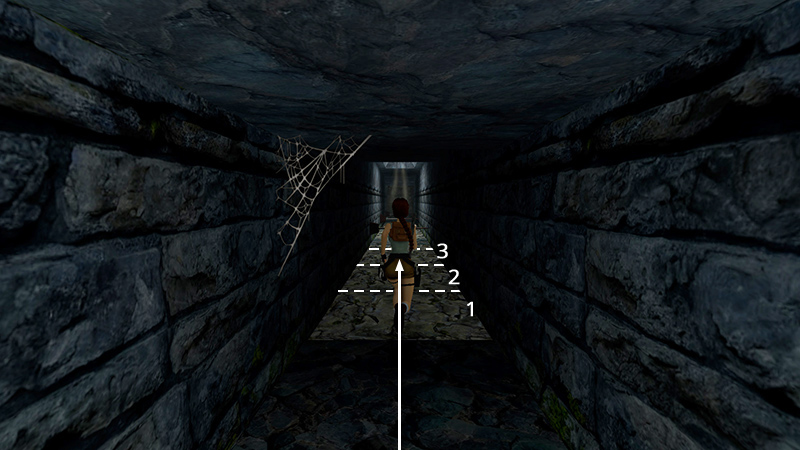
Run down the next hallway, over more collapsing tiles with spikes below, leaping over the 3 horizontal blades as you run.
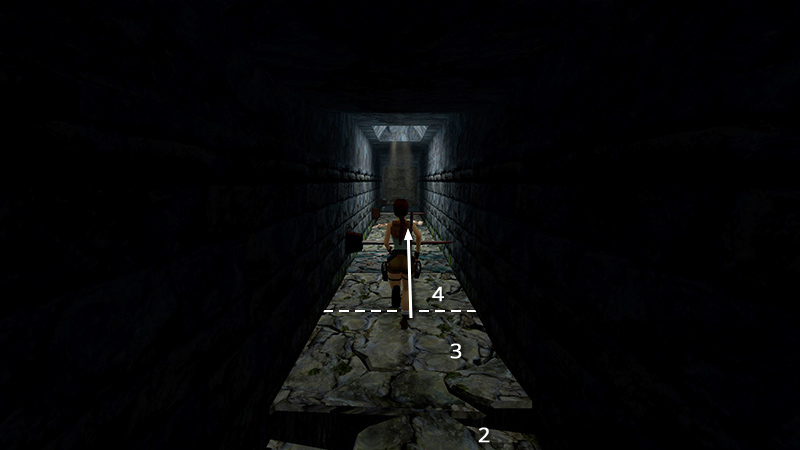
Try to time the first jump so Lara takes off at the seam between the third and fourth collapsing tiles.
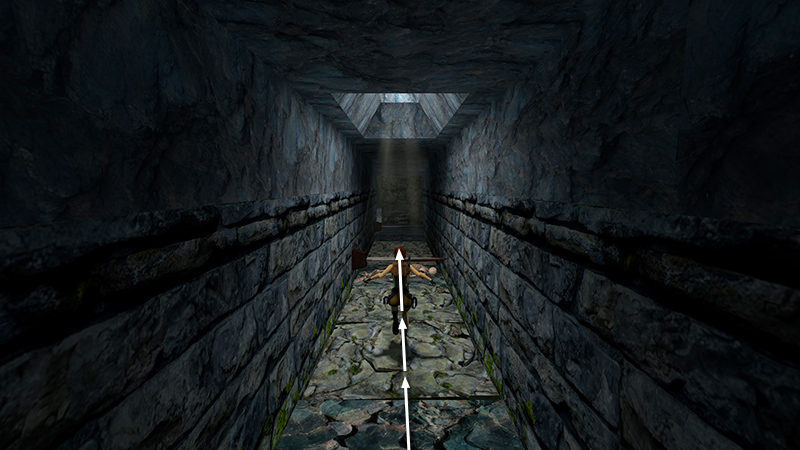
Then you can just hold Forward and Jump to clear the remaining blades in a smooth series of running jumps.
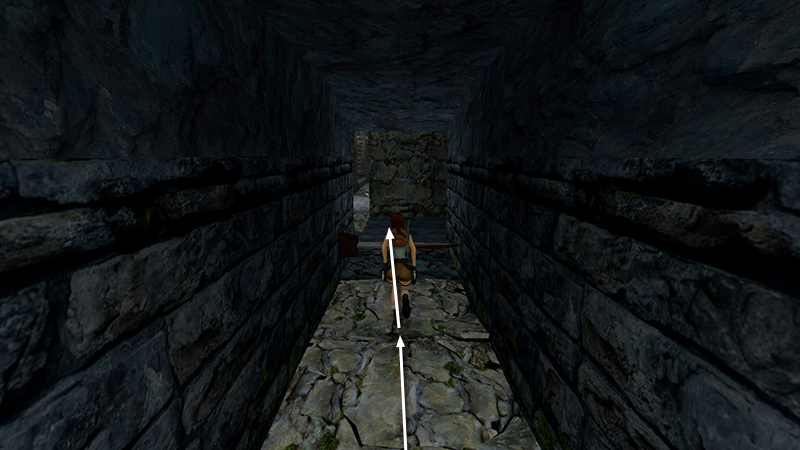
As you jump over the last blade, try to veer to the left a little.
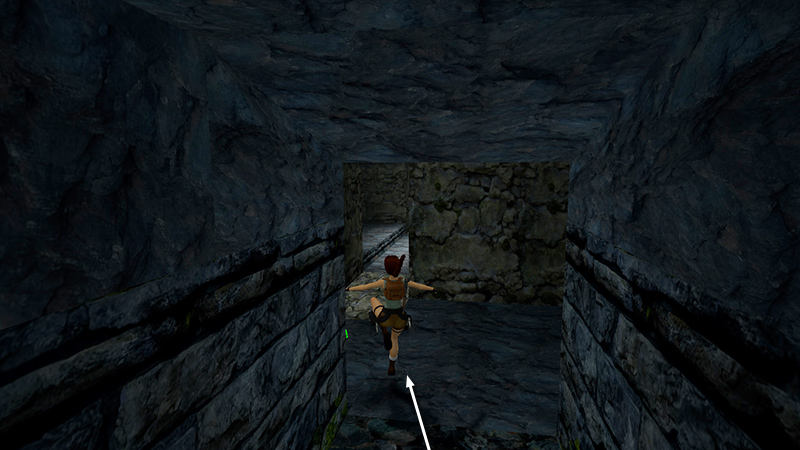
You can even angle Lara slightly to the left while she's in the air after jumping over the last blade.
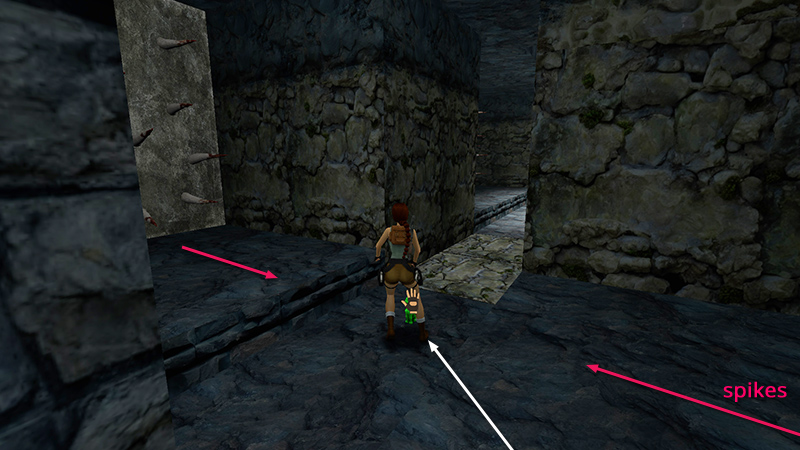
SECRET#2, the Jade Dragon (7) is sitting on the floor in plain sight. Try to grab it before the spiked walls close in.
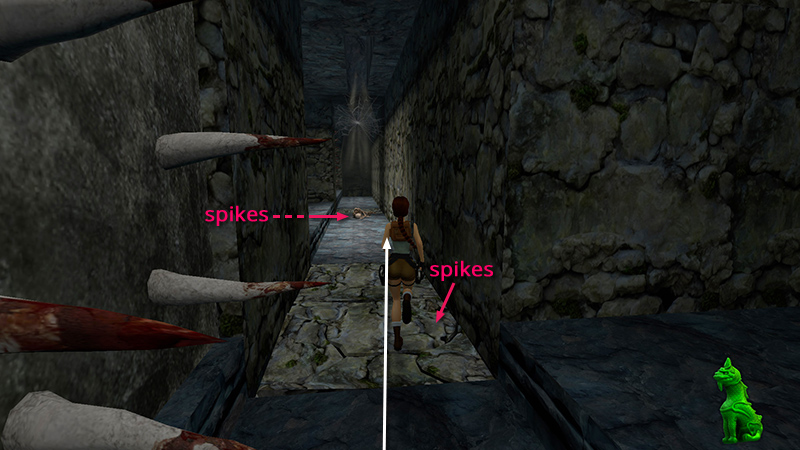
Then quickly run across the next concealed spike pit into a long hallway with more moving spiked walls on the left.
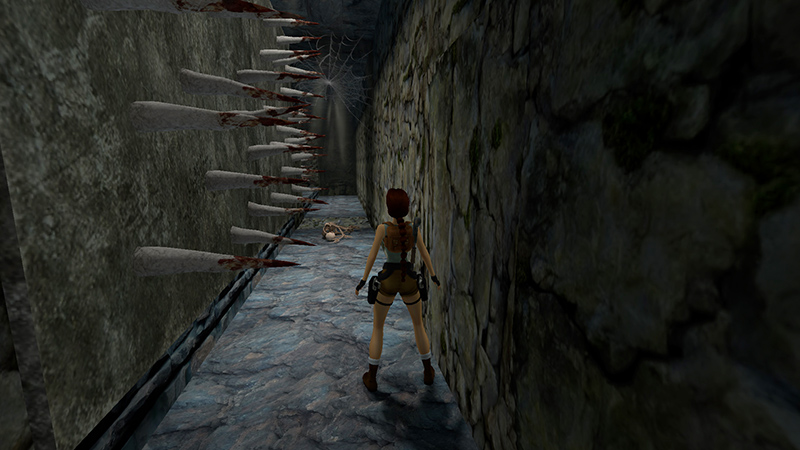
As long as you stay close to the right wall, the spiked walls moving in from the left won't touch Lara. If you managed to get the jade dragon, go ahead and save again if you like.
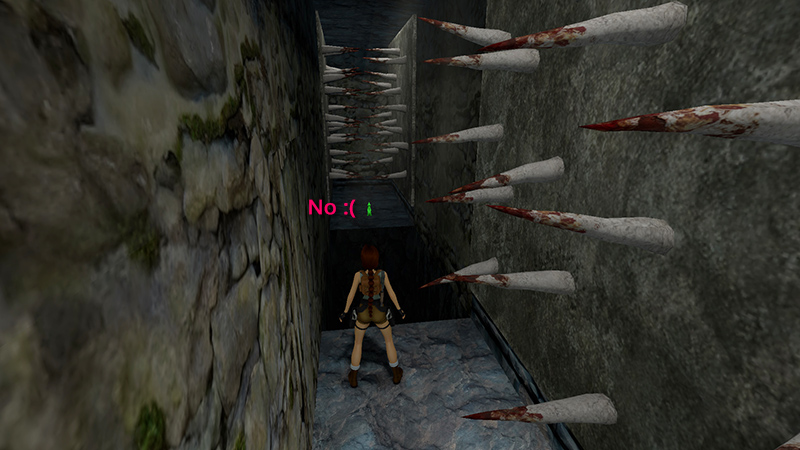
DO NOT SAVE if you missed the secret and want to try again. After the spiked walls have converged, you can no longer reach the treasure without getting skewered. You'll have to reload a save from before the slicing blades and try again.
DARK MODE: I plan to add optional dark mode for these pages, but my current priority is updating the walkthroughs. Meanwhile, may I suggest a reputable dark mode browser extension, such as Dark Reader? (Download only from trusted sites, like darkreader.org or your browser's official add-on/extension site.)
Walkthrough text and diagrams copyright © Stellalune (email ). Feel free to copy or print this walkthrough for personal use. By all means, share it with friends, but please include this credit line so people can send me their feedback. No part of this walkthrough may be reproduced on another site without permission.