Floating Islands - Resetting the First Zip Line
This sequence is also shown in a short video. (This classic video shows a slightly different route, after the boulders have already rolled.)
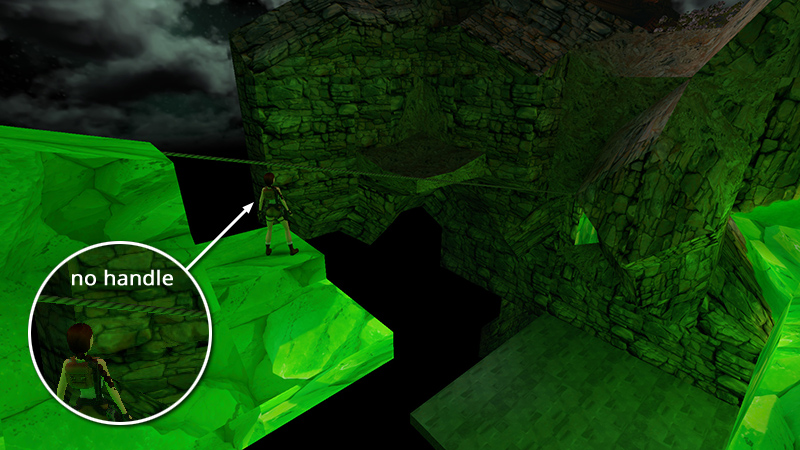
It is possible to use the first zip line a second time and drop onto the WIDE PLATFORM BELOW instead of sliding all the way to the end. If you do this, then climb back to the top, you'll be unable to continue because the zip line handle is missing. You'll need to pass through the room with the switch and second zip line again in order to reset it. Here's how to get there and back without tripping the boulder traps.
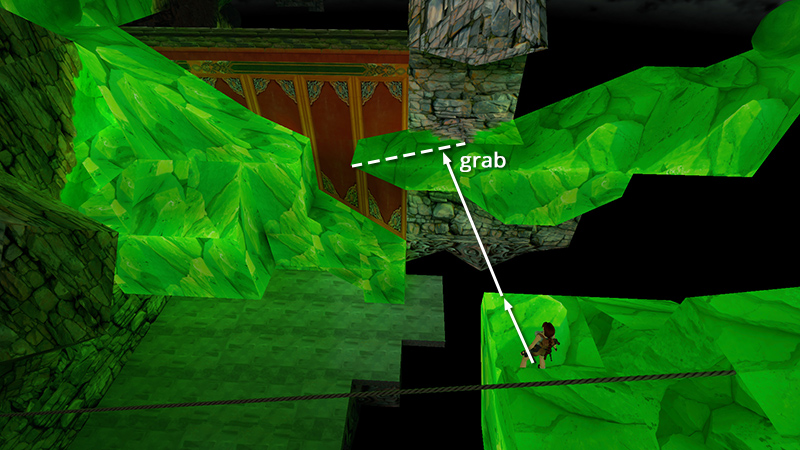
While standing on the green island at the top of the zip line, turn to face the boulder ramps. Take a running jump to grab the sloping part of the ramp, just to the left of the flat tile. (You may be able to catch the flat part of the ledge with a late grab, but this can be temperamental. Grabbing the slope works pretty consistently.) Pull up.
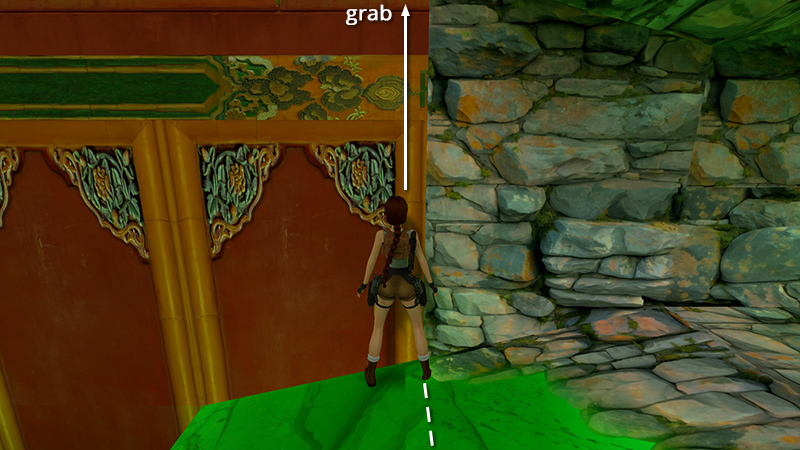
Walk forward to the wall.
Position Lara's right foot on the seam between the stone wall and the orange painted area. Jump straight up and grab the edge of the roof. (It may take a little finesse. If you're too far left or right, Lara won't be able to grab.)
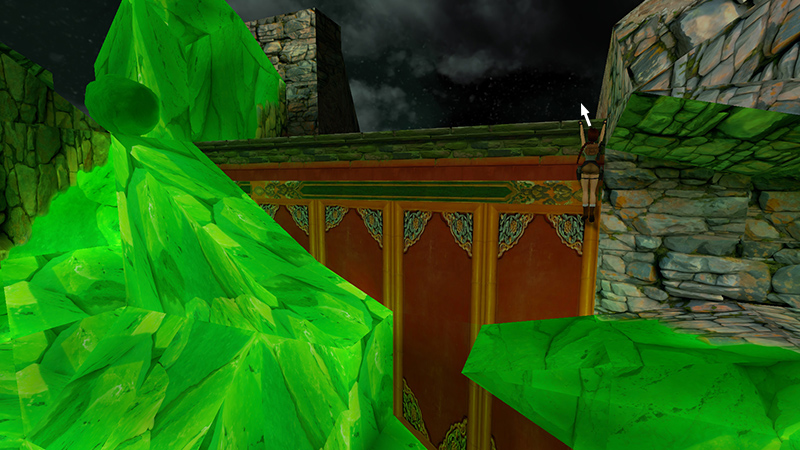
Pull up...
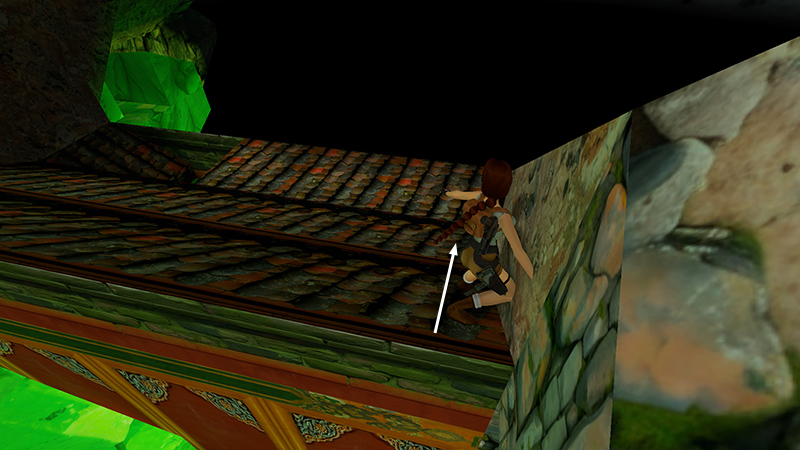
...and slide onto the flat part of the roof.
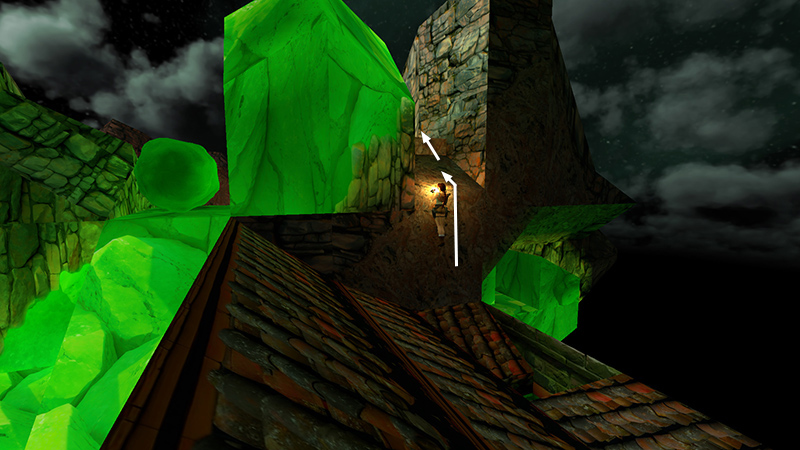
Cross over to the left side and climb onto the ledge above the hole in the roof. (The first boulder is now off to the left.)
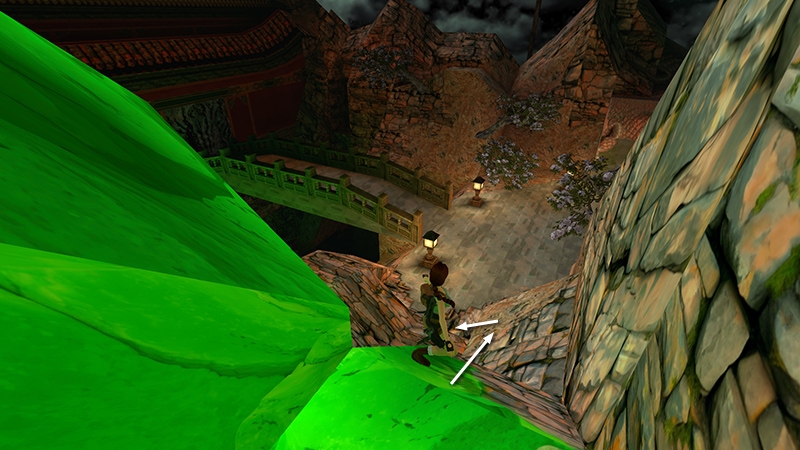
Slide down into the area near the upper bridge and MYSTIC PLAQUE GATE.
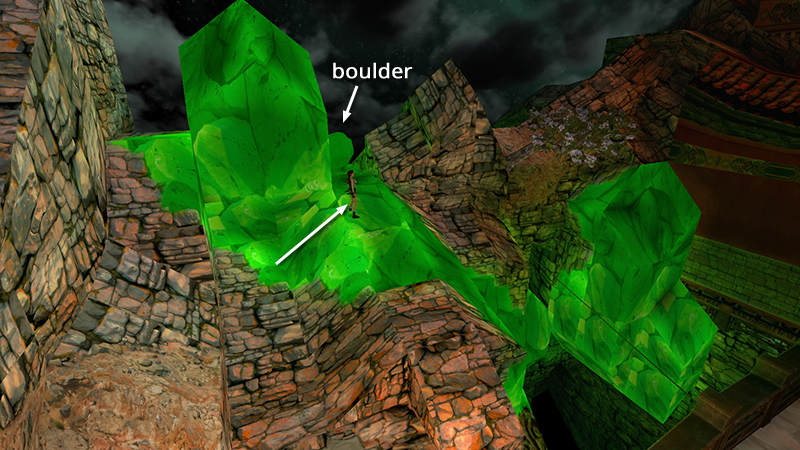
Jump up onto the ledge behind the first boulder.
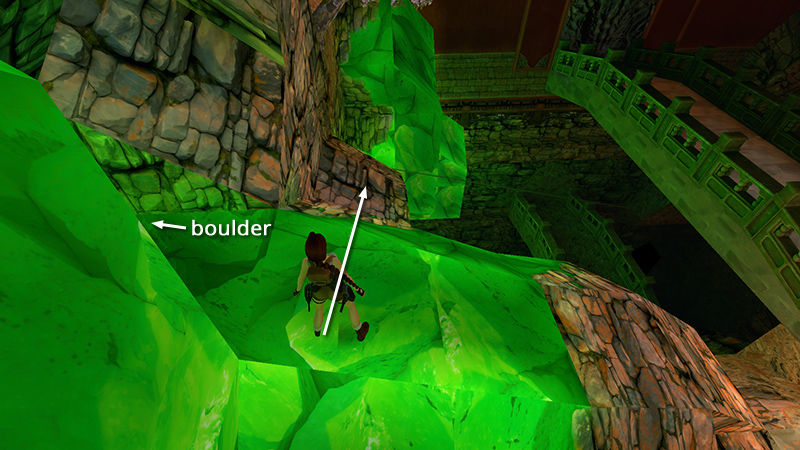
Position Lara as shown above, with the boulder on her left, the bridges ahead on the right. Then take a standing jump onto the stone slope ahead. You want to land roughly in the middle of that slope, facing downhill.
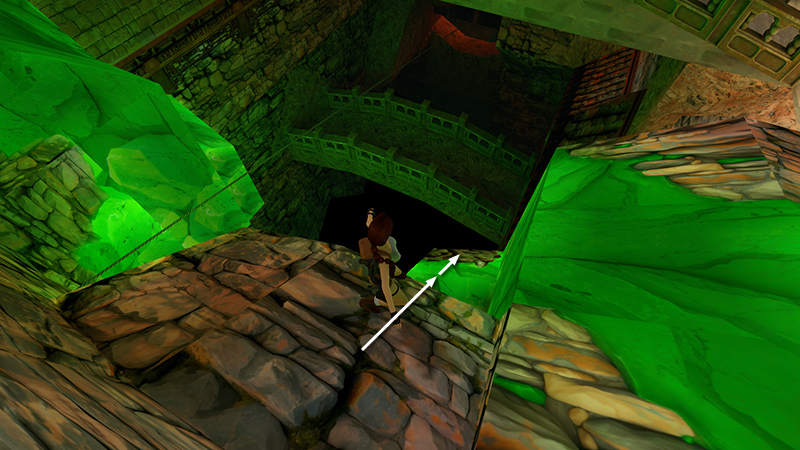
Slide off the stone slope onto the green slope directly below. Slide almost to the end of the green slope then jump...
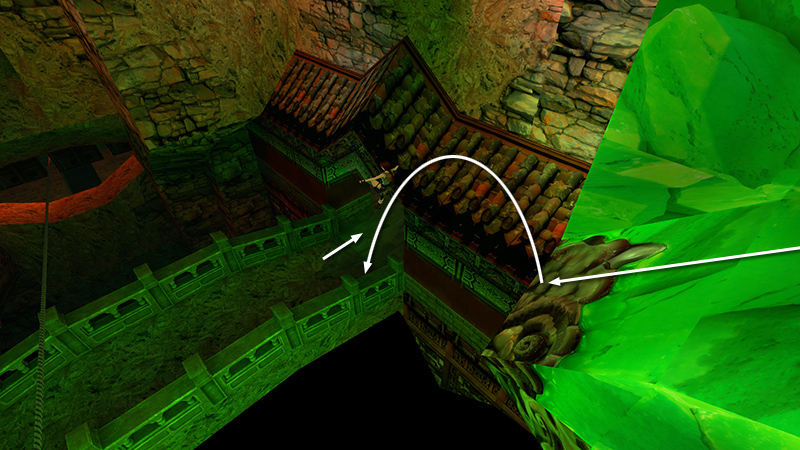
...and land at the right end of the lower bridge. Enter the room where you fought the 3 petrified spearmen (9-11) earlier.
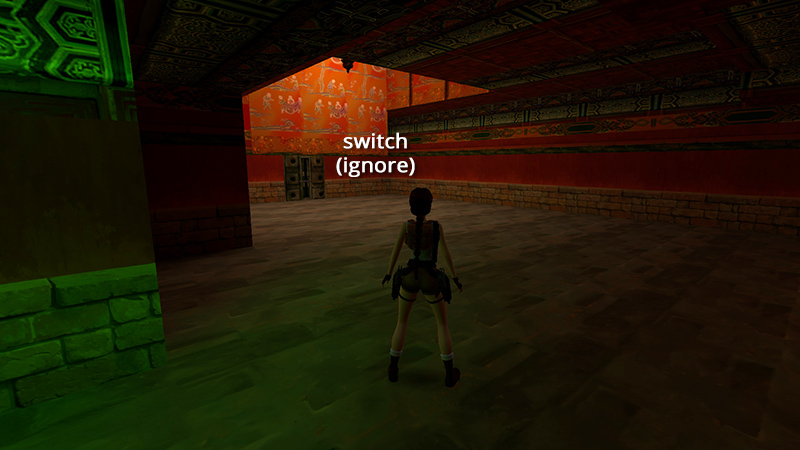
The switch that raised the gate at the end of the zip line is here on the left. It should already be in the down position. Leave it alone.
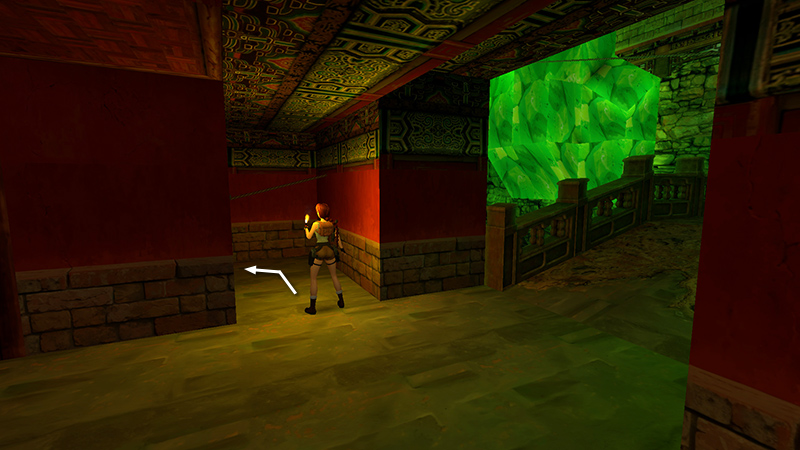
Go through the doorway near the bridge. Approach the second zip line handle but don't use it.
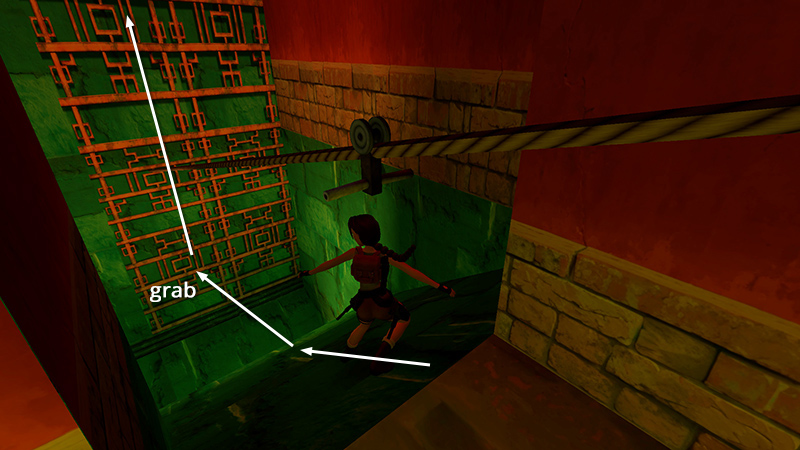
If you try to ride this zip line a second time, you won't be able to grab the lattice wall, and Lara will fall into the lava. Instead, save the game. Then step off the edge, slide to the very end of the slope, then jump and grab the lattice.
From here, you'll be following the same path you took before. Refer to the earlier section of the guide (or the video) if necessary. When you get back to the first zip line handle, it should be reset and ready to go.
DARK MODE: I plan to add optional dark mode for these pages, but my current priority is updating the walkthroughs. Meanwhile, may I suggest a reputable dark mode browser extension, such as Dark Reader? (Download only from trusted sites, like darkreader.org or your browser's official add-on/extension site.)
Walkthrough text and diagrams copyright © Stellalune (email ). Feel free to copy or print this walkthrough for personal use. By all means, share it with friends, but please include this credit line so people can send me their feedback. No part of this walkthrough may be reproduced on another site without permission.