Floating Islands - First and Second Zip Lines
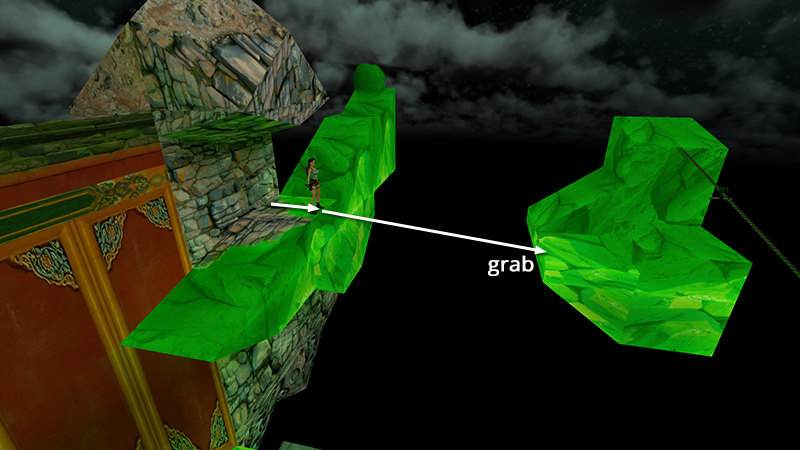
In the last section, you avoided tripping a couple of boulder traps for the "No Crazy Golf" achievement/trophy, and ended up on this ledge. Now take a running jump from flat spot in the middle of the boulder ramp to grab the green island where the zip line is anchored. Pull up.
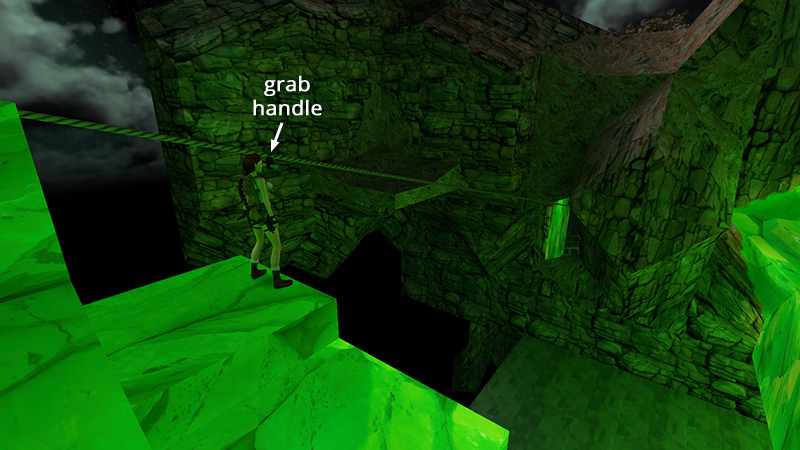
Now grab the zip line handle...
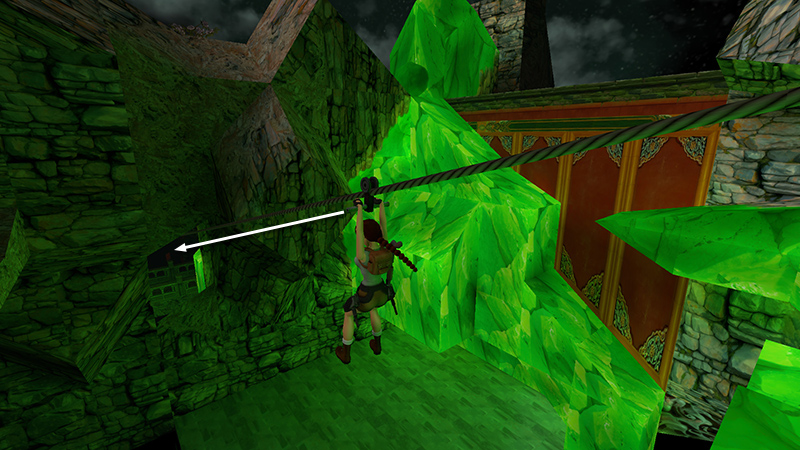
...and ride it down through the opening in the rock wall...
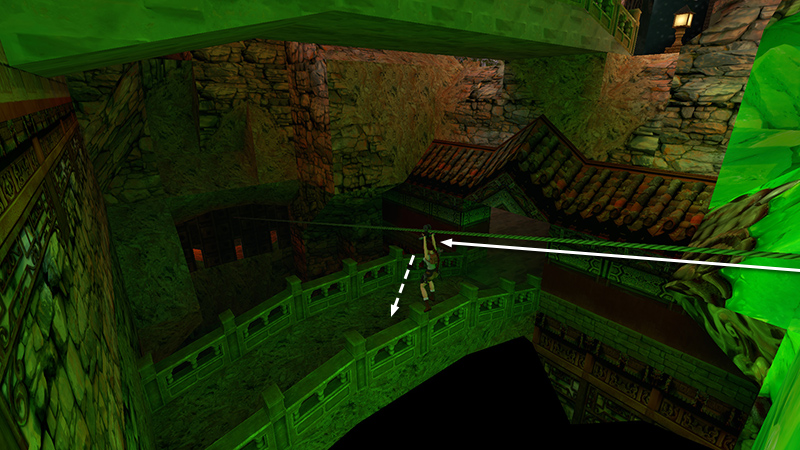
...and let go as Lara passes over the lower of the two bridges to land there.
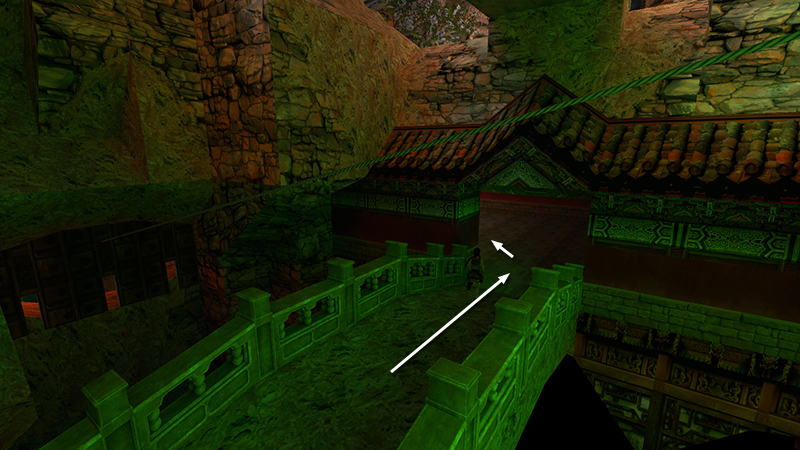
Enter the room at the right end of the bridge.
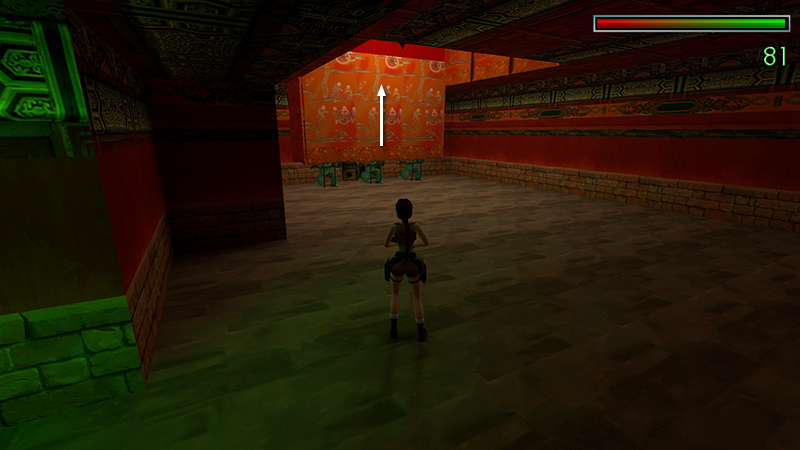
As you approach the orange tapestry, it rises, revealing 3 stone spearmen (10-12).
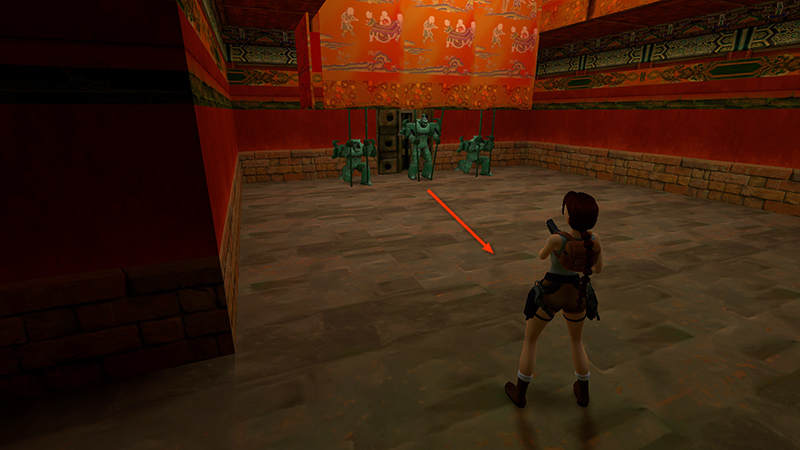
The one in the middle (10) comes to life when you get a little closer. (The other statues don't animate yet.) Start shooting as soon as it begins to transform...
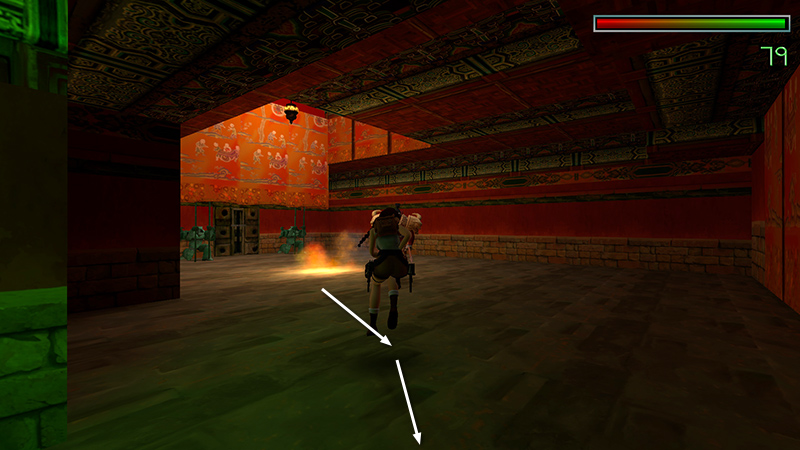
...and back out of the room firing. If you have grenades to spare, you'll only need 4 on normal difficulty.
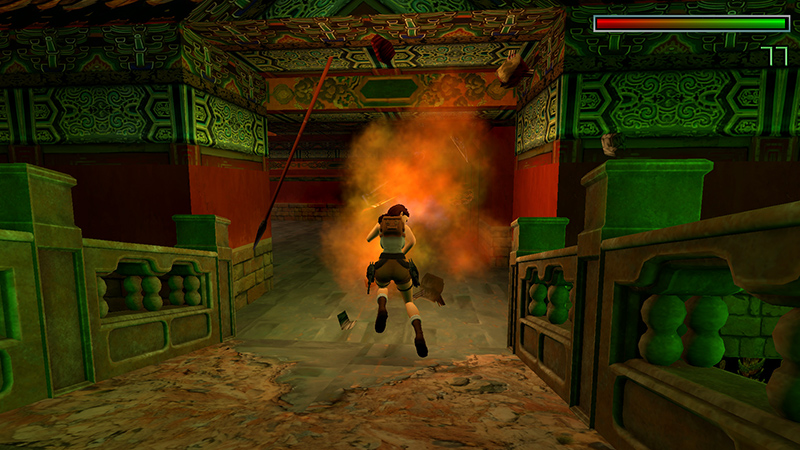
Bada-boom!
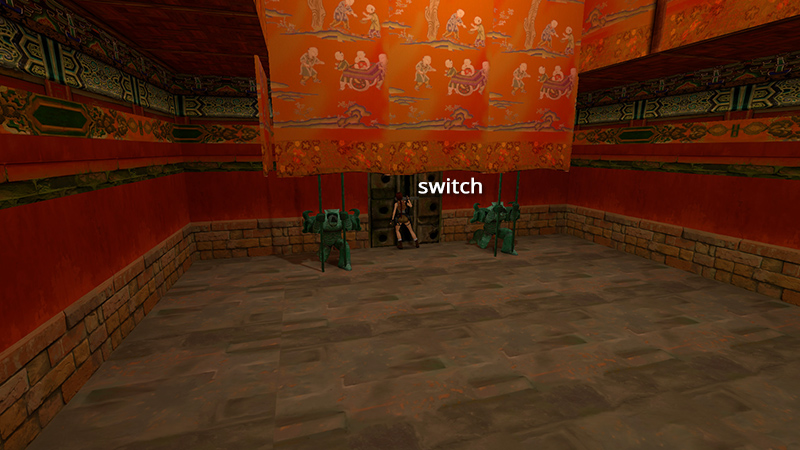
Return to the guardians and throw the switch between them. This awakens the 2 remaining enemies (11-12).
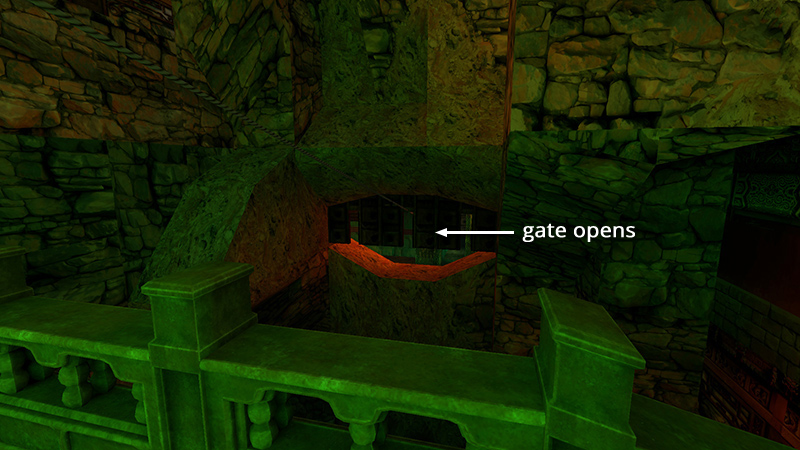
It also raises the gate at the lower end of the zip line. Press Look to cancel the cutscene.
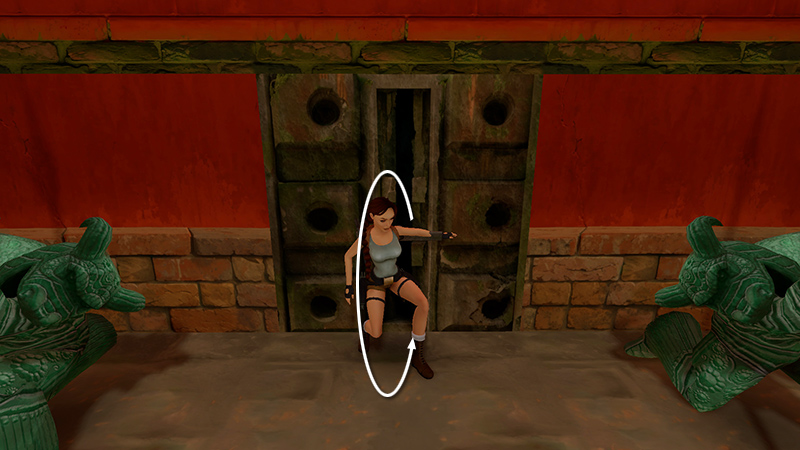
Then roll (don't backflip or Lara will bang into the curtain)...
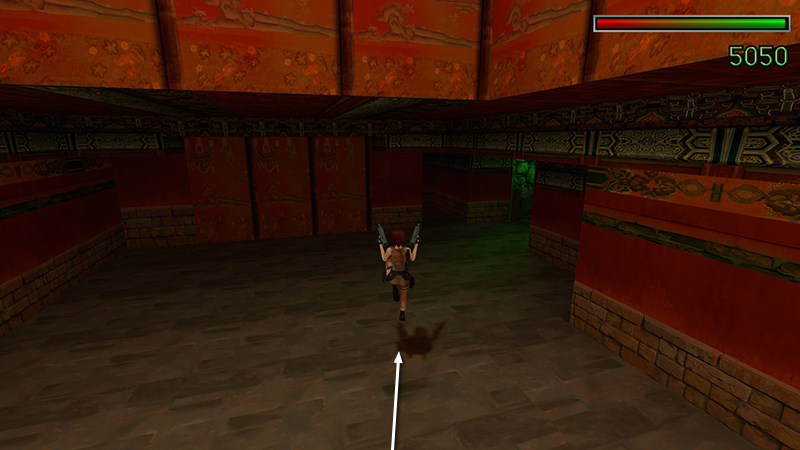
...and run/jump away so you'll have more room to fight.
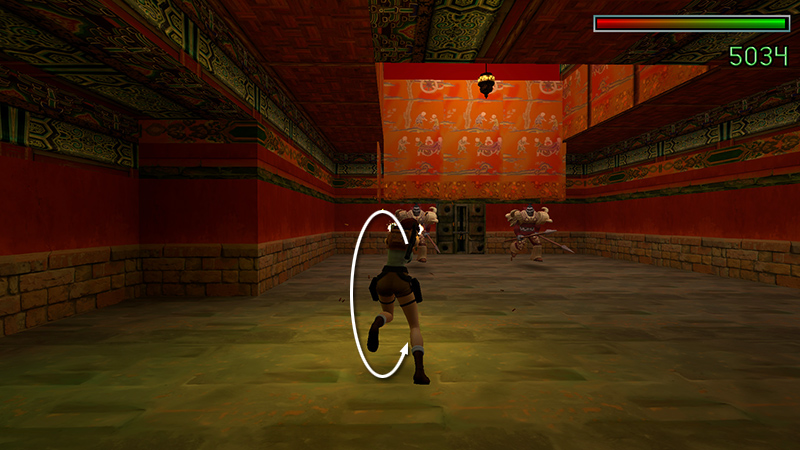
I'd go for grenades or Uzis here, but do what you need to do. Just keep moving so Lara doesn't get pinned against a wall or hoisted on their spears.
NOTE: If you're low on ammo or just don't want to fight the remaining spearmen, it's OK to flee. You will need to kill the first guardian. Then pull the switch to awaken the other two, press Look to cancel the cutscene, roll, and run/jump to the top of the zip line, as shown below. Ride it down, climb the lattice walls, and continue following the walkthrough as written. You'll have another chance to kill the spearmen from a distance shortly.
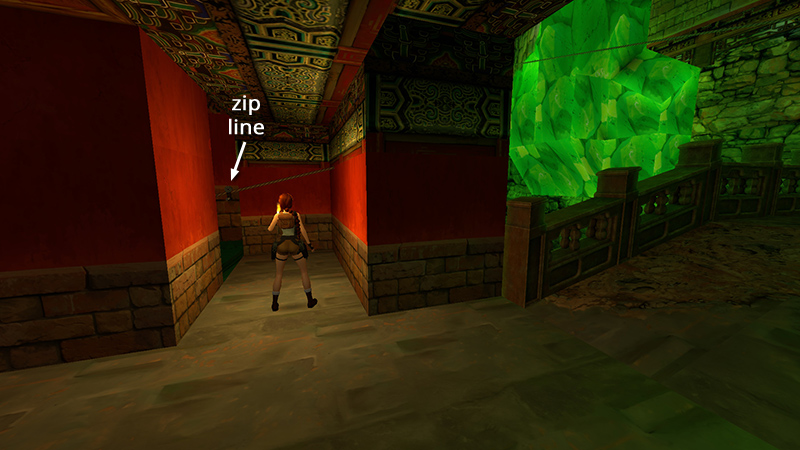
Afterward, go through the doorway just to the left of the entrance. Grab onto the second zip line handle...
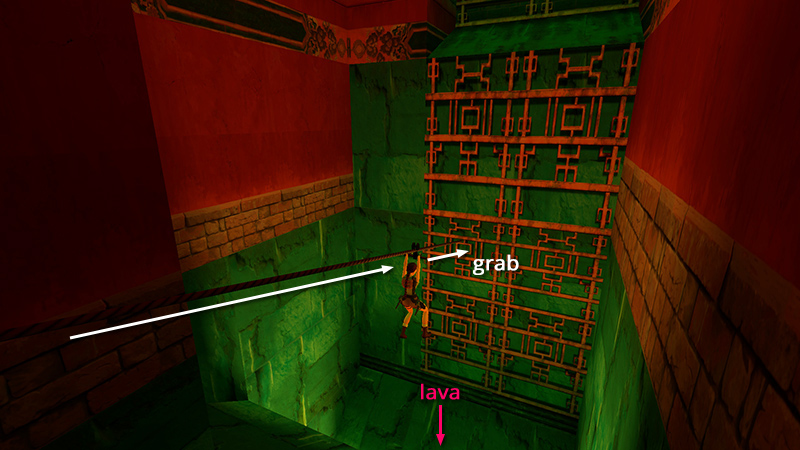
...and ride it down. Continue holding Action so Lara grabs the climbable lattice at the end of the line and doesn't slide into the lava pool below.
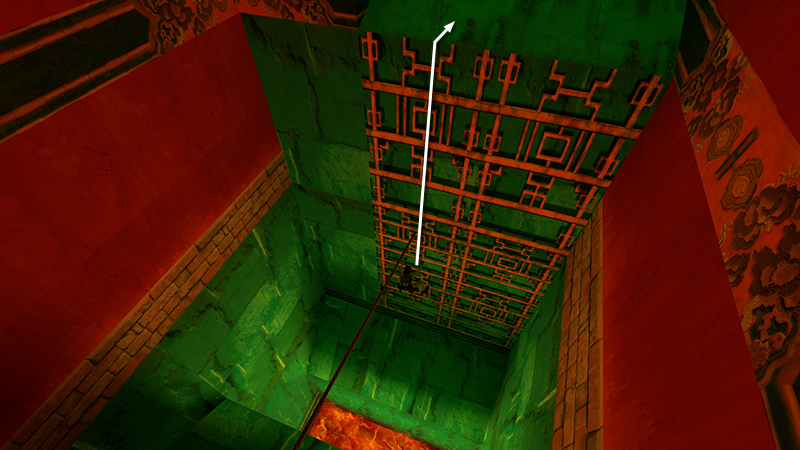
Climb onto the green ledge above.
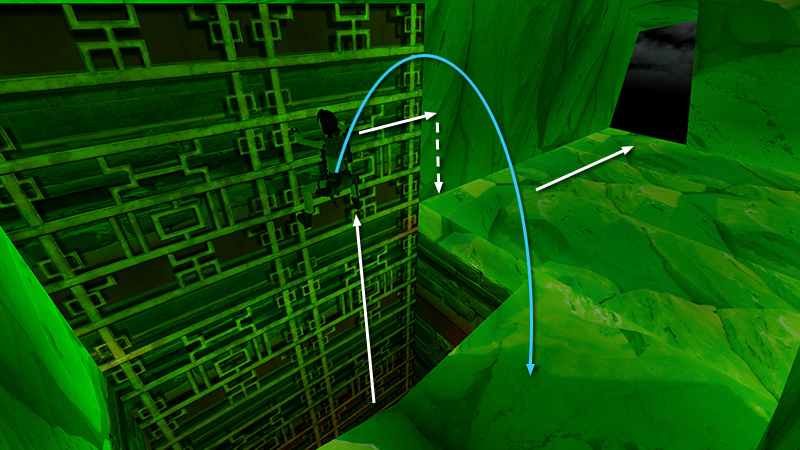
Then scale a second lattice-covered wall, climb up, and dismount on the right. (Or, climb almost to the top and backflip onto the ledge behind.) Move into the doorway to the right of the lattice.
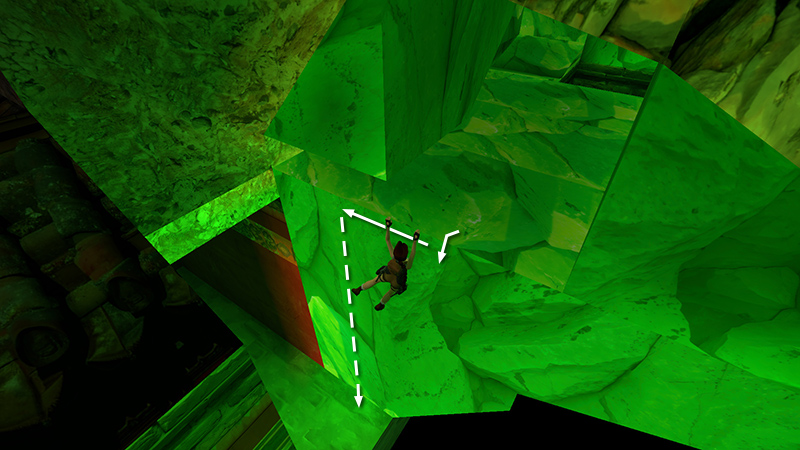
Turn around, hang from the edge, traverse to the left until Lara is over solid floor, then drop down.
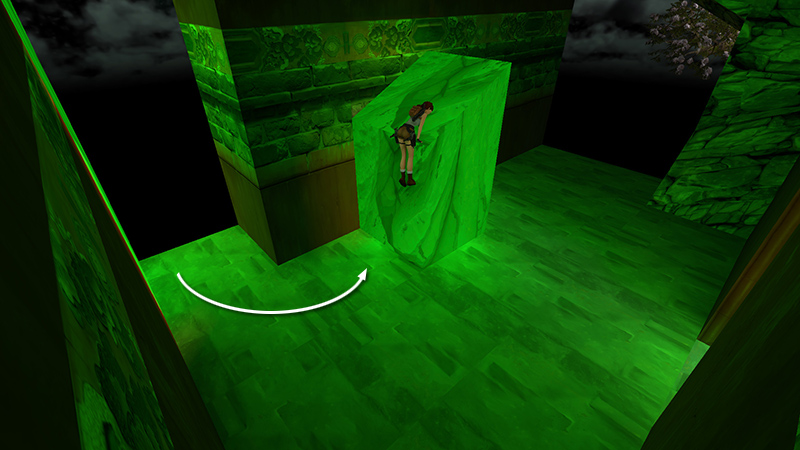
You're now in the room with the green, angled block, below the ROOF NEAR THE BOULDER SLOPES.
DARK MODE: I plan to add optional dark mode for these pages, but my current priority is updating the walkthroughs. Meanwhile, may I suggest a reputable dark mode browser extension, such as Dark Reader? (Download only from trusted sites, like darkreader.org or your browser's official add-on/extension site.)
Walkthrough text and diagrams copyright © Stellalune (email ). Feel free to copy or print this walkthrough for personal use. By all means, share it with friends, but please include this credit line so people can send me their feedback. No part of this walkthrough may be reproduced on another site without permission.