Floating Islands - Room with Square Hole in the Floor and Cage Below
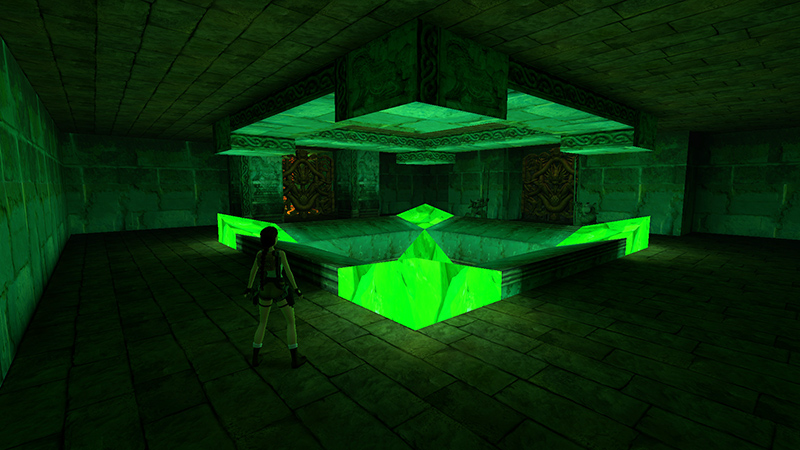
In the last section you explored a trappy area and used a switch to open the gate leading into this ROOM WITH A LARGE, SQUARE HOLE IN THE FLOOR. There are 2 petrified spearmen standing guard (counted later as 24-25). They don't animate until you return to this area later.
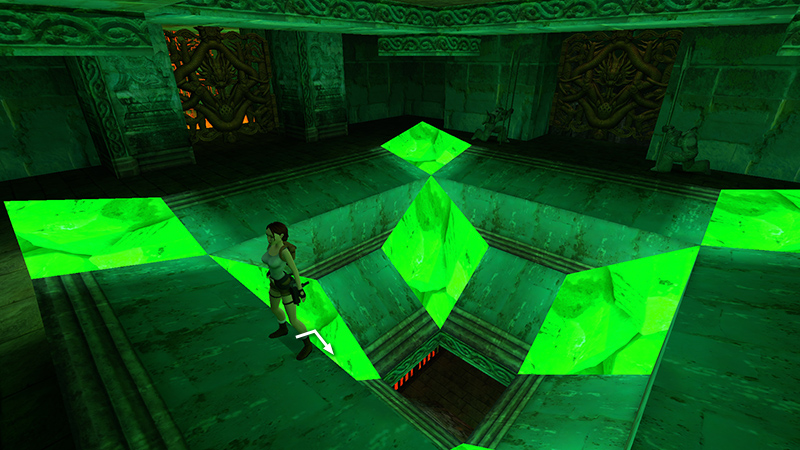
Move to the edge of the hole. Stand with Lara's back to the spearmen. Then slide backwards down the slope...
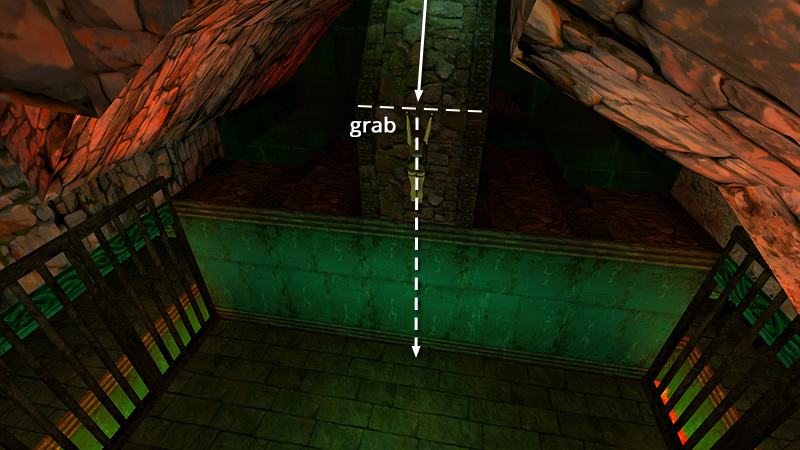
...grab the end to break Lara's fall, and drop into the cage below.
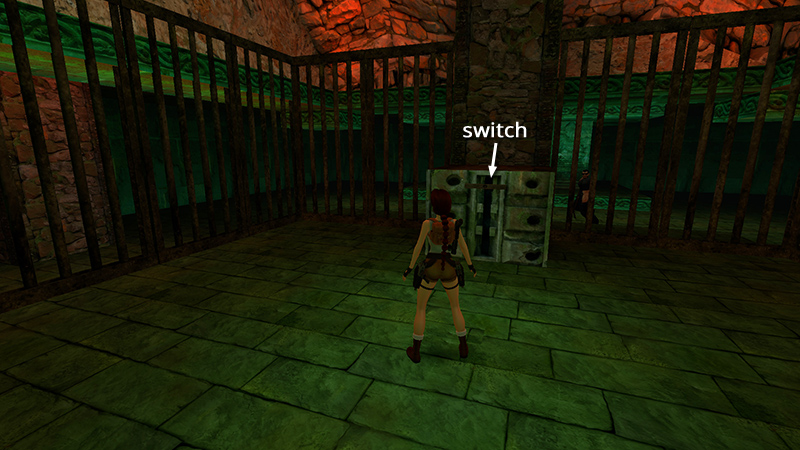
There's no danger until you pull the switch on the block...
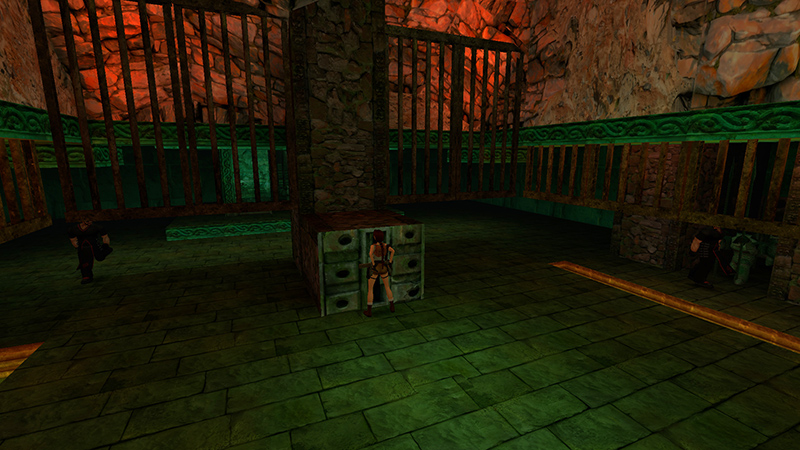
...to raise the bars.
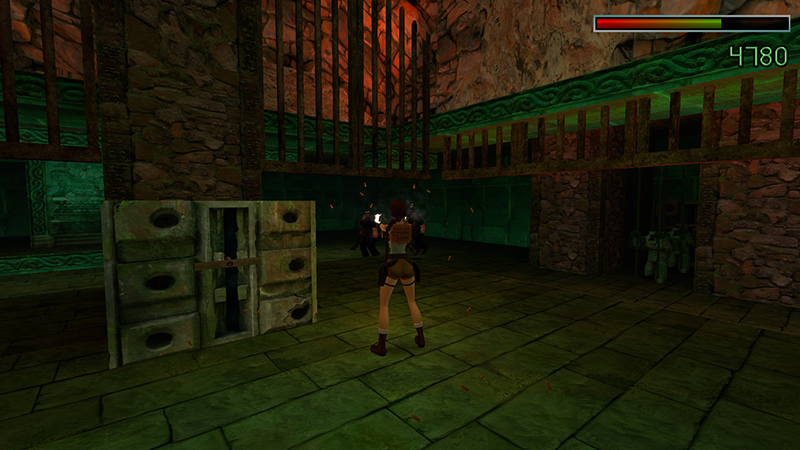
But when you do, 4 knife-throwing cult members (15-18) attack.
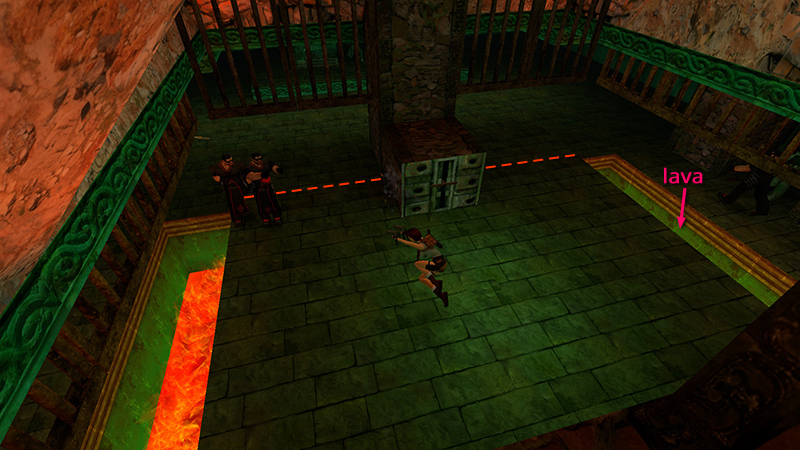
The 4 stone guardians (19-22) in the doorways won't animate until you step outside the boundaries of the metal cage. As long as you stay in the middle and watch out for the lava pits on either side, you can fight the cultists by jumping from side to side while shooting and/or using the block for cover.
- OR -
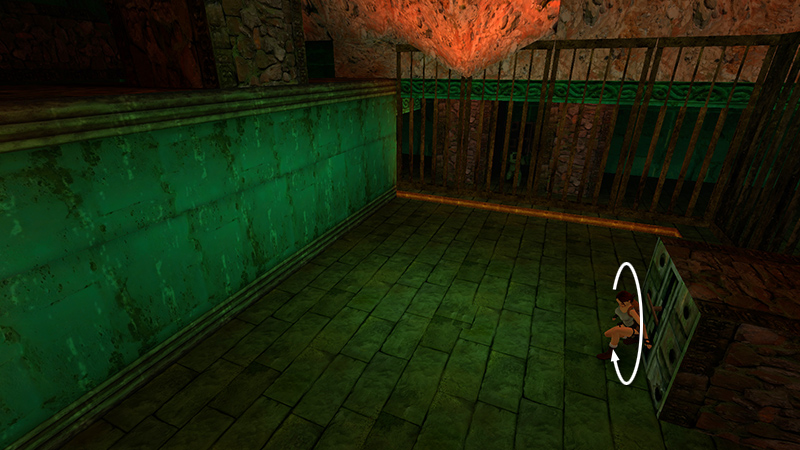
Alternatively, if you prefer a less hands-on approach, try this: Flip the switch to raise the cage. Then immediately roll...
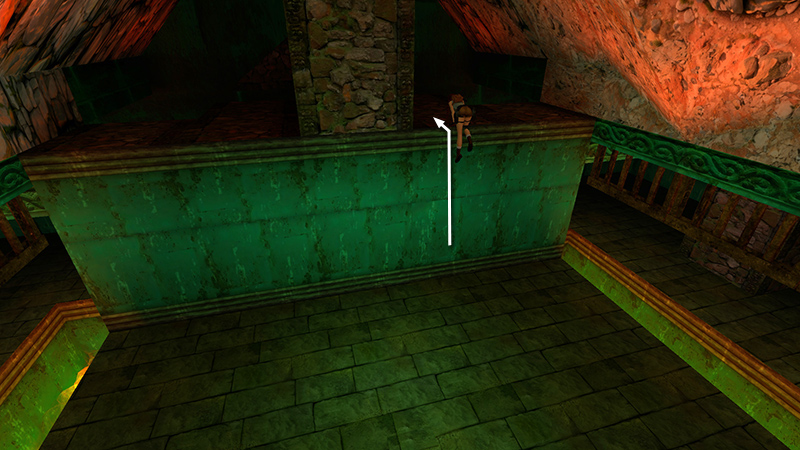
...run forward and climb onto the wall on the left or right side. The square column in the middle prevents you from pulling up there.
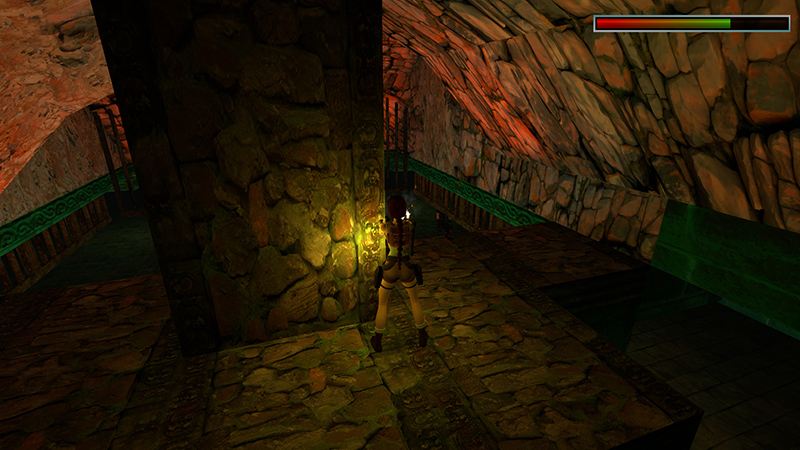
The cultists are pretty relentless, but they will not climb up after you. So you can shoot them from above and use the column for cover whenever they start throwing knives.
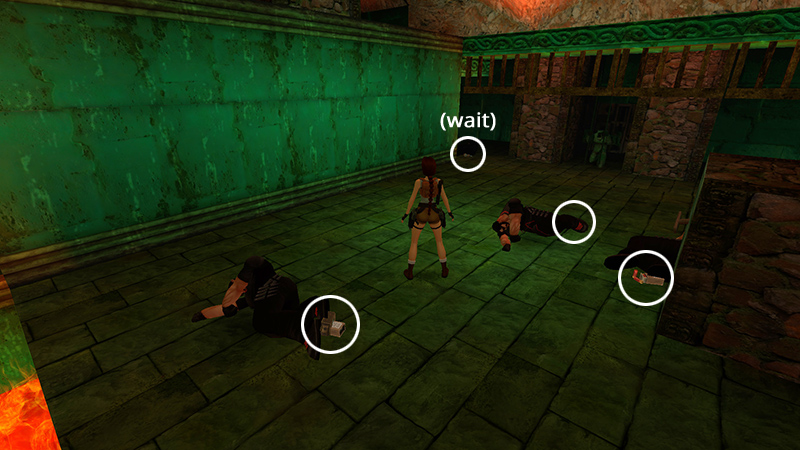
They leave 3 sets of Uzi clips, 3 boxes of shotgun shells, plus small and large medi packs (18-25). Wait to pick up anything that drops outside the cage.
DARK MODE: I plan to add optional dark mode for these pages, but my current priority is updating the walkthroughs. Meanwhile, may I suggest a reputable dark mode browser extension, such as Dark Reader? (Download only from trusted sites, like darkreader.org or your browser's official add-on/extension site.)
Walkthrough text and diagrams copyright © Stellalune (email ). Feel free to copy or print this walkthrough for personal use. By all means, share it with friends, but please include this credit line so people can send me their feedback. No part of this walkthrough may be reproduced on another site without permission.