Floating Islands - Flooded Area Below the Lava and Trappy Rooms Beyond
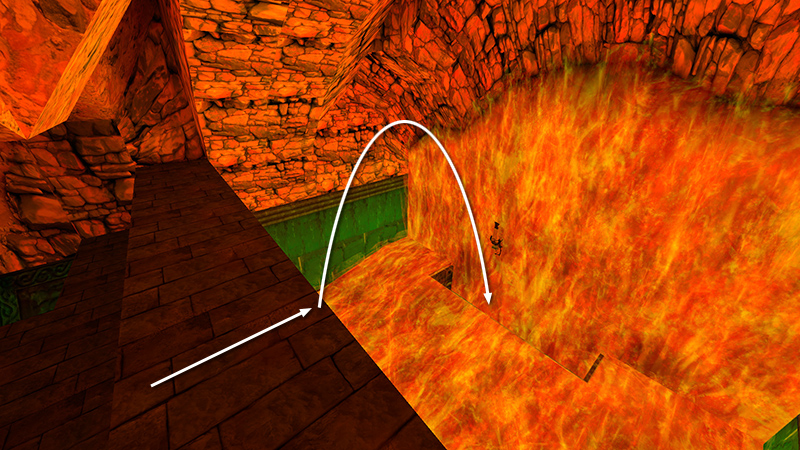
In the last section you opened a trapdoor in the lava pool and dropped through it into the pool below.
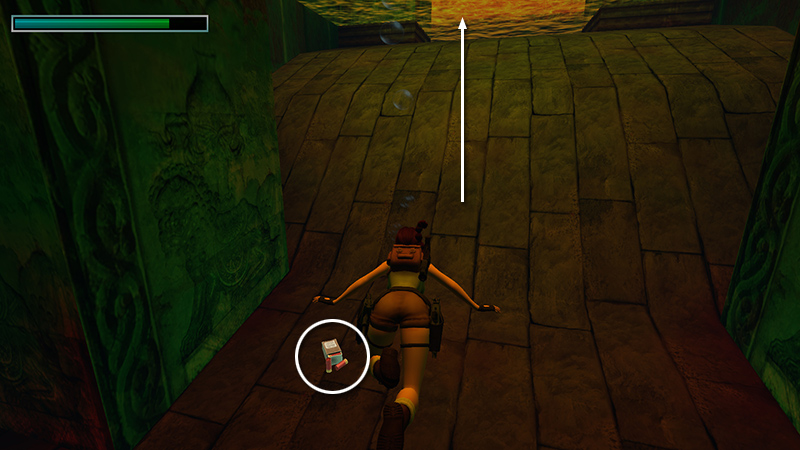
Grab the shotgun shells (17) sitting on the bottom of the pool.
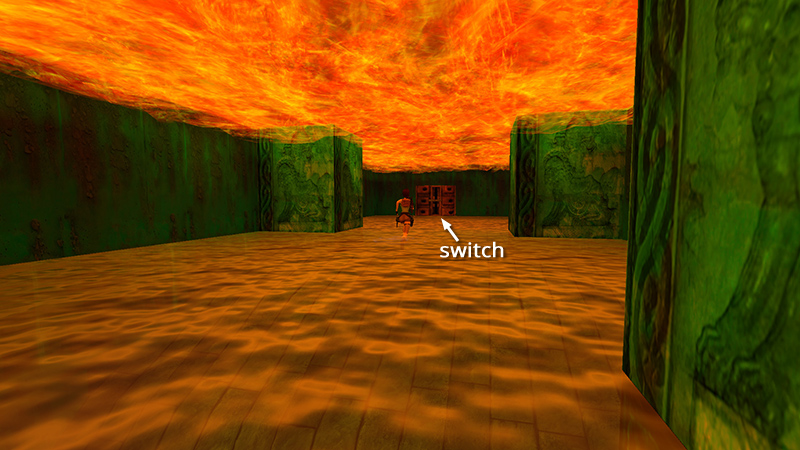
Surface, cross the room, and pull the switch...
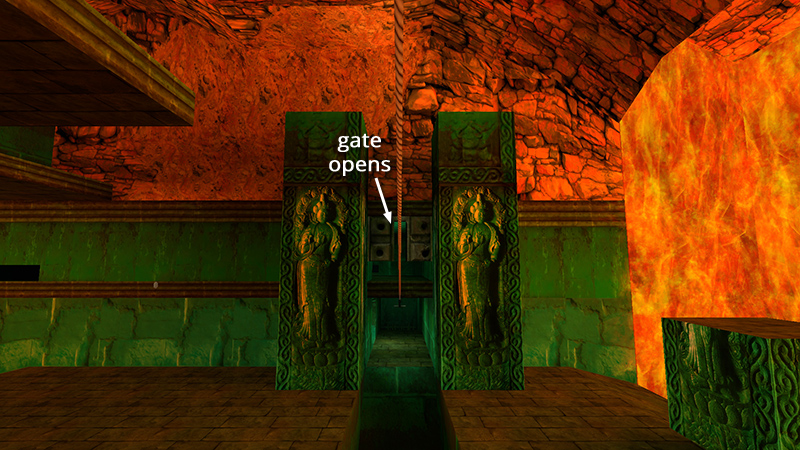
...to raise a gate above the end of the zip line.
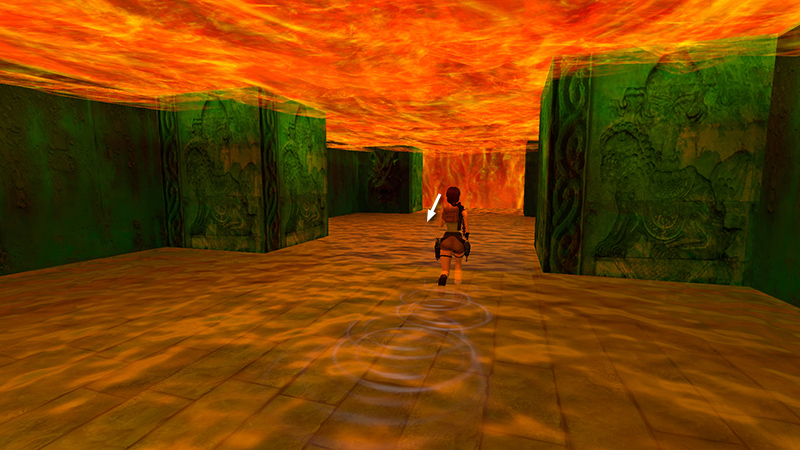
Return to the deeper water where you dropped in.
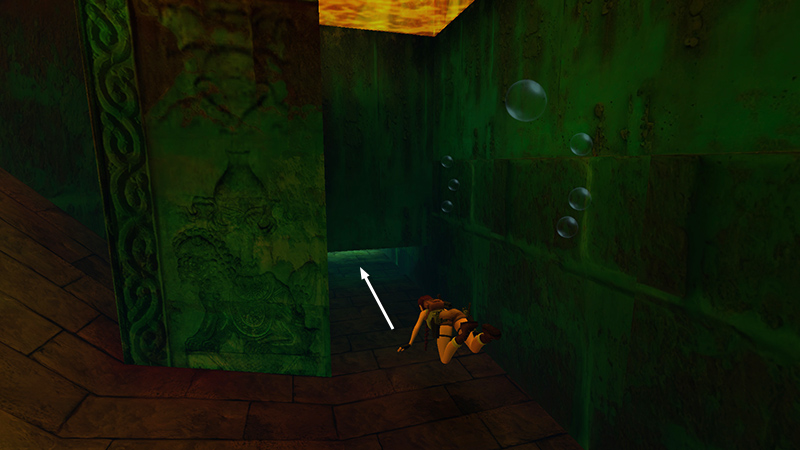
Then swim down and to the left, through a narrow passage at floor level.
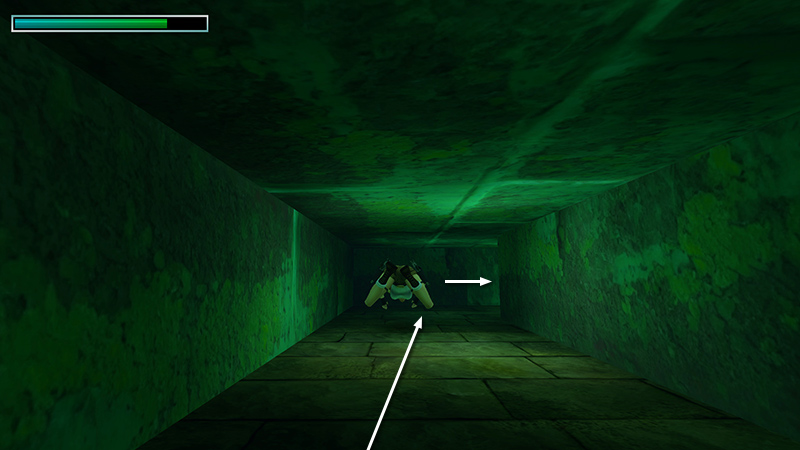
Follow this passage forward then right.
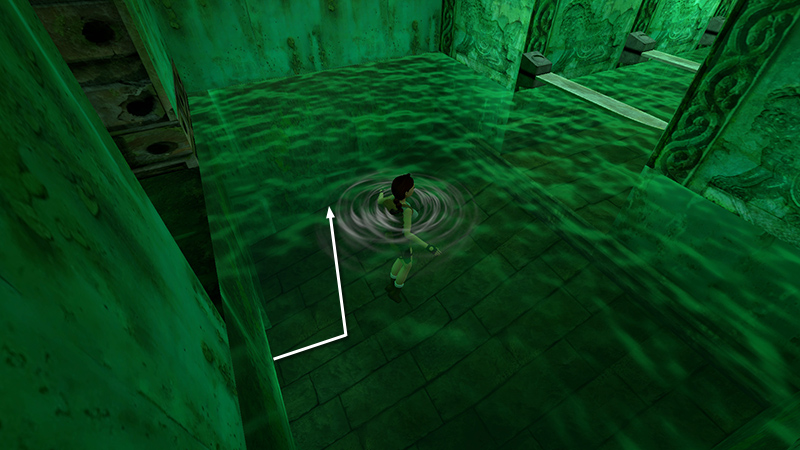
Surface just inside the next room to avoid the horizontal blades ahead.
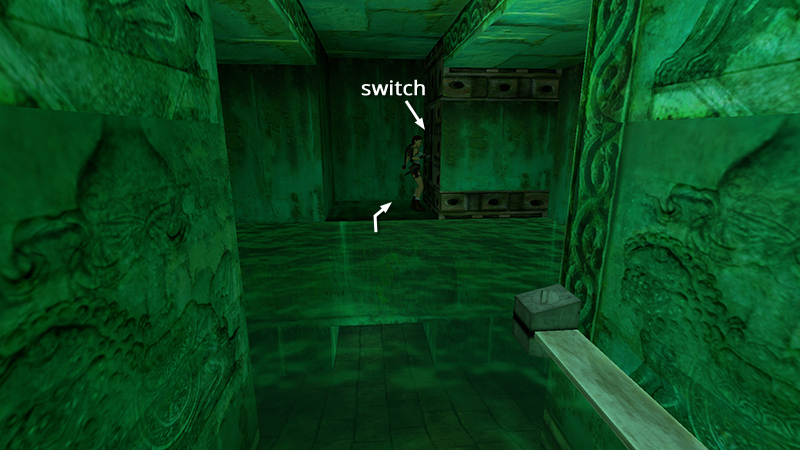
Turn around and climb into the alcove above the passage you just swam through. Pull the switch to deactivate the slashing blades, as well as some but not all of the flying blades.
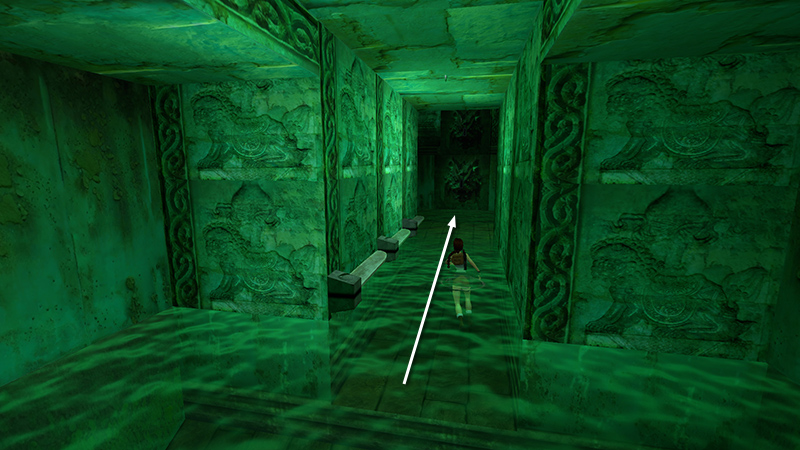
Wade past the blades into the next room.
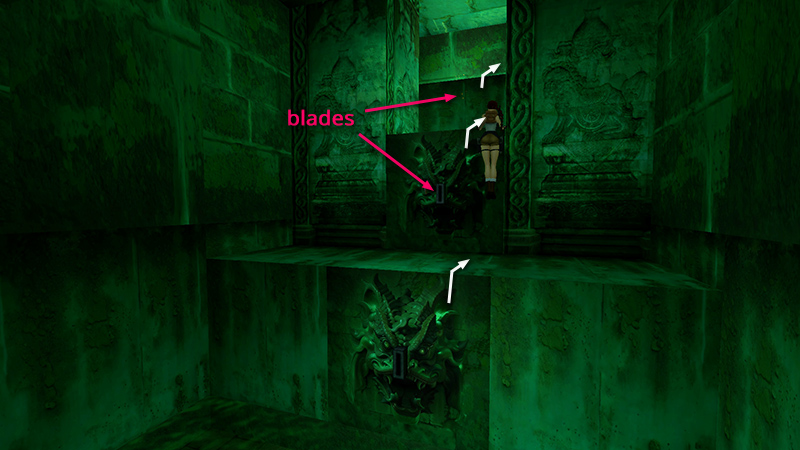
Carefully climb the ledges to the doorway above.
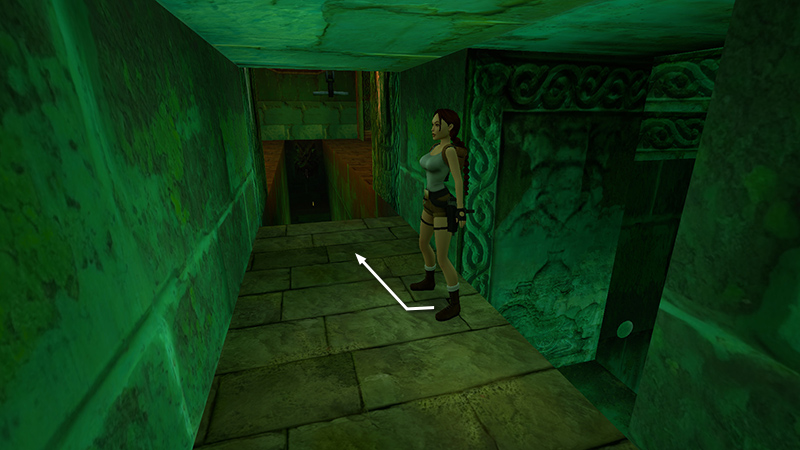
Then follow the short passageway to the right.
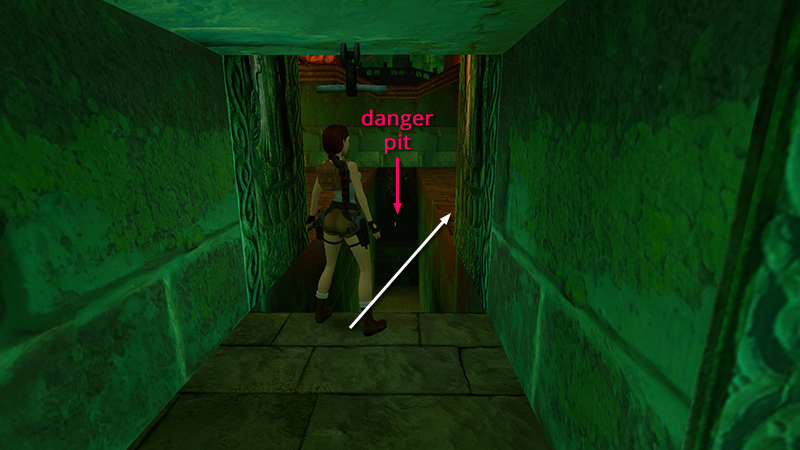
You're now back at the bottom of the zip line in the ROOM WITH LAVA WALLS. Jump across the pit to the open floor on the right.
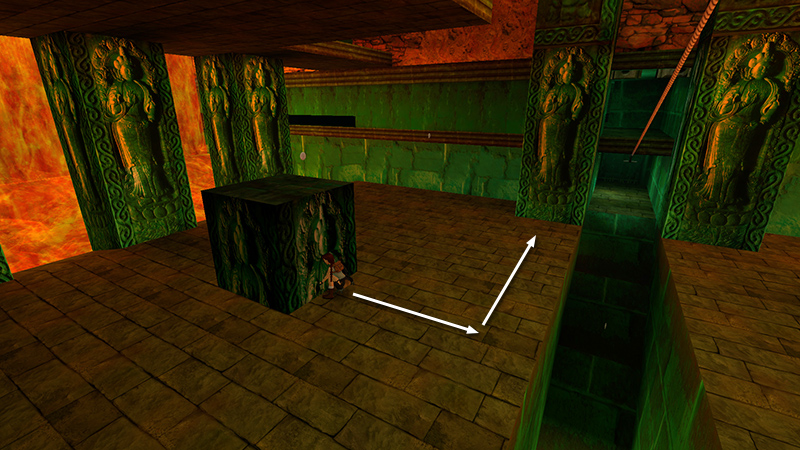
Move the green carved block into the corner near the opening you just came from.
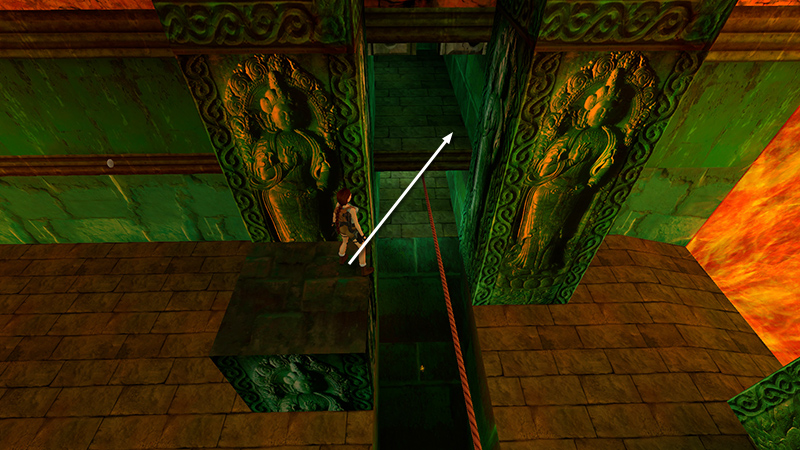
Climb onto the block, save, then take a carefully angled standing jump with Action onto the ledge above the zip line handle.
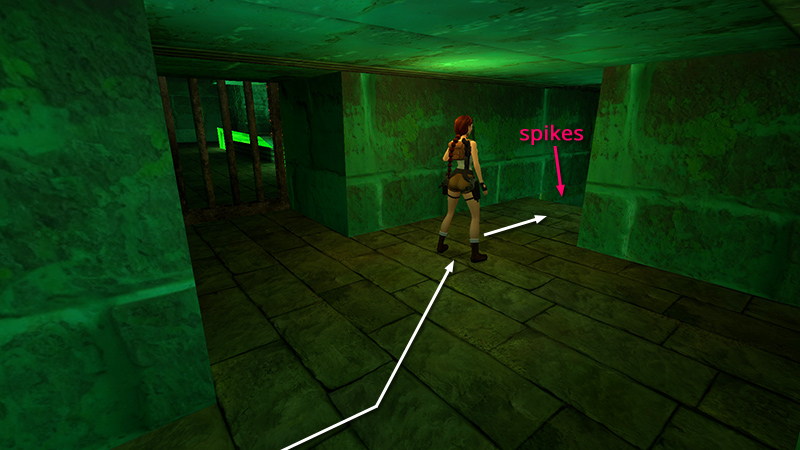
Follow the upper passage past a barred doorway to a small room with a spiked floor.
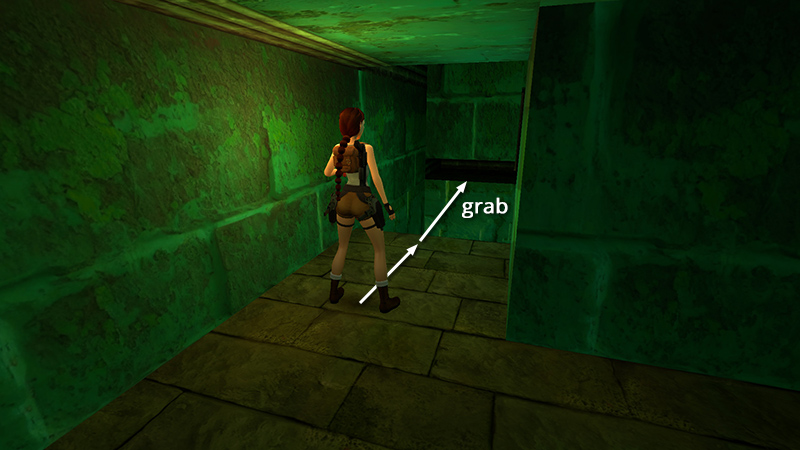
Take a running jump over the spikes to grab the horizontal crevice in the opposite wall.
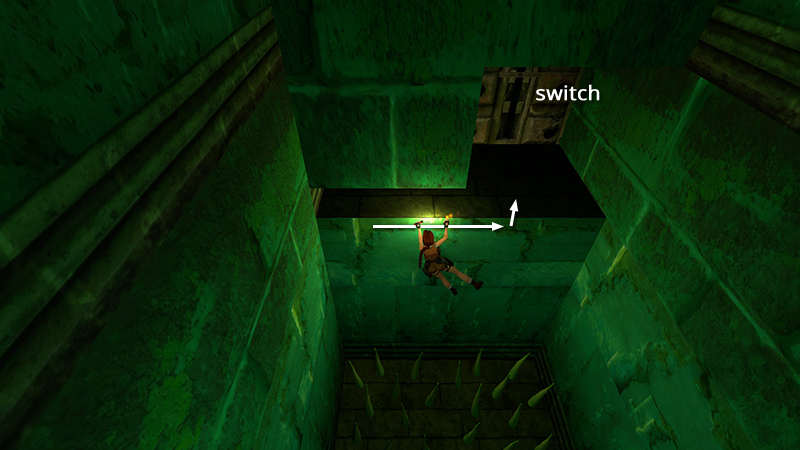
Traverse to the right, pull up, and flip the switch...
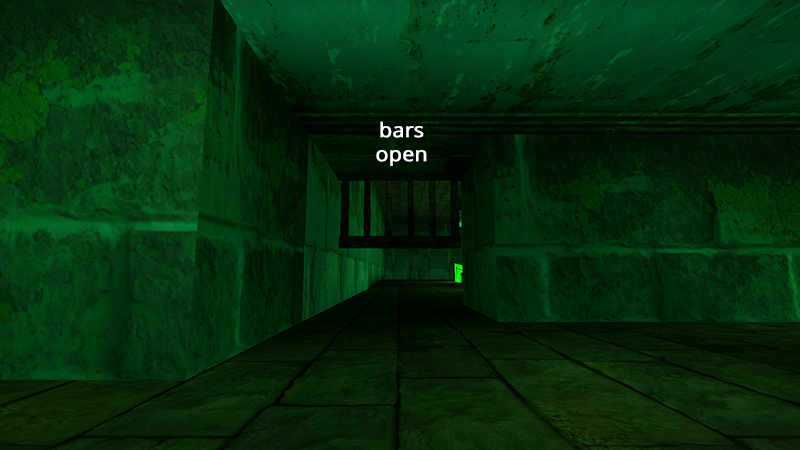
...to raise the bars you just passed.
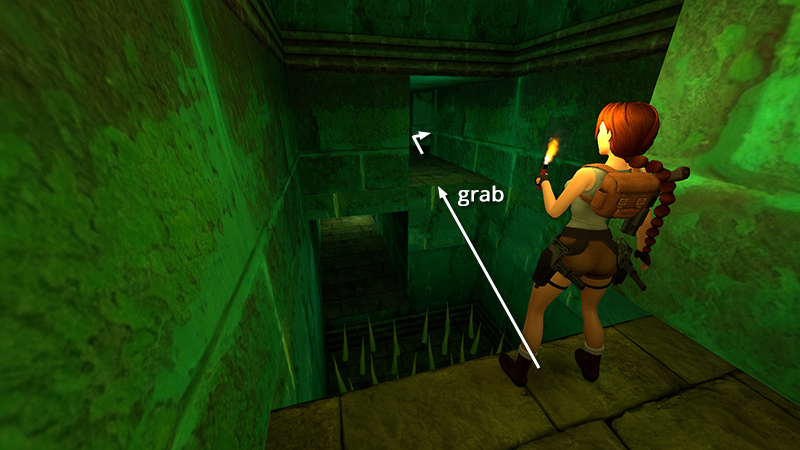
Turn around and walk to the front right edge of the switch alcove. Then take a standing jump over the spikes to grab the elevated doorway you came from and pull up. (Ignore the lower passageway. It leads back to the zip line.) The barred doorway you just opened is ahead on the right.
DARK MODE: I plan to add optional dark mode for these pages, but my current priority is updating the walkthroughs. Meanwhile, may I suggest a reputable dark mode browser extension, such as Dark Reader? (Download only from trusted sites, like darkreader.org or your browser's official add-on/extension site.)
Walkthrough text and diagrams copyright © Stellalune (email ). Feel free to copy or print this walkthrough for personal use. By all means, share it with friends, but please include this credit line so people can send me their feedback. No part of this walkthrough may be reproduced on another site without permission.