Catacombs of the Talion - Cavern with Pool and Cage
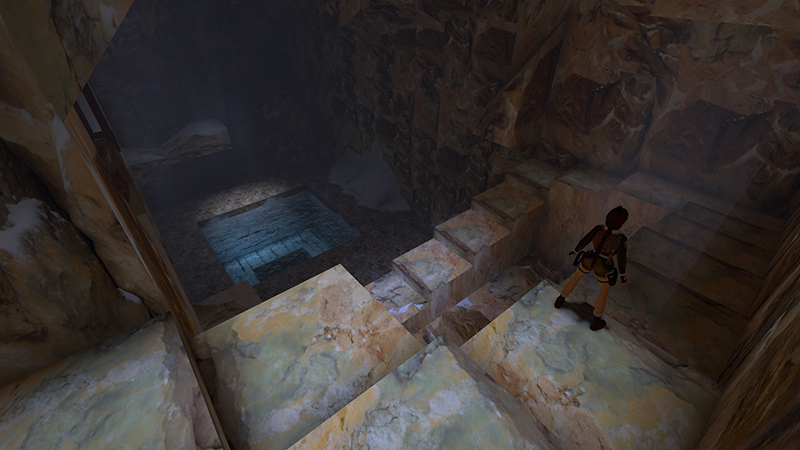
In the last section we killed our first Yeti, obtained the Silver Dragon secret, and made our way into this new area.
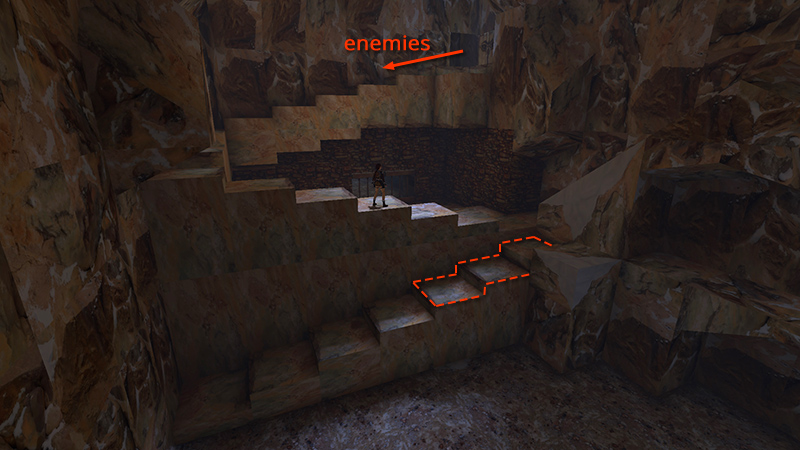
As you go down the stairs toward the pool, 2 armed enemies (3-4) will come in behind you through the door at the top of the stairs. They appear when you stand on or jump over any of the three steps at the top of the lowest flight of stairs (outlined in the screenshot above).
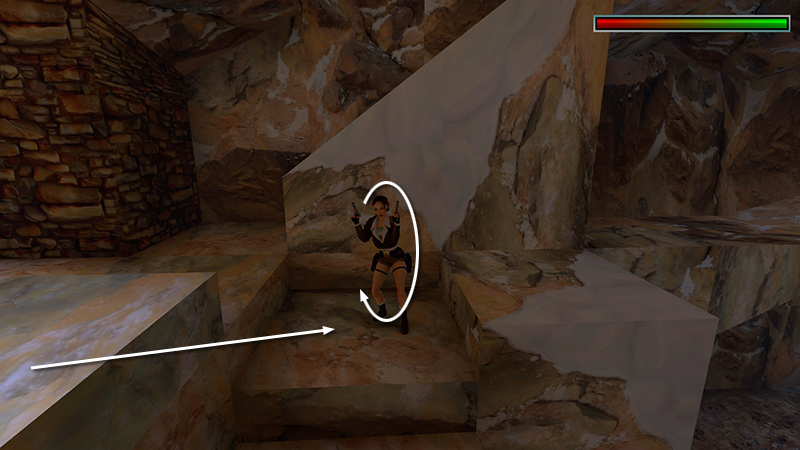
If you move onto one of the trigger steps then roll...
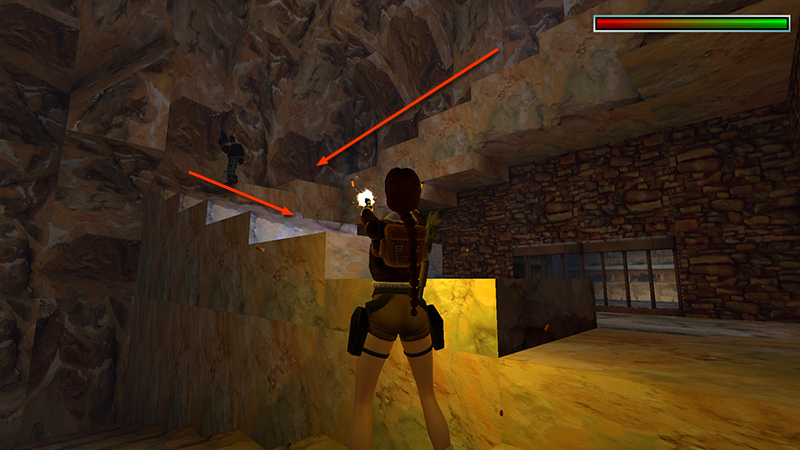
...you can shoot the thugs as they descend.
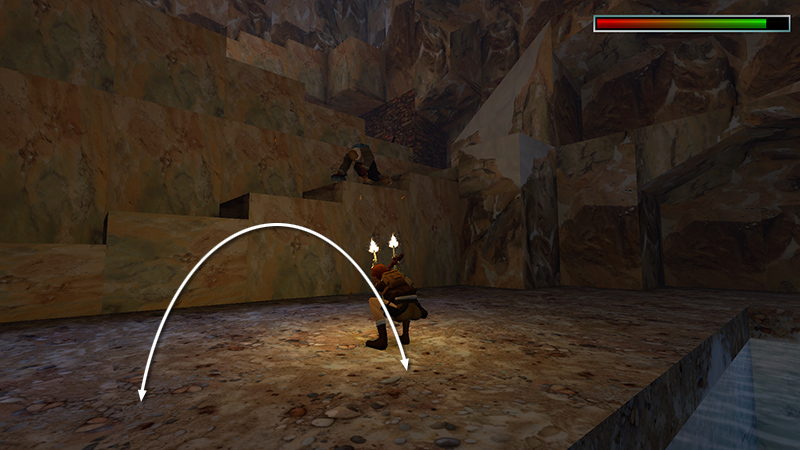
Or, move into the open area near the pool and flip side to side while firing.
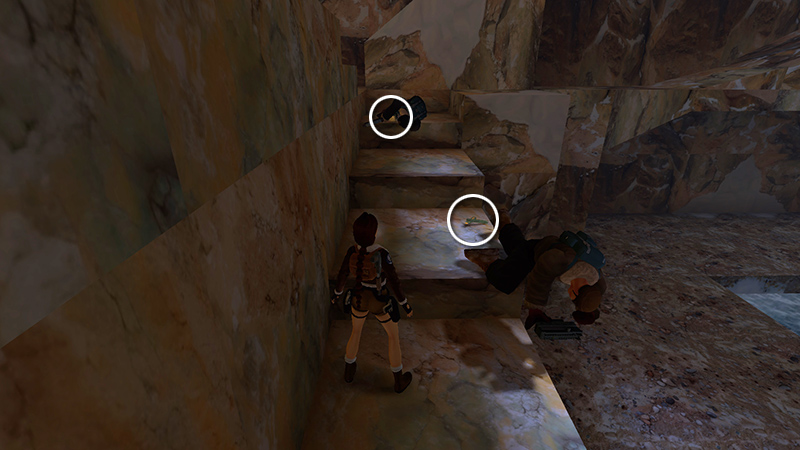
Loot the bodies for a large medi pack, automatic pistol clips, and 2 sets of Uzi clips (3-6).
NOTE: You can avoid these enemies at first if you don't pass over any of the trigger tiles. However, you'll have to climb these stairs later, so you won't be able to avoid them entirely. Also, if you don't already have the UZIS, you'll get them here along with one set of clips.
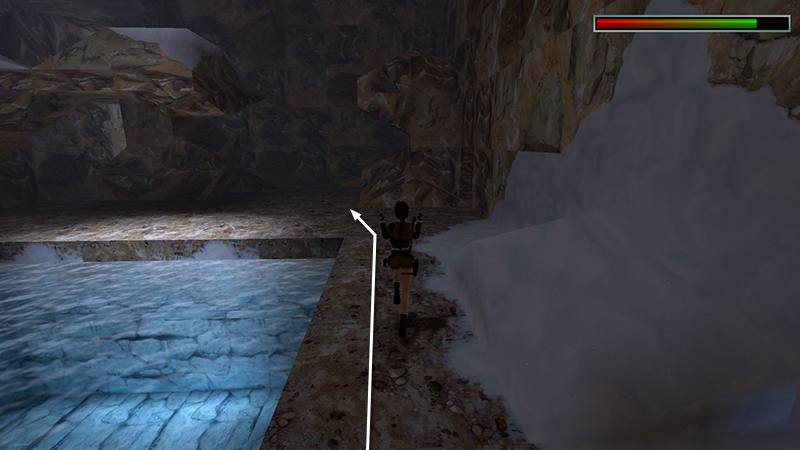
Approach the far side of the cavern by moving along the right edge of the pool.
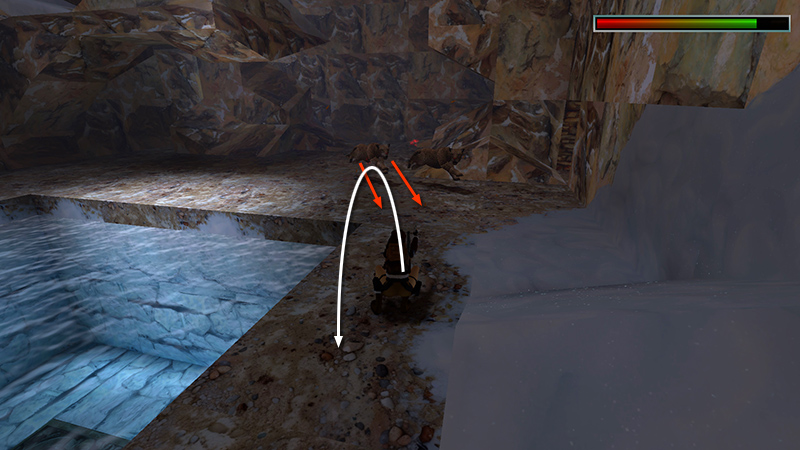
Two leopards (5-6) charge from the dark, rocky area ahead. Hop/backflip away while firing.
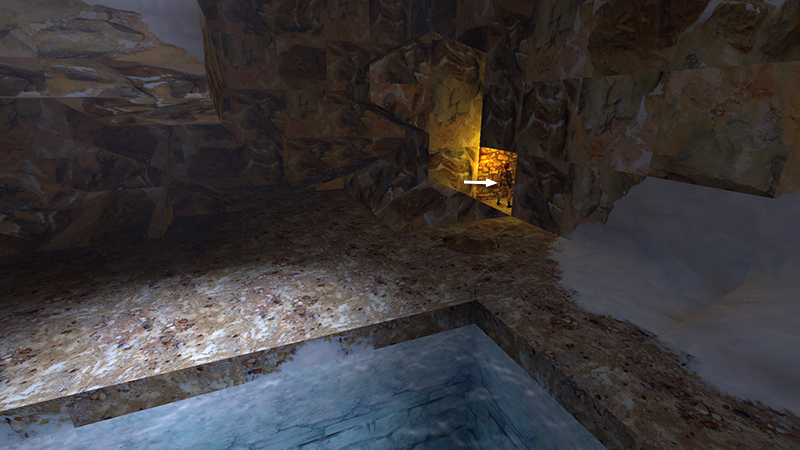
Then go through the small doorway beyond the pool on the right.
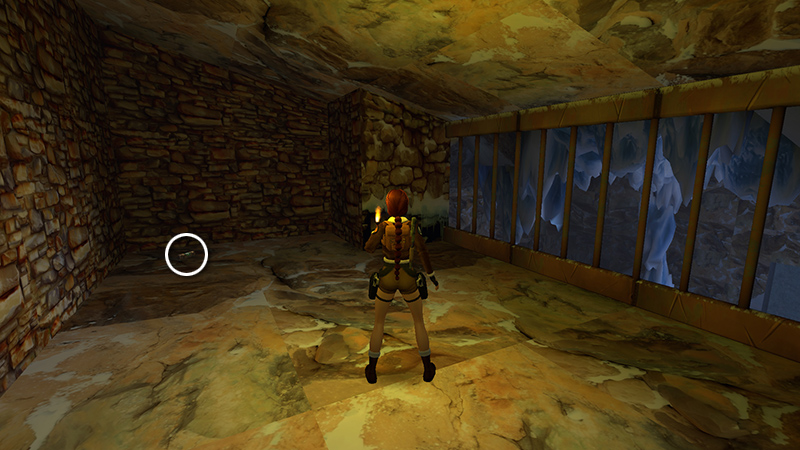
Follow the ramp down to a small room where you can glimpse the next area through the bars and also pick up a small medi pack (7).
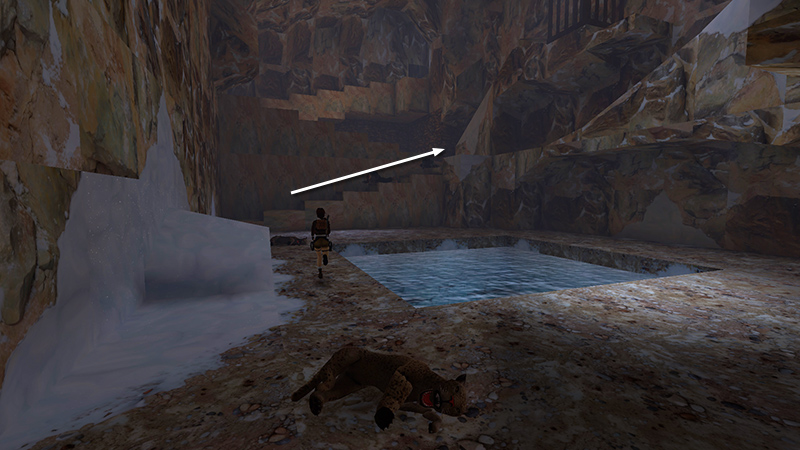
Return up the ramp to the pool, then climb the stairs to the first landing. [If you avoided the 2 enemies (3-4) that enter at the top of the stairs, you'll have to deal with them now.]
DARK MODE: I plan to add optional dark mode for these pages, but my current priority is updating the walkthroughs. Meanwhile, may I suggest a reputable dark mode browser extension, such as Dark Reader? (Download only from trusted sites, like darkreader.org or your browser's official add-on/extension site.)
Walkthrough text and diagrams copyright © Stellalune (email ). Feel free to copy or print this walkthrough for personal use. By all means, share it with friends, but please include this credit line so people can send me their feedback. No part of this walkthrough may be reproduced on another site without permission.