Bartoli's Hideout - The Ballroom (Part 2)
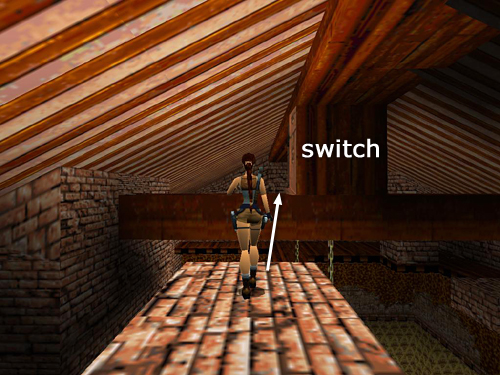
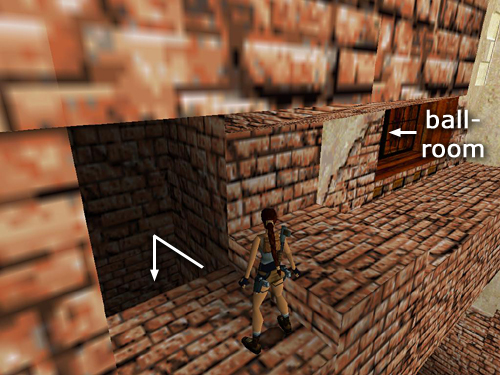
Jump from the end of the brick wall to the other wooden rafter. Pull the switch to change the height of the chandeliers.
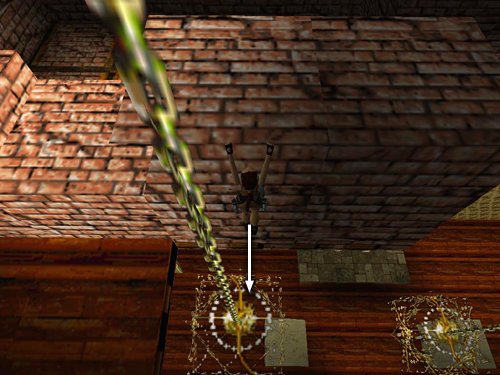
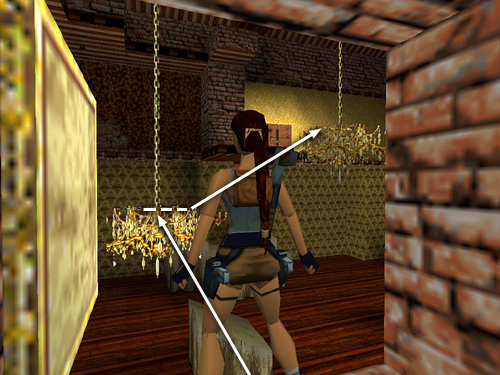
Then jump back onto the brick wall and safety drop onto the first chandelier, which is now the highest.
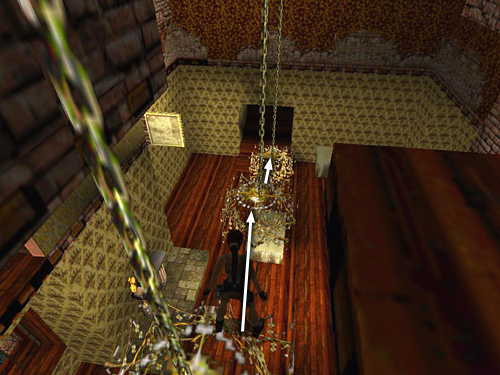
Walk to the edge nearest the middle chandelier and take a standing jump forward to land on it. Walk to the far edge of the middle chandelier and take another standing jump down to the third chandelier.
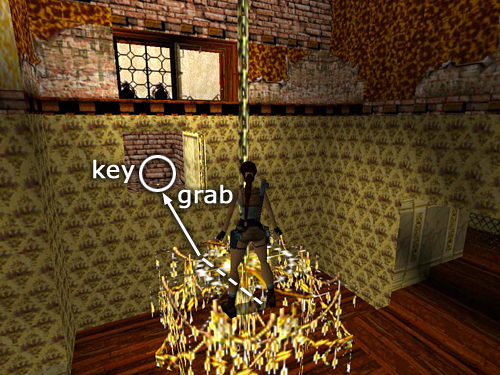
Turn and take a running jump to grab the edge of the alcove you opened using the first switch. Pull up into the alcove and take the LIBRARY KEY.
Then take a running jump from the alcove to grab the third chandelier once more; pull up. (If you miss the grab, just use the angled block below to climb back onto the chandelier.) Run, jump and grab the middle chandelier and pull up.
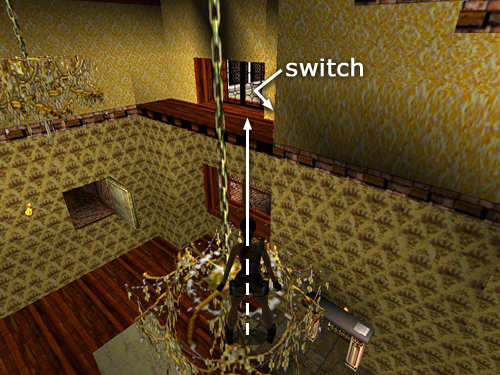
Take another running jump from the middle chandelier to the wide windowsill ahead on the right. Pull the switch to open a trapdoor behind the fireplace.
Shoot out the window and walk out onto the ledge. At the other end there's an opening in the back of the chimney. Drop into this hole to land in a pool below.
Copyright © 1998- - Stellalune (). Feel free to copy or print this walkthrough for personal use. By all means, share it with friends, but please include this credit line so people can send me their feedback. No part of this walkthrough may be reproduced on another site without permission. Follow this link for details about this site's advertising and privacy policy.
Stella's Tomb Raider Site: tombraiders.net.