Barkhang Monastery - Strong Room Key
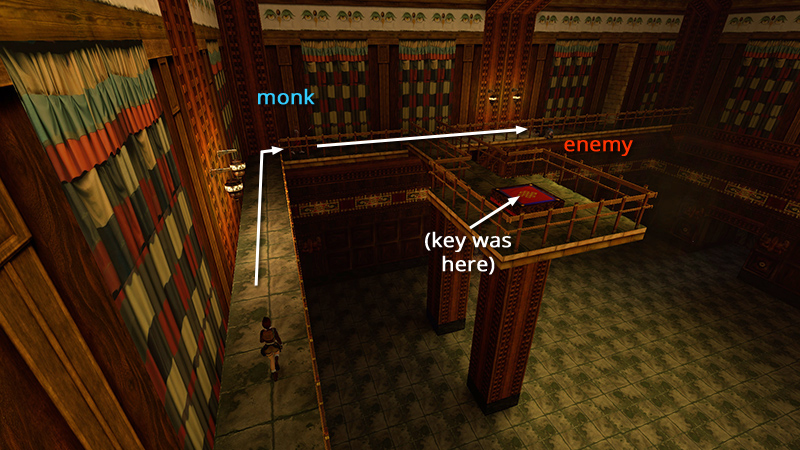
After collecting the FIRST PRAYER WHEEL and returning to the MAIN HALL, as shown in the last section, follow the elevated walkway around the edge of the room to the far corner. Unless you killed him earlier, the same monk (6) is still on patrol.
NOTE: If you missed the MAIN HALL KEY earlier, be sure to get it now. It's sitting on the little red platform where the walkway extends into the middle of the room.
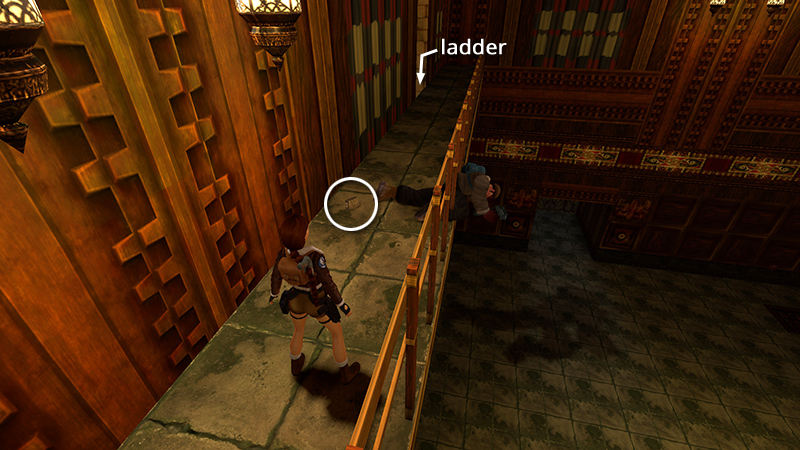
You'll also notice a brown-cap enemy (10) lying dead from monk-related injuries. If the monks are not on your side, this guy will be alive and you'll need to fight him. In either case, he'll drop a large medi pack (13). Near the end of the walkway is the ladder you climbed earlier. Climb back down...
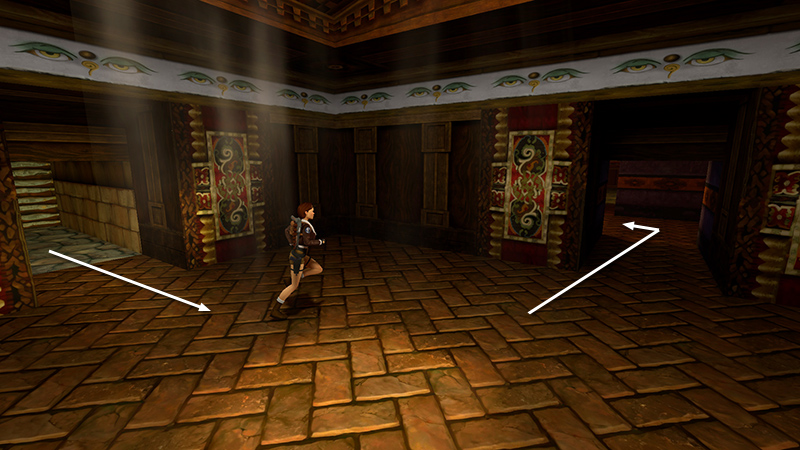
...and return through the room below to the T-shaped PURPLE HALLWAY with the red banners. Turn left...
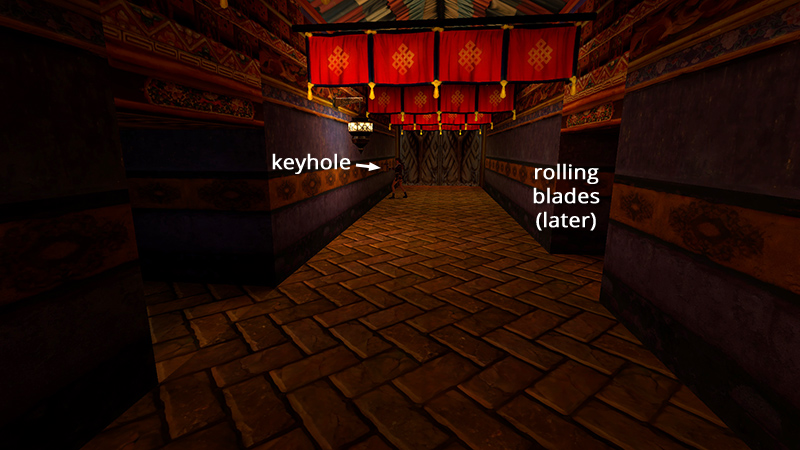
...use the MAIN HALL KEY in the lock to open the big doors, save the game, and go in.
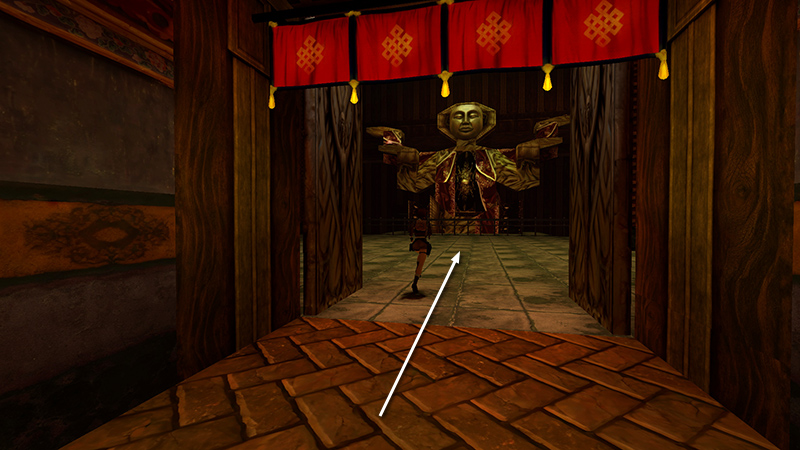
As you cross the room toward the giant statue...
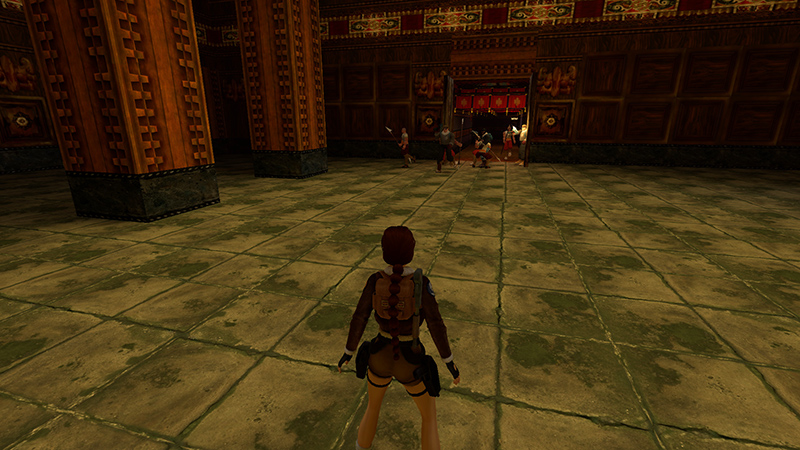
...3 enemies (11-13) enter through the double doors behind you, and 3 more monks (8-10) run to meet them, along with 2 monks (4-5) you met earlier. One of the enemies is the ski mask and camo pants type, who will harm the monks. It's difficult to target him in the scrum, though. So I'd recommend hanging back and letting the monks do their job. As long as you see 3 dead enemies and no dead monks afterward, you're good to go.
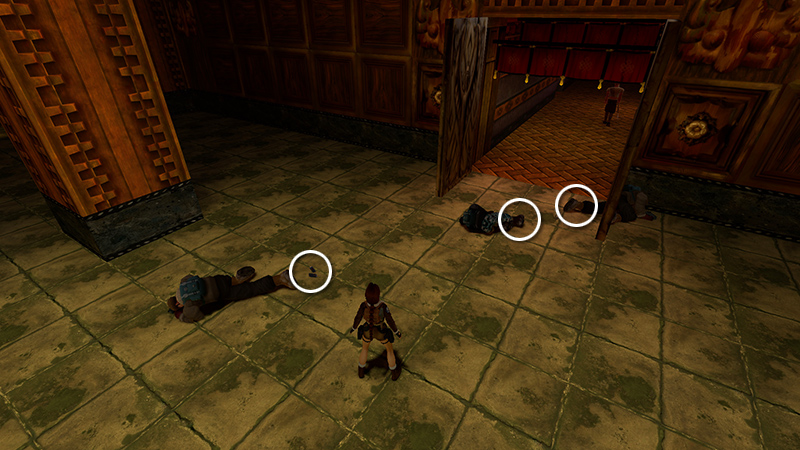
The bad guys drop small and large medi packs plus some automatic pistol clips (14-16).
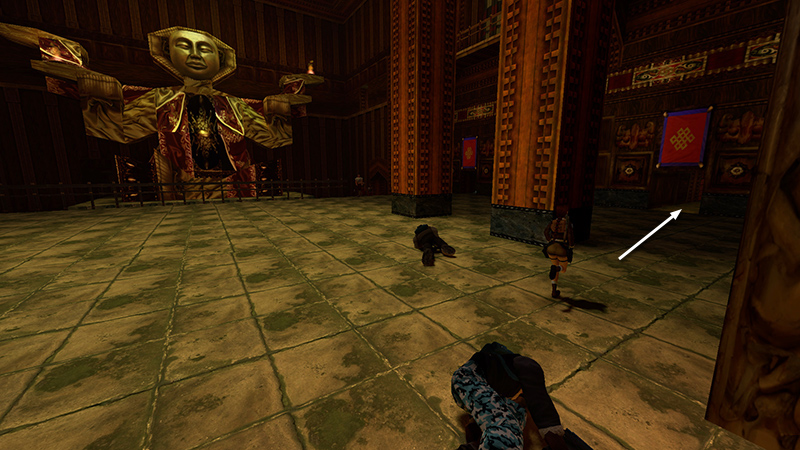
Go through the first doorway on the right when facing the big statue.
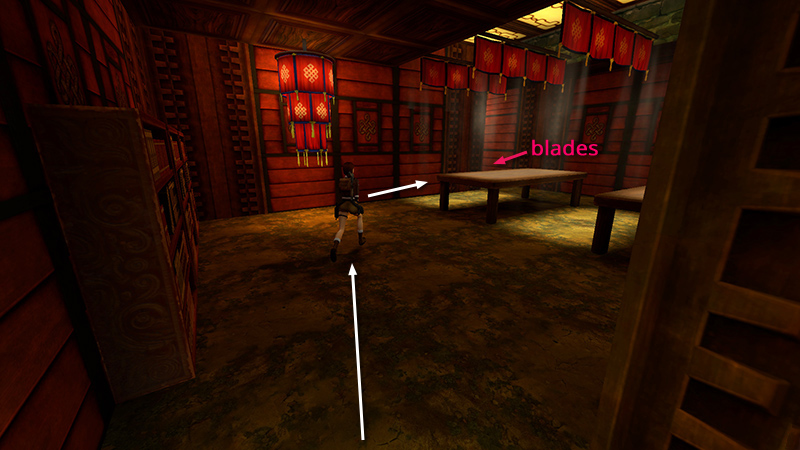
Inside is a reading room with red walls. Continue out the other side.
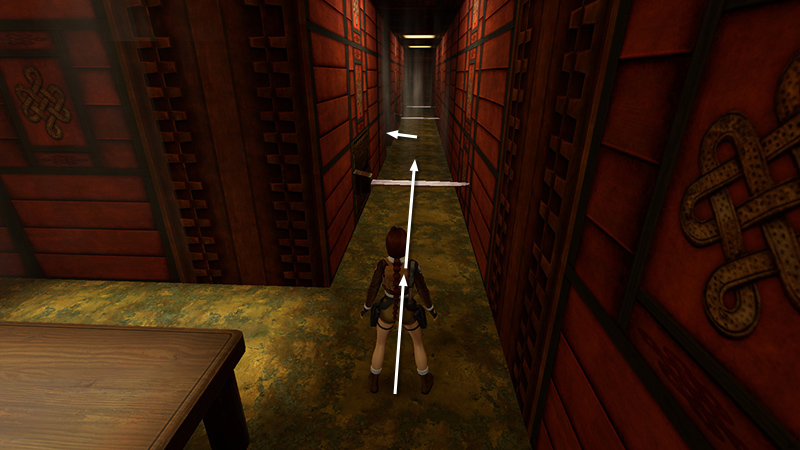
Take a running jump over the first of 3 slicing blades and enter the small room on the left.
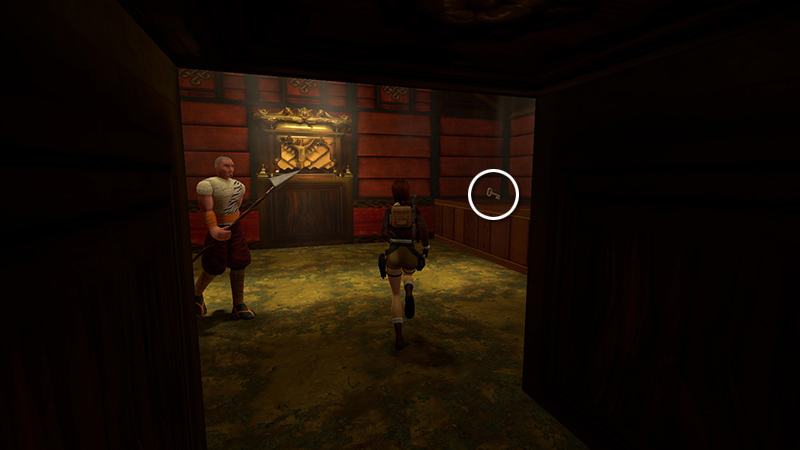
Another monk (11) guards the STRONG ROOM KEY (17), but he won't mind if you borrow it.
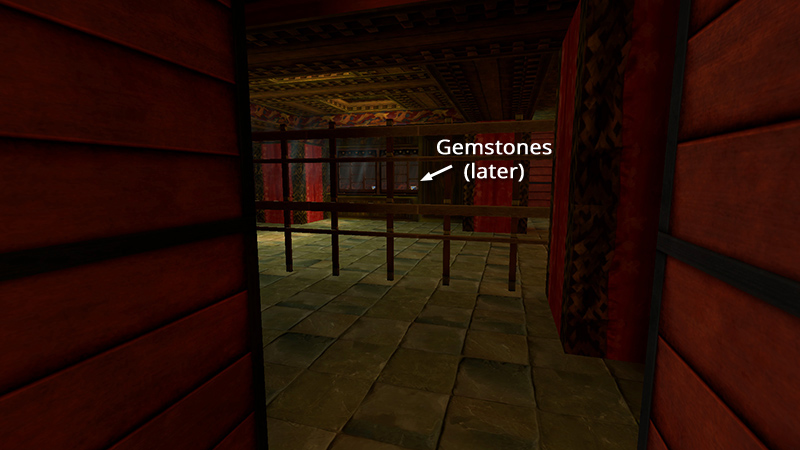
NOTE: The area to the left, beyond the second and third blades, gives you a glimpse of the GEMSTONES you'll retrieve later. You can check it out if you like, but it's a dead end.
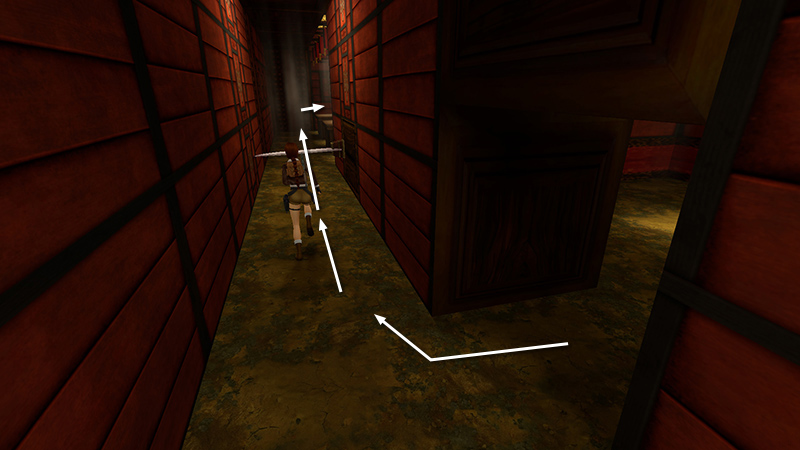
Go back the way you came, over the first blade and through the reading room to the MAIN HALL.
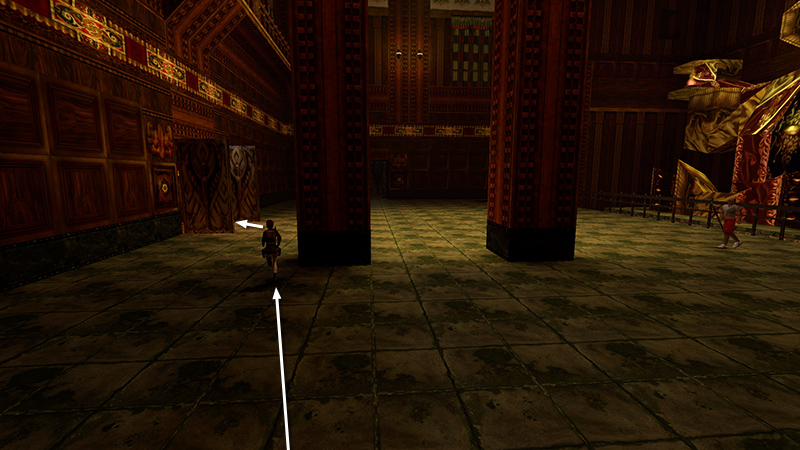
Back at the MAIN HALL, go left through the double doors.
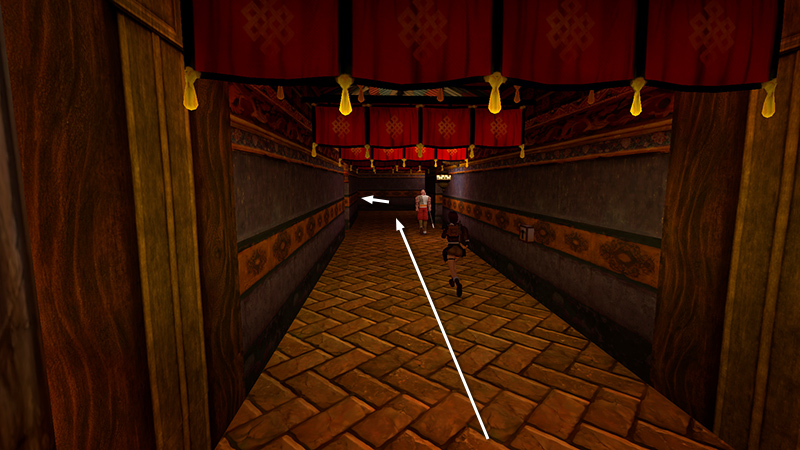
Then follow the PURPLE HALLWAY to the T. Turn left there...
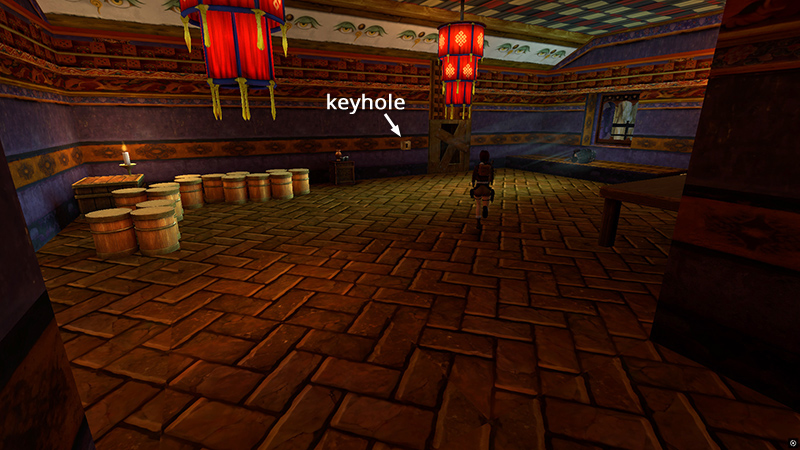
...into the room with the wooden barrels where you killed a camo-pants enemy earlier.
DARK MODE: I plan to add optional dark mode for these pages, but my current priority is updating the walkthroughs. Meanwhile, may I suggest a reputable dark mode browser extension, such as Dark Reader? (Download only from trusted sites, like darkreader.org or your browser's official add-on/extension site.)
Walkthrough text and diagrams copyright © Stellalune (email ). Feel free to copy or print this walkthrough for personal use. By all means, share it with friends, but please include this credit line so people can send me their feedback. No part of this walkthrough may be reproduced on another site without permission.