Barkhang Monastery - First Prayer Wheel
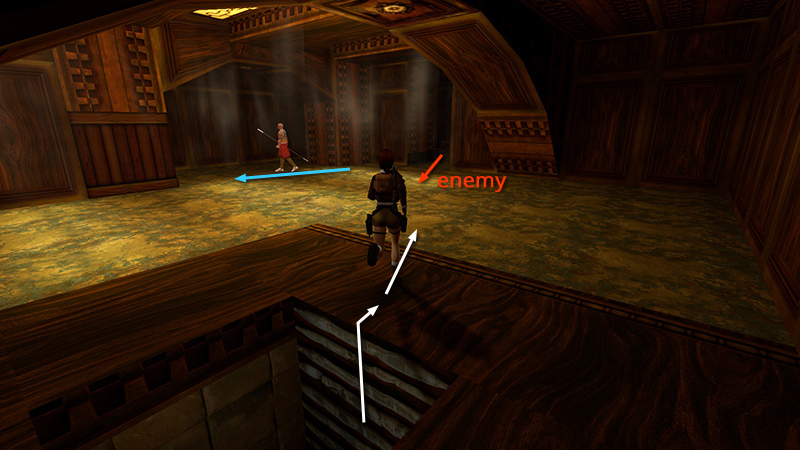
In the last section, you swam through a small pool with a strong current, dropped into a trapped passageway, and climbed a ladder to arrive at this anteroom outside a prayer room with a monk (7) standing guard. Wait for the monk to walk away from the prayer room door. Then move toward it to spawn the first of two enemies , a guy with camo pants (8).
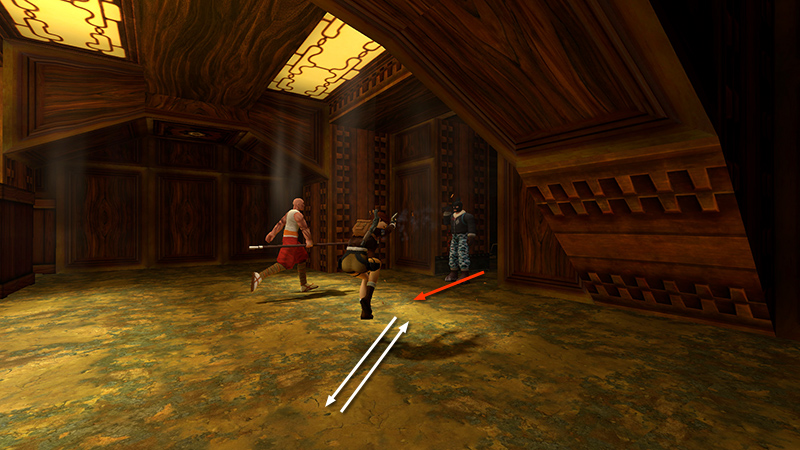
Kill him quickly, taking care not to accidentally target your ally.
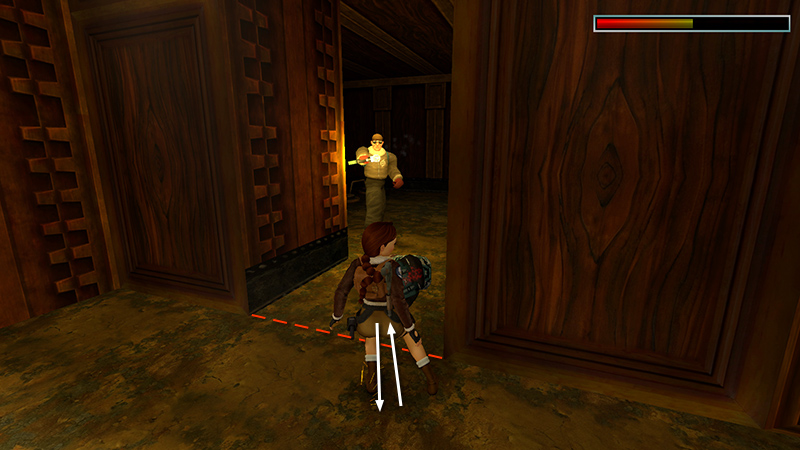
When he's dead, step into the doorway to spawn the second enemy (9). Either kill him...
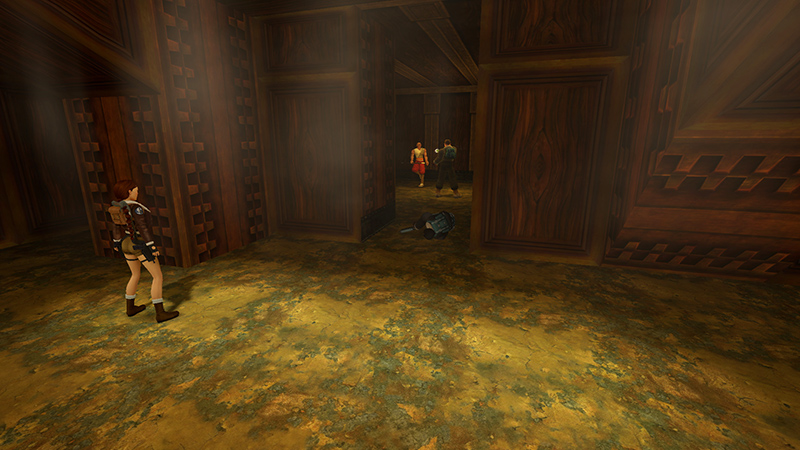
...or stand back and let the monk do it.
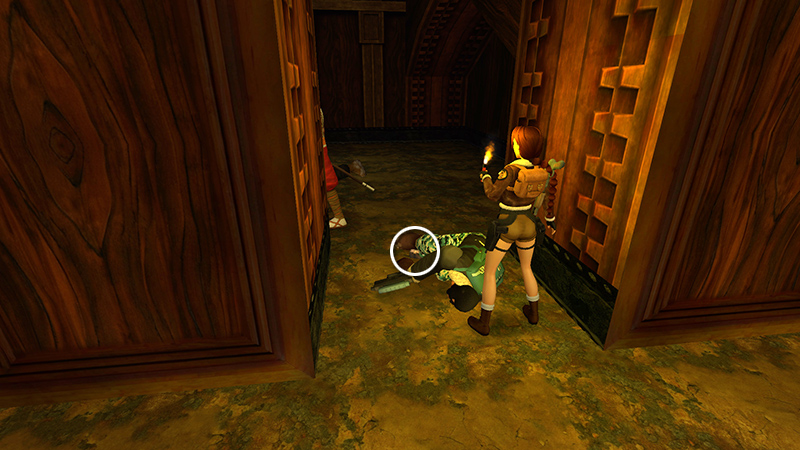
The first enemy drops a small medi pack (11).
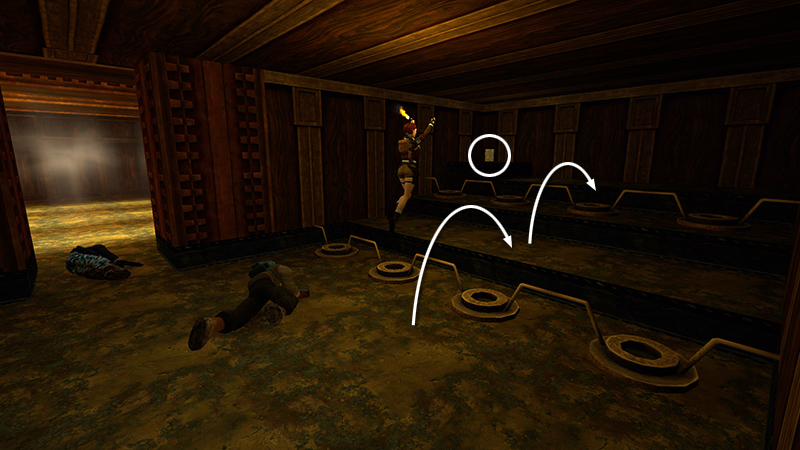
Now enter the dark prayer room and take standing jumps over the unlit burners to reach the top of the tiered altar. Pick up the FIRST PRAYER WHEEL of five (12).
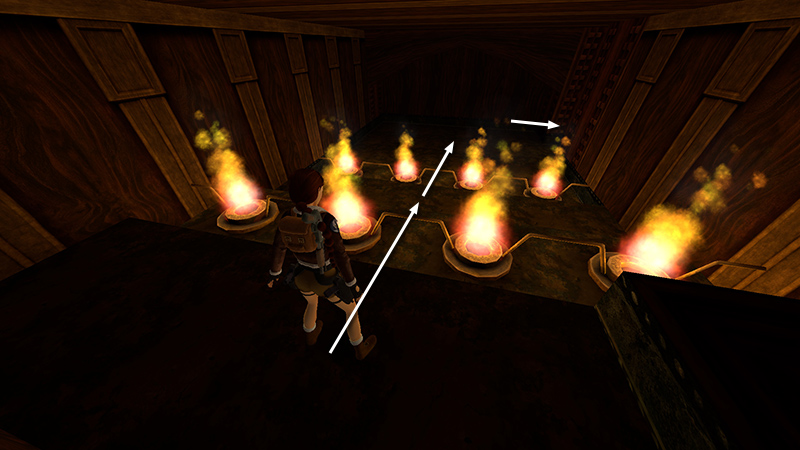
When you take it, the burners ignite. To get back down safely, take standing jumps over the metal pipes between the burners, rather than trying to jump over the flames. Lara may still take a little heat damage, but she shouldn't catch fire.
- OR -
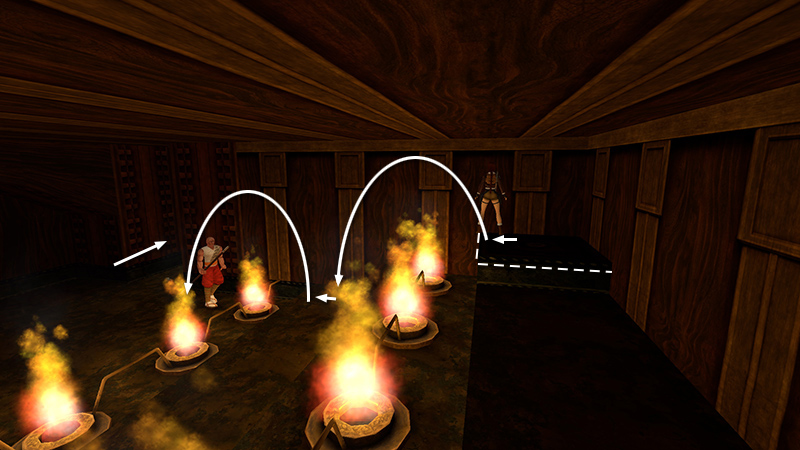
Instead, stand on the square platform where you found the PRAYER WHEEL. Position Lara with her chest against the wall and the burners on her left. Sidestep to the left edge of the platform. Then flip to the left over the first burner. Sidestep once to the left. Then flip left again to clear the next burner.
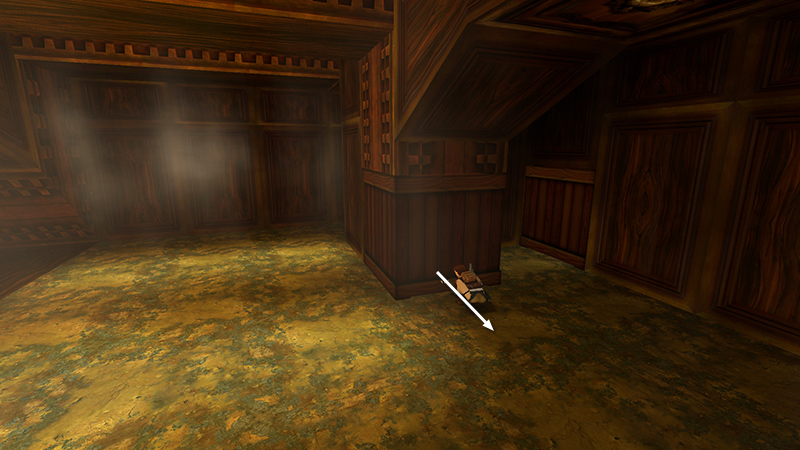
Return to the anteroom, where you'll find a pair of movable crates. Pull the first crate once to the right.
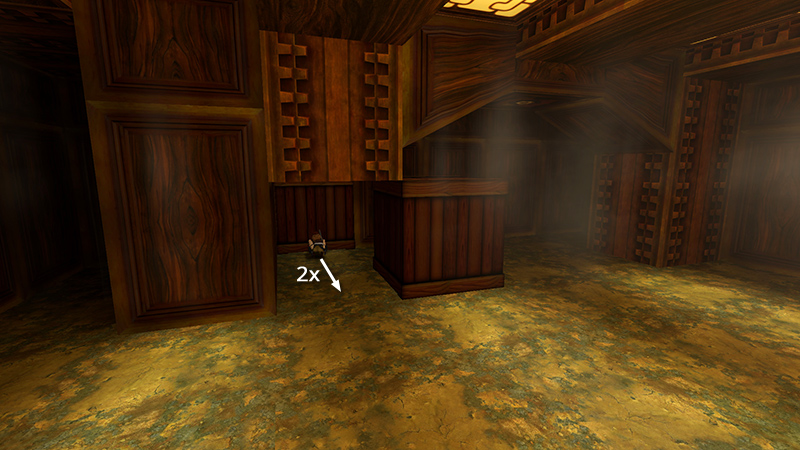
Then pull the second crate twice, onto the spot where the first crate started.
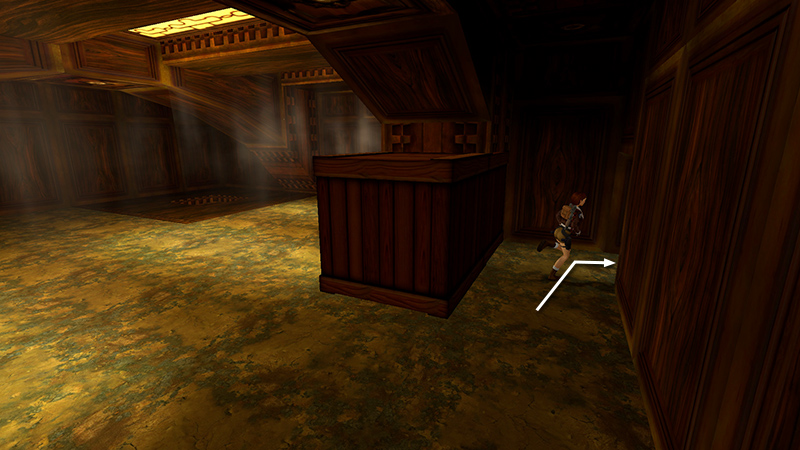
Doing so reveals a passageway. Enter...
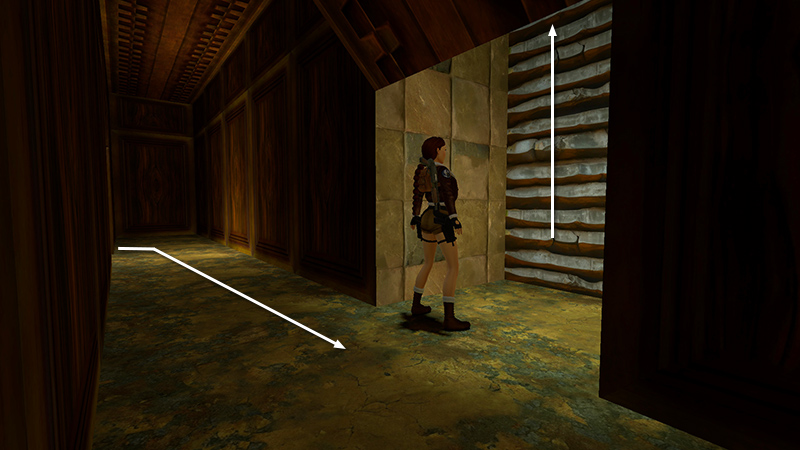
...go to the right, and climb the ladder...
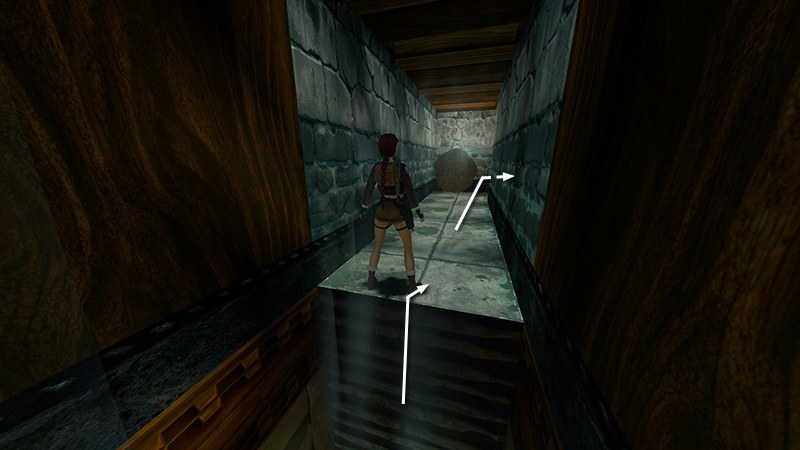
...to the boulder-trapped area you explored earlier. It's safe now. Follow the passage...
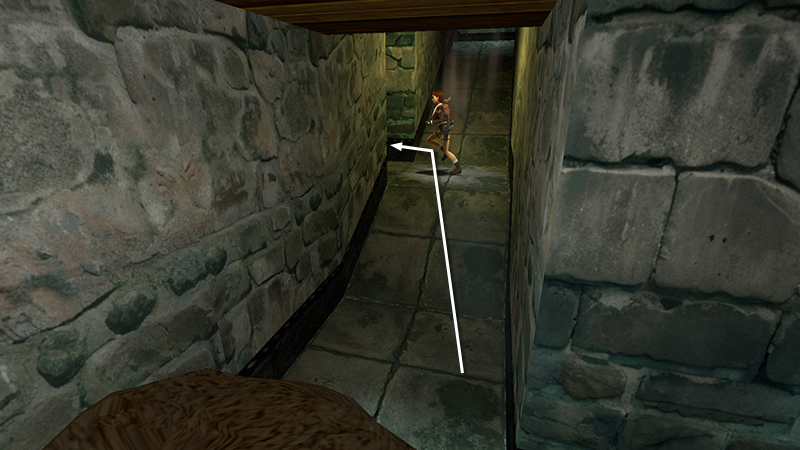
...to the T-intersection, turn left there...
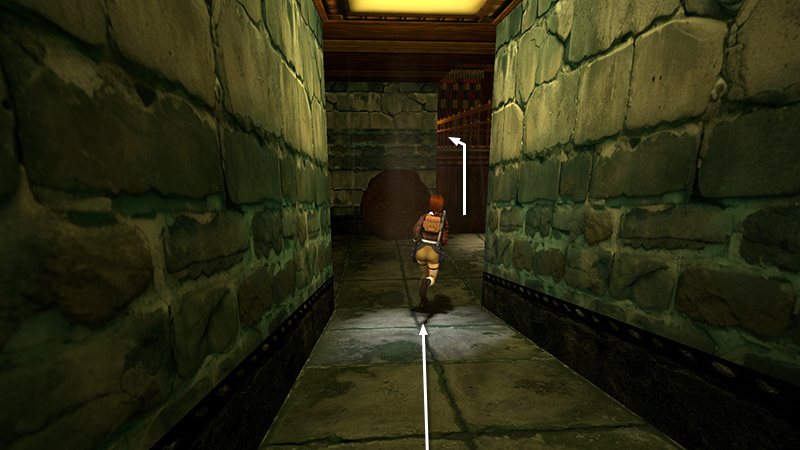
...and continue through the room where the first boulder landed...
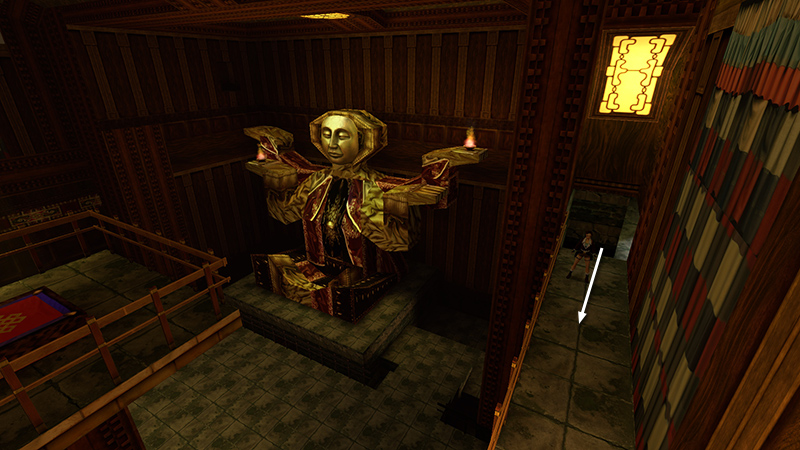
...to emerge on the WALKWAY ABOVE THE MAIN HALL.
DARK MODE: I plan to add optional dark mode for these pages, but my current priority is updating the walkthroughs. Meanwhile, may I suggest a reputable dark mode browser extension, such as Dark Reader? (Download only from trusted sites, like darkreader.org or your browser's official add-on/extension site.)
Walkthrough text and diagrams copyright © Stellalune (email ). Feel free to copy or print this walkthrough for personal use. By all means, share it with friends, but please include this credit line so people can send me their feedback. No part of this walkthrough may be reproduced on another site without permission.