40 Fathoms - Switches, Doors and Timed Burners (Part 1)
This sequence is also shown in a short video walkthrough. The letters, numbers and colored lines mentioned in the text refer to labels on the map included in the main walkthrough.
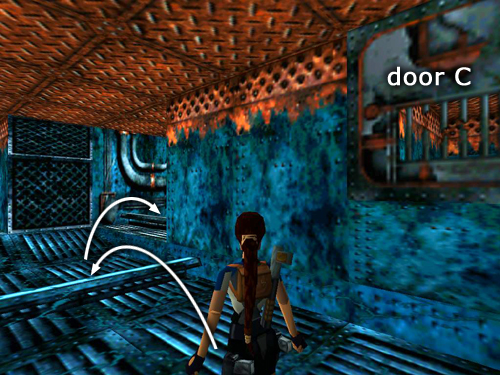
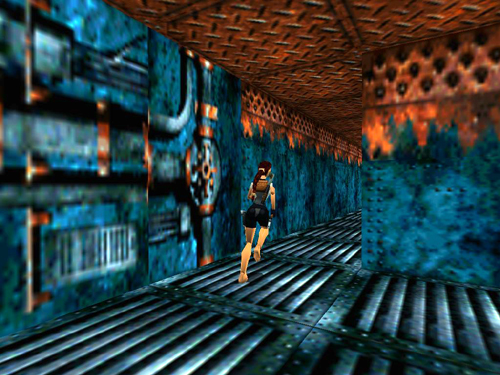
After returning inside from getting the Jade Dragon, hop down from the doorway (A) into the area with the wet floor (blue area on map). Notice the raised door on the right (C). You will return here later. For now, jump over the pipe just ahead, turn right and jump over the next pipe into the wide corridor where you first entered this area. (This path is indicated by the SOLID GREEN line on the map.)
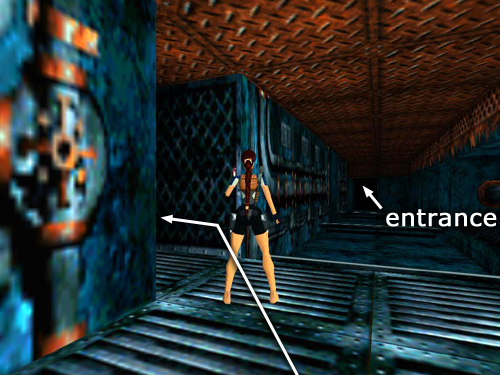
Then turn left into the narrow, dark hallway.
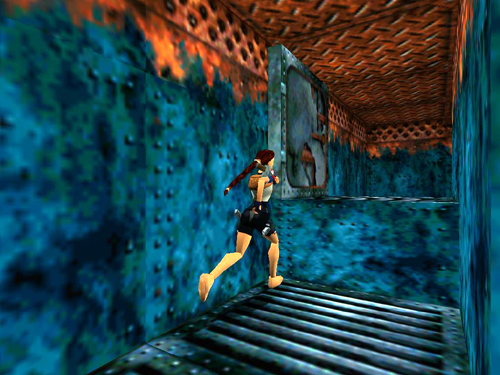
At the bend in the hallway. . .

. . . climb up through the opening in the ceiling.
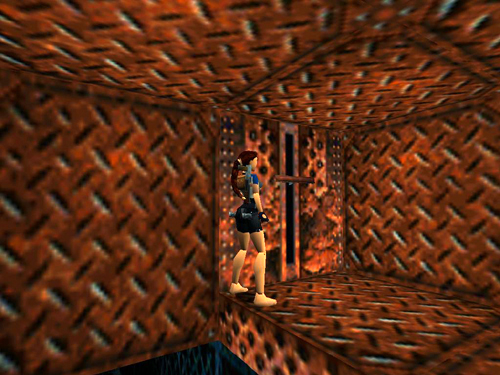
Pull the switch (2). . .
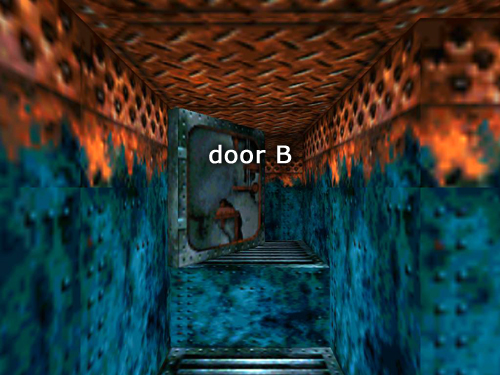
. . . to open a door elsewhere (B). Door B is not timed, so you don't need to hurry.
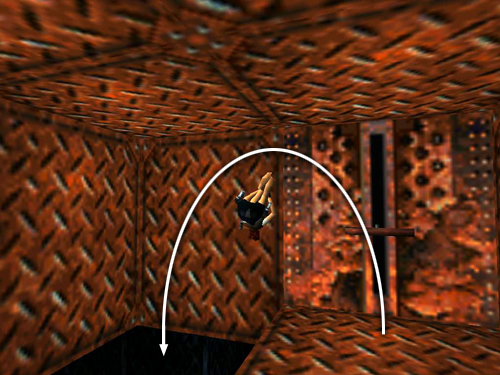
To get there, drop down. Or, after pulling the switch, side flip to the left, as shown above.
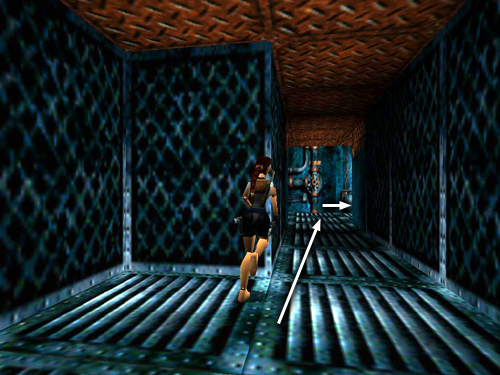
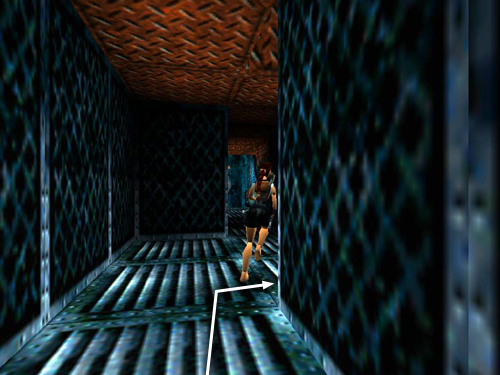
Continue to the end of the narrow, dark hallway (still following the SOLID GREEN line on the map) and turn right.
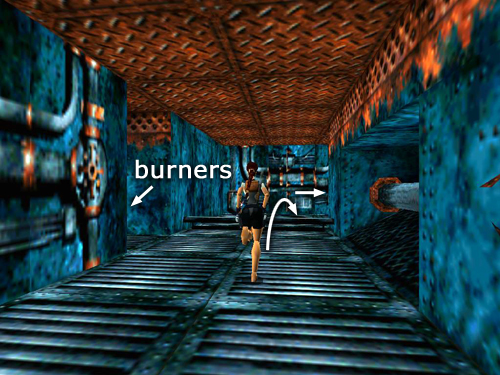
Follow this wide corridor past the narrow hallway with the burners, jump over another pipe and then turn right again.
Continue to the end of the hallway and turn right again.
Here is the door you just opened (B).
Copyright © 1998- - Stellalune (). Feel free to copy or print this walkthrough for personal use. By all means, share it with friends, but please include this credit line so people can send me their feedback. No part of this walkthrough may be reproduced on another site without permission. Follow this link for details about this site's advertising and privacy policy.
Stella's Tomb Raider Site: tombraiders.net.